Halloween Bone Cake

, Published Oct 09, 2026
This post may contain affiliate links. Please read our disclosure policy.
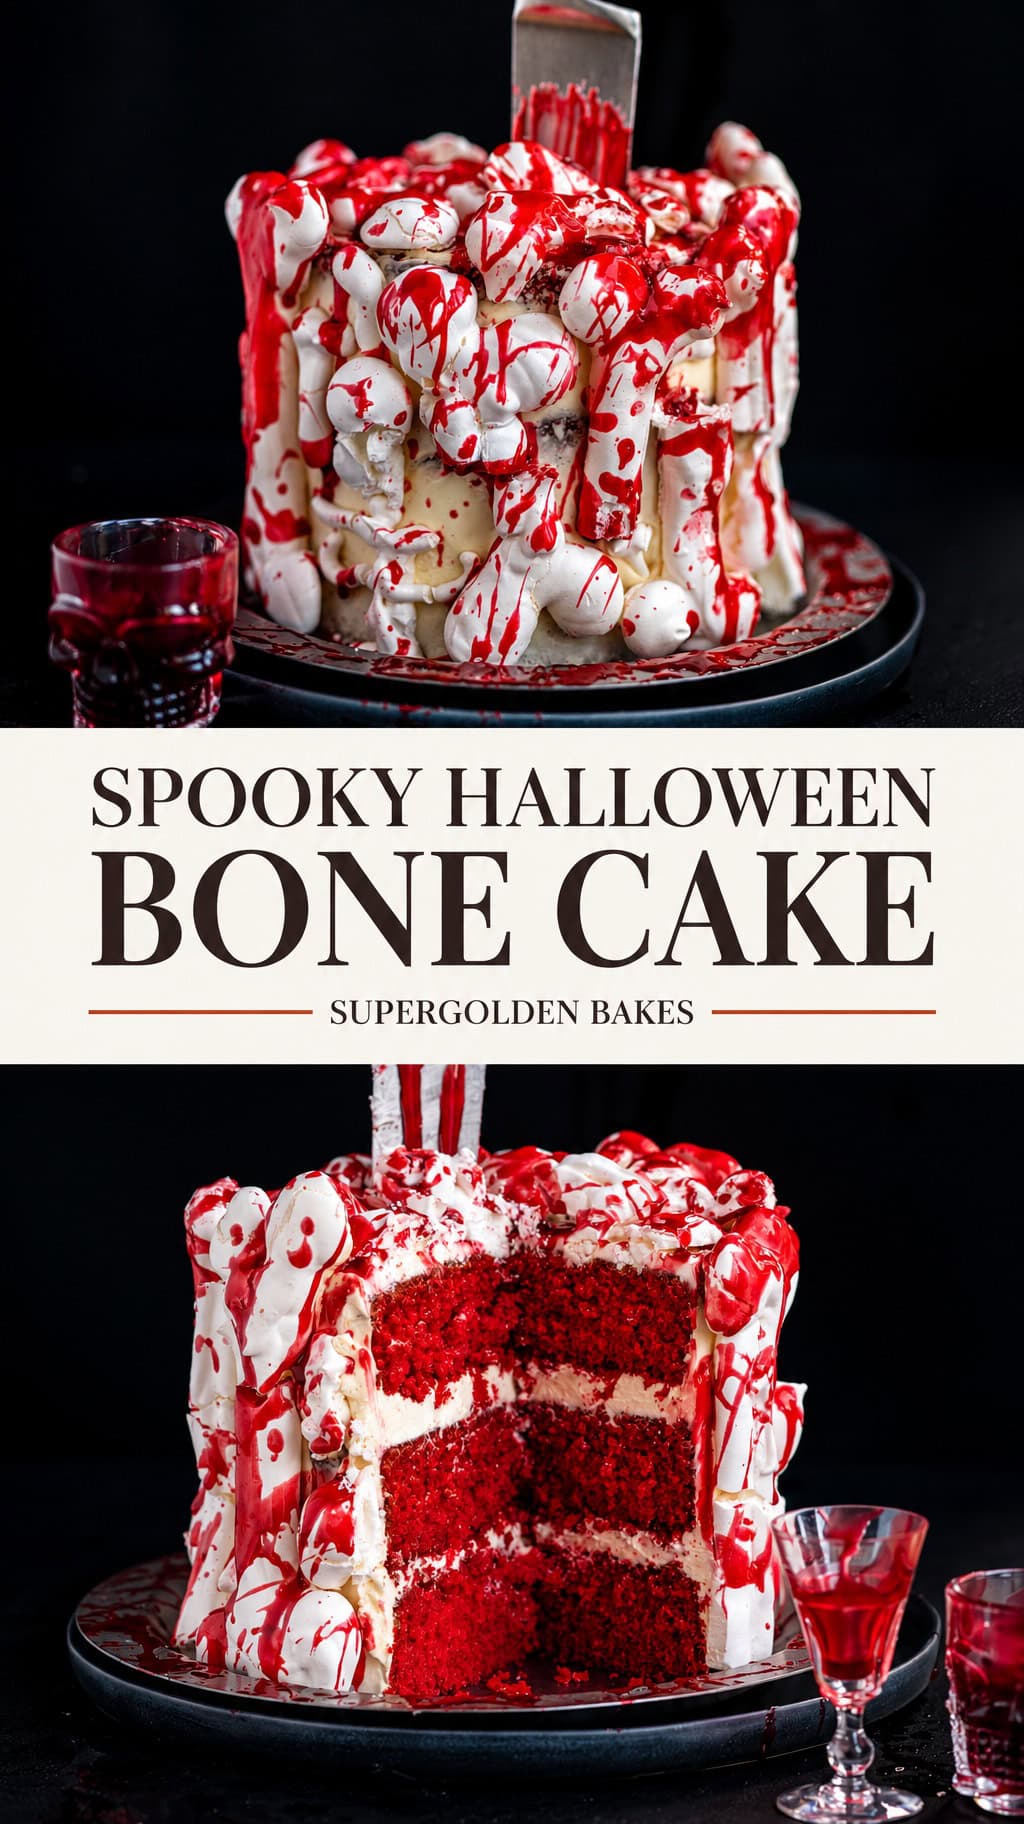
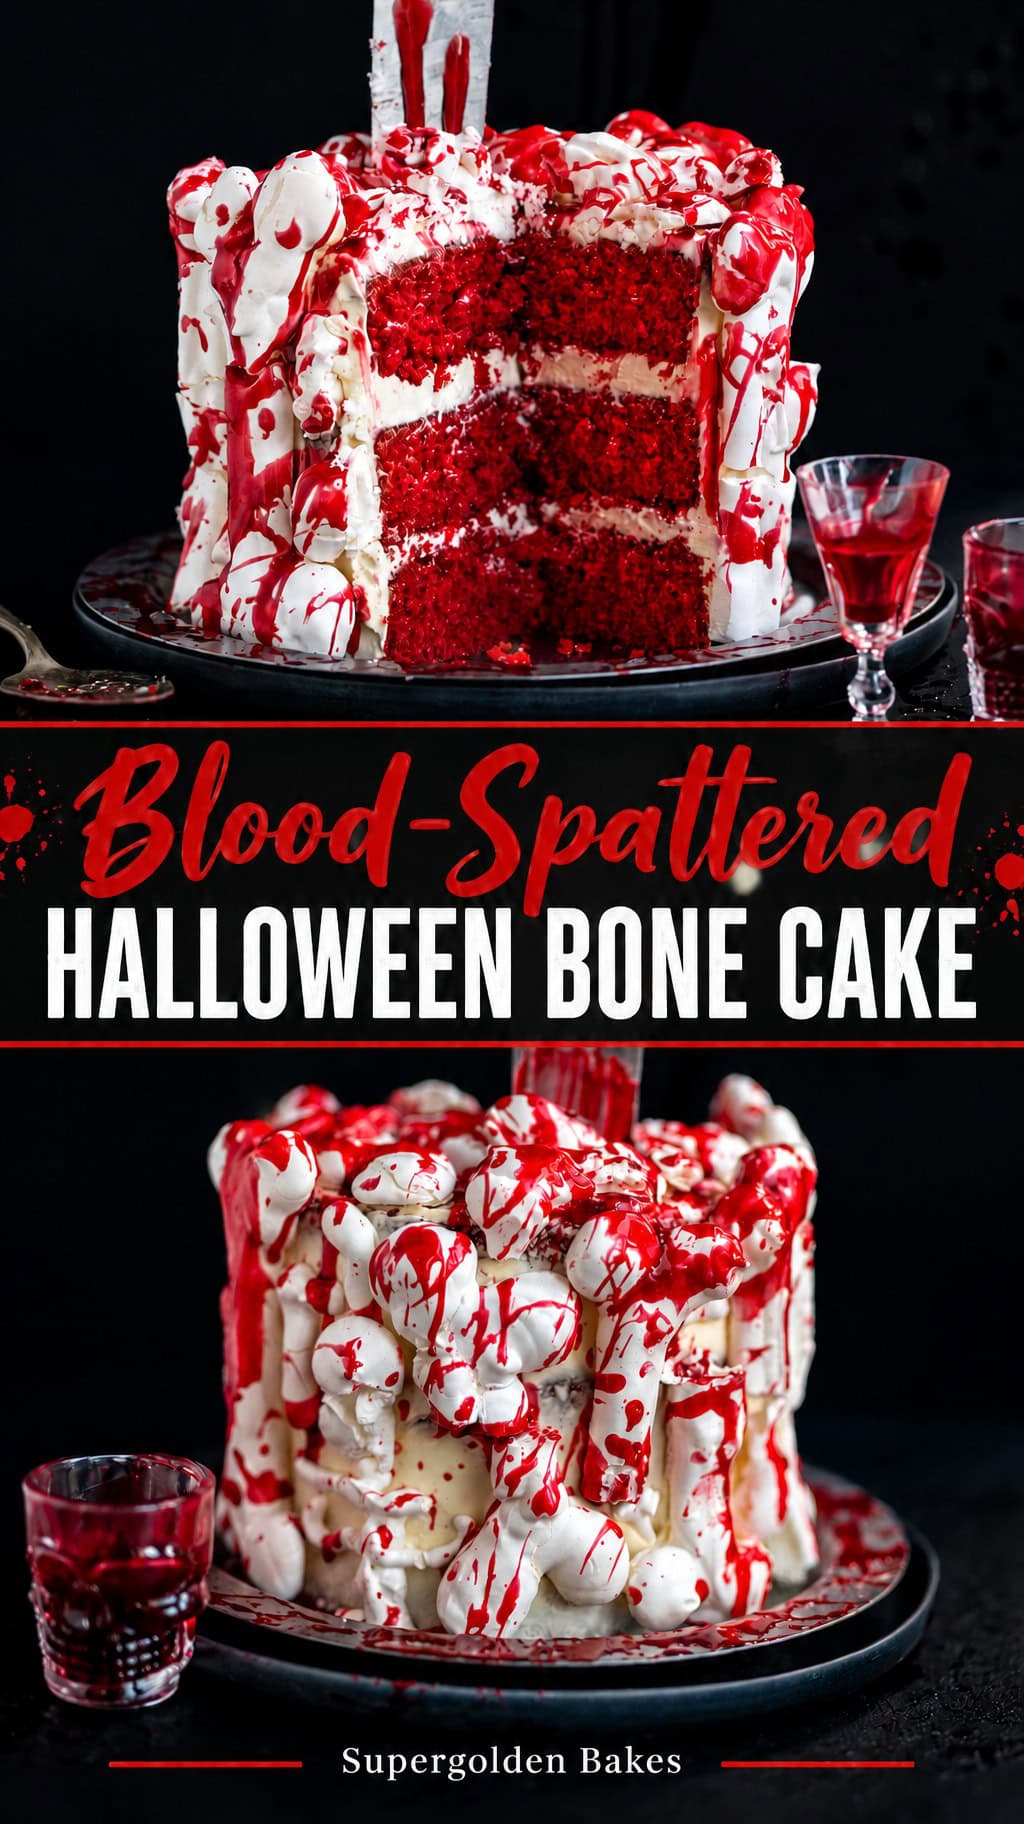
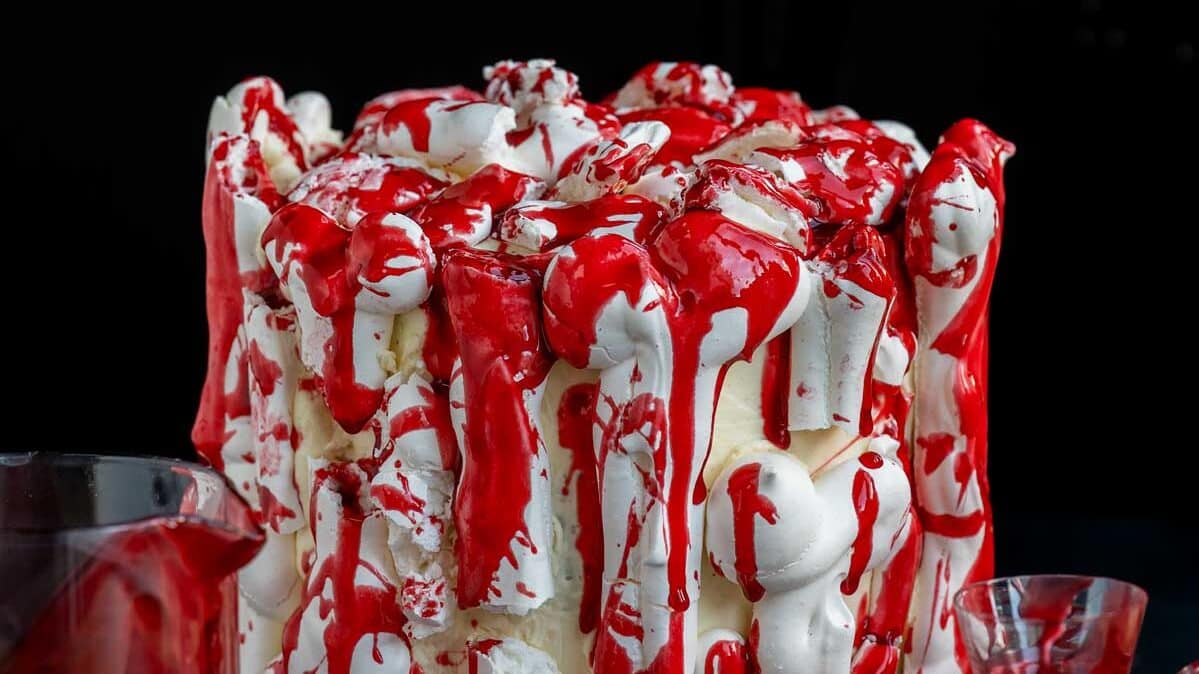
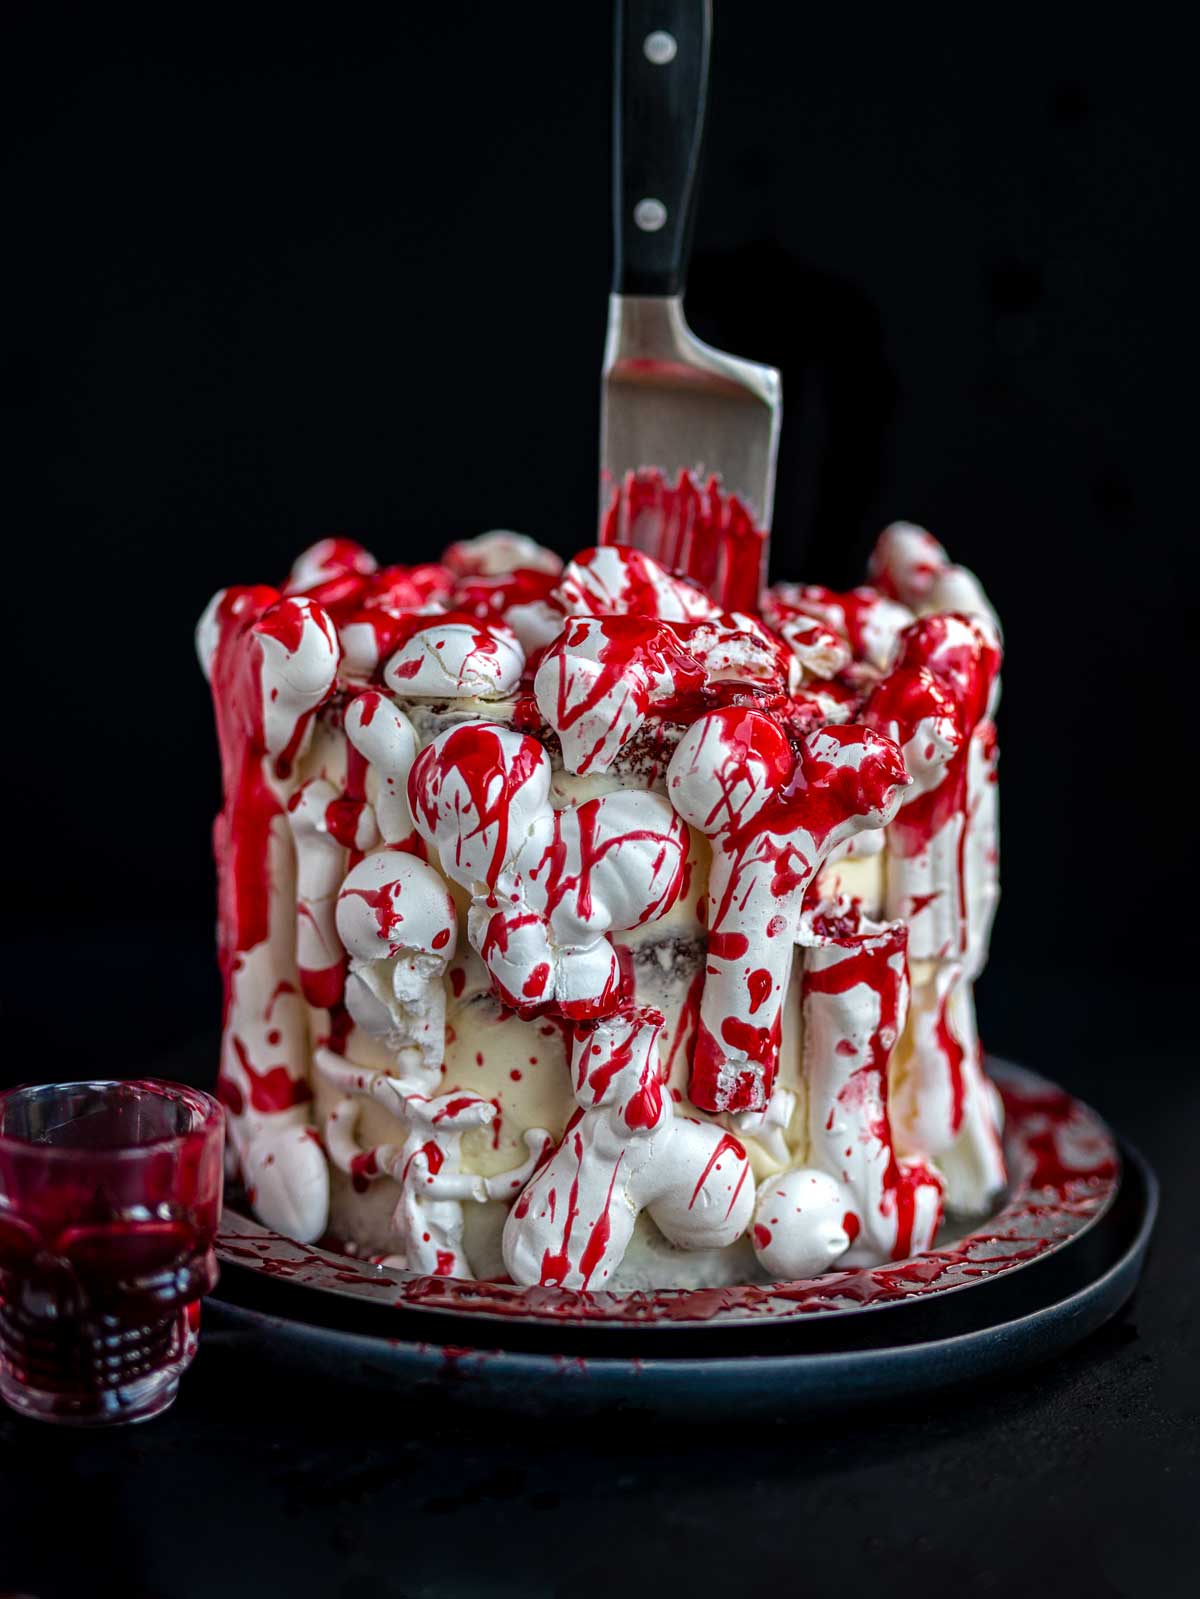
This Halloween Bone Cake is the ultimate spooky showstopper – blood-red cake layers filled with silky white chocolate mascarpone frosting, covered in crisp meringue bones and dramatically splattered with edible fake blood. It looks positively gruesome and tastes absolutely glorious.
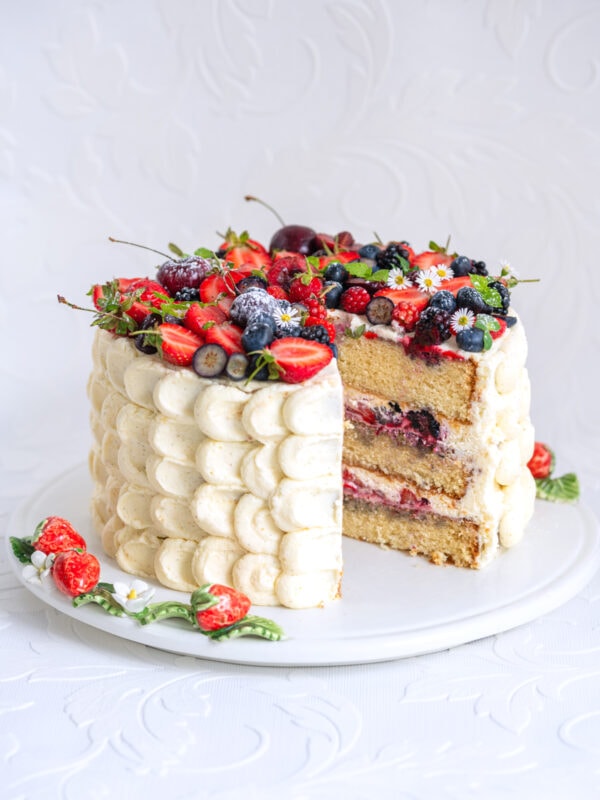
The cake underneath is my Berry Chantilly Cake given a Halloween makeover – red food coloring plus a spoonful of cocoa powder for that deep, dramatic red. Unlike most Halloween showstoppers built on boxed mixes, this one genuinely tastes as good as it looks.
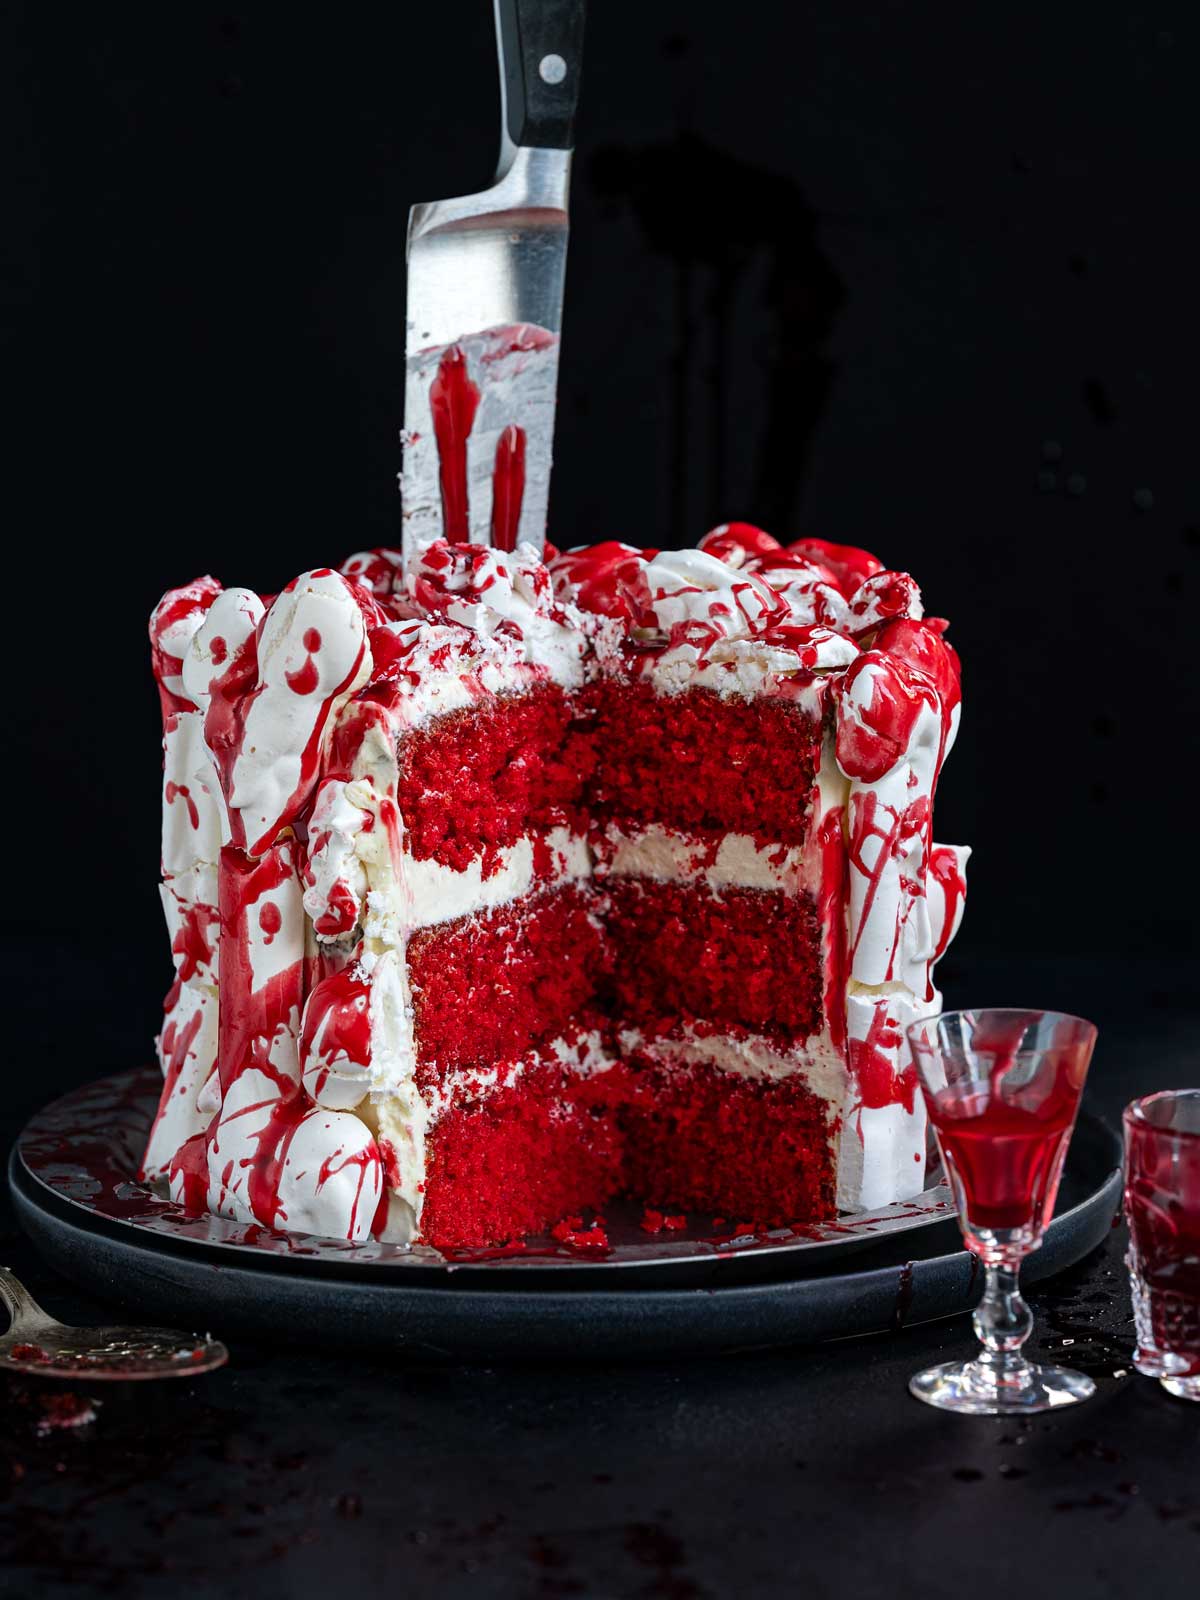
Spooky season is upon us and what better way to celebrate than this gory, blood-spattered Halloween Bone Cake! It looks spectacular, it is truly fun to bake and it tastes delicious too (always a bonus).
Despite all the drama there is nothing tricky here – the meringue bones, the edible blood and even the cake layers can all be made ahead, leaving only the fun part – assembling and splattering – for the day itself.
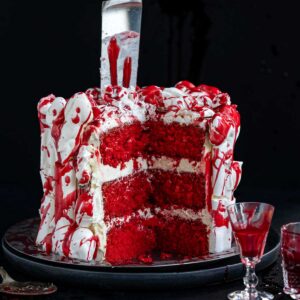
Wait for the gasps as you plunge the knife in and reveal those blood-red layers hiding under the snowy frosting. This is the showstopper your Halloween party deserves, guaranteed to wow the adults and delight (and slightly horrify) the kids.
Why You’ll Love This Cake
- A true centerpiece: stick a knife in the top and watch your Halloween party guests do a double take.
- Tastes as good as it looks: tender chantilly-style cake layers and white chocolate mascarpone frosting, not just food coloring and fondant.
- Every element can be made ahead: bones, blood and cake layers all keep happily until assembly day.
- Easier than it looks: the bones are piped freehand and the blood splatter hides any imperfect frosting.
Here’s What You’ll Need
- Red gel food coloring: use a gel or paste coloring, not liquid – you need a lot of color without thinning the batter.
- Cocoa powder: swapping 1 tablespoon of the cornstarch (cornflour) for 1 tablespoon of cocoa powder deepens the red beautifully, red velvet style, without making the cake taste chocolatey.
- White chocolate mascarpone vanilla bean frosting: silky, not too sweet and sturdy enough to hold the bones in place.
- Meringue bones and edible blood: both made ahead from my Meringue Bones and Edible Fake Blood recipes.
How to Make the Halloween Bone Cake
↓ For the full ingredients and detailed method, jump to the recipe card.
Make the Cake Layers
- Make the meringue bones and edible fake blood first – both keep well and can be made several days ahead.
- Stir the red food coloring into the buttermilk until evenly combined. Sift the flour, cornstarch (cornflour), cocoa powder, baking powder, baking soda and salt together.
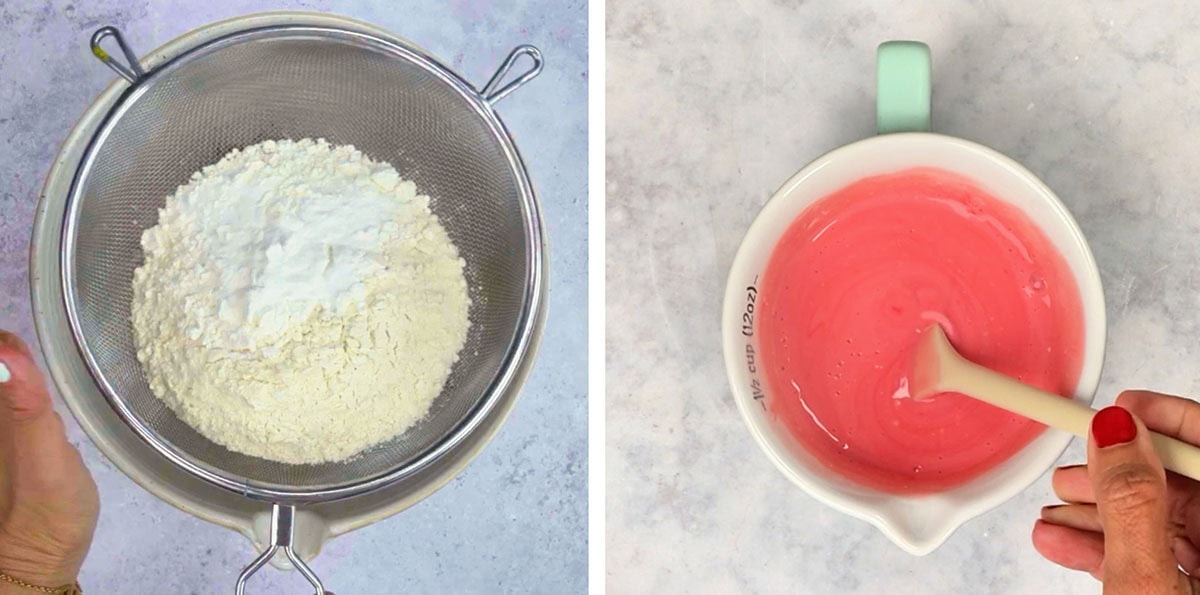
- Beat the butter and sugar until pale and fluffy, beat in the oil, then add the eggs and vanilla bean paste.
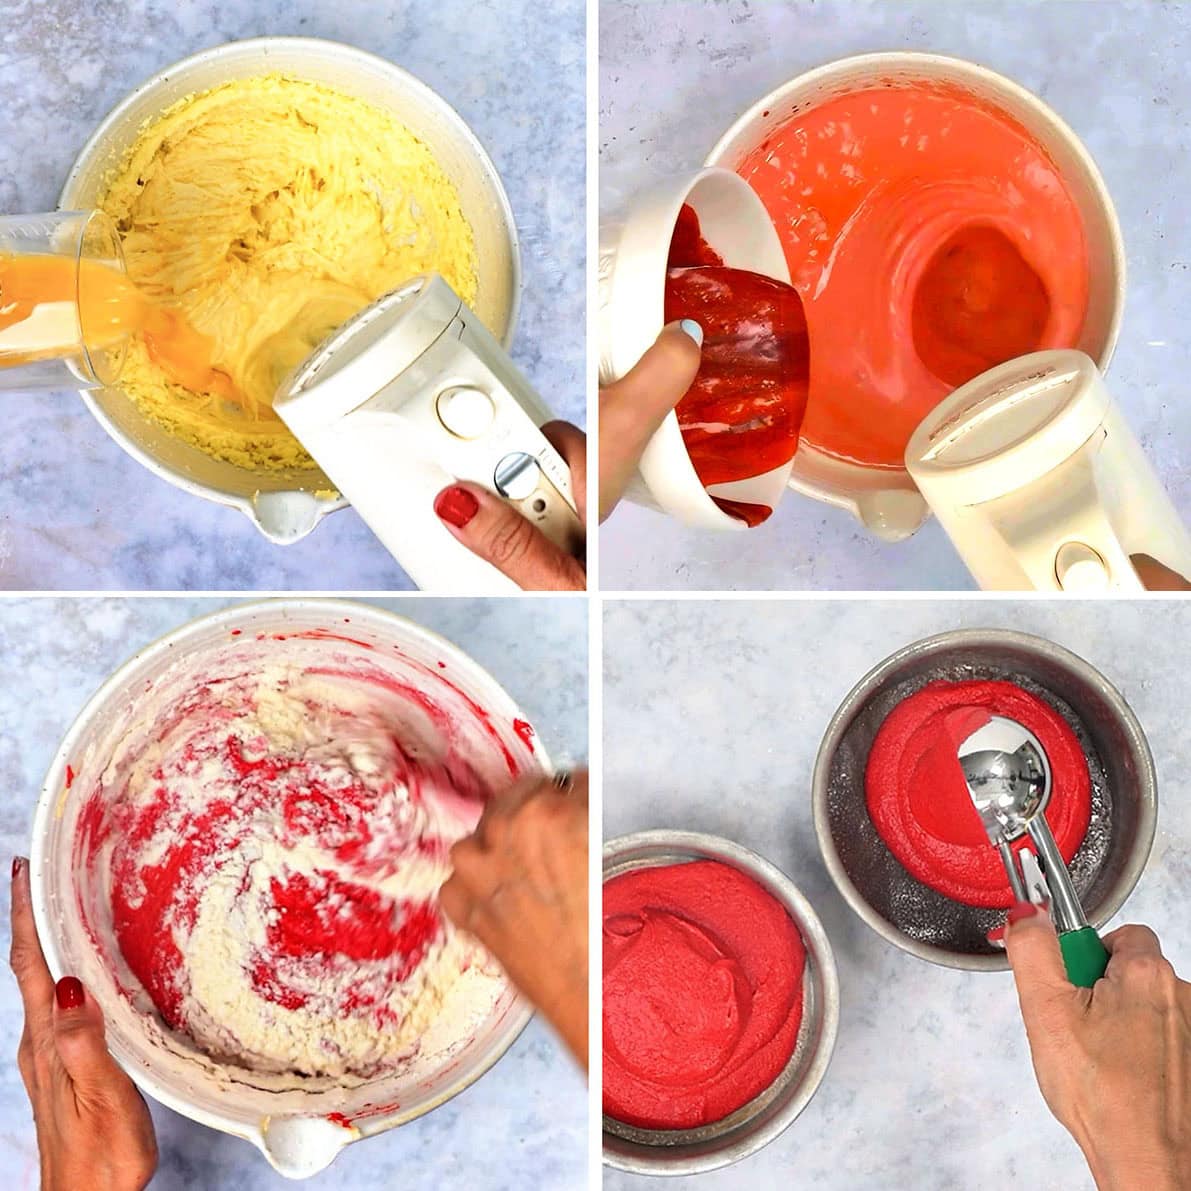
- With the mixer on low, add the dry ingredients in thirds, alternating with the red buttermilk.
- Divide the batter between three lined 6 inch (15cm) pans and bake at 340°F (170°C) for 25–28 minutes, until a skewer inserted in the center comes out clean. Cool completely.
Make the Frosting
- For the frosting, pour the hot cream over the white chocolate, let it stand for 3 minutes, then stir smooth.
- Beat the mascarpone, powdered (icing) sugar, milk powder and vanilla until creamy, then add the cooled chocolate and beat until the frosting holds peaks.
Assemble the Cake
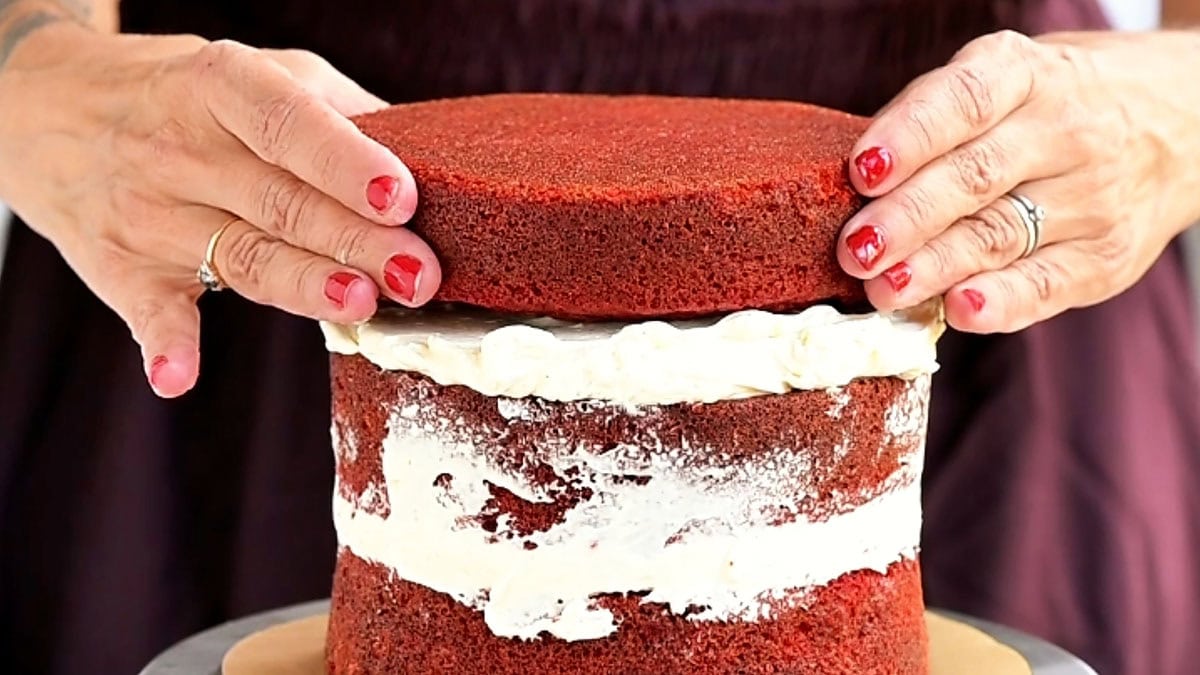
- Sandwich the cake layers with frosting, then apply a thin crumb coat all over and chill until set. Finish with a final coat of frosting, smoothed with a bench scraper.
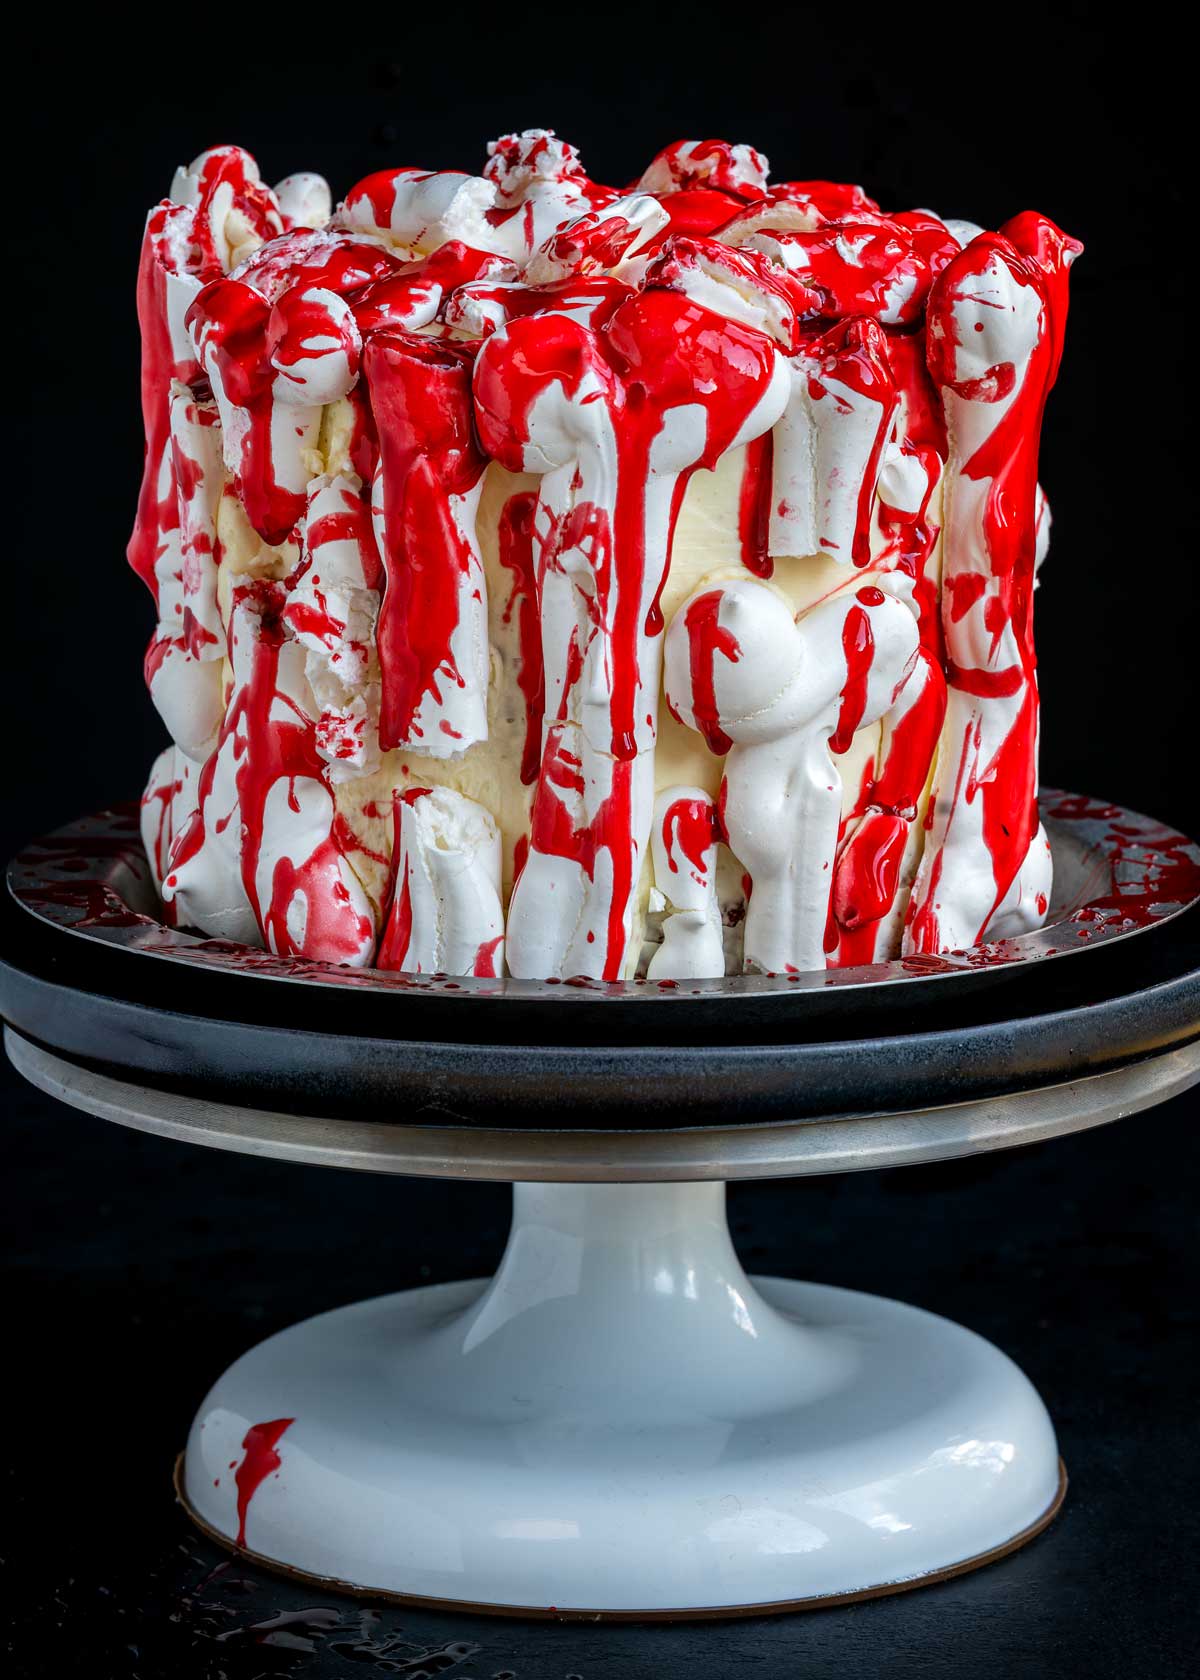
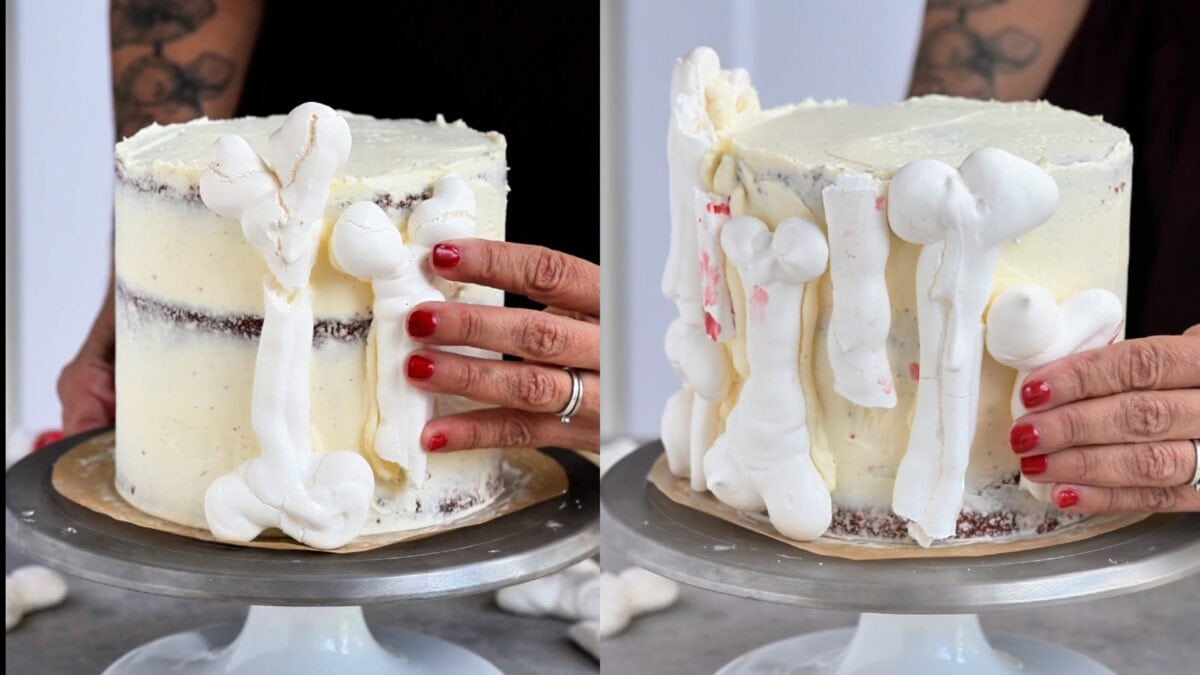
- Press the meringue bones all over the cake, breaking some to fit and using a dab of frosting to stick them in place.
- Just before serving, drizzle or spatter the cake with edible fake blood and plunge a knife into the top for full crime-scene effect.
Make a Skeleton Cake
Want to take the bone theme even further? You can pipe a whole meringue skeleton – skull, ribcage and all – and lay it on top of the cake or across the serving board. Wonderfully macabre and easier than it looks. Download my free printable skeleton template to pipe over – print at 100% on A4, or “fit to page” on US Letter.
Make Ahead and Storage
The cake layers can be baked a day ahead, wrapped well and kept at room temperature. The meringue bones keep for up to a week in an airtight container and the edible blood keeps in the fridge. You can fill and frost the cake a day ahead and keep it refrigerated – just add the bones and blood on the day, close to serving, so the bones stay crisp.
Store leftover cake, loosely covered, in the fridge for up to 3 days. The bones will slowly soften on the cake, so keep any spare ones separately in an airtight container at room temperature.
Baker’s tip
Add the bones and blood at the last minute
Splatter the edible blood just before serving. Left to sit for hours, it can soften the crisp meringue bones and bleed into the frosting.
Baker’s tip
Use any cake you like
The meringue bones and edible blood will transform any cake into a spooky showstopper. Try my Black Magic Cake for a wickedly dark chocolate option – the name could not be more fitting – or keep things easy with your favorite vanilla sponge baked in three 6 inch (15cm) pans.
Please leave a comment and rating if you try my Halloween Bone Cake recipe, follow me on Pinterest for more easy recipes and don’t forget to tag me on Instagram or TikTok so I can see your creations.
Halloween Bone Cake
Equipment
- 3 8 inch cake pans or 3 x 6 Inch cake pans (for a taller cake)
Ingredients
For the Cake Layers
- ¾ cup (180ml) buttermilk
- 1 tbsp red food coloring paste or gel
- 2 cups (240g) all-purpose flour (= plain flour)
- 2 tbsp cornstarch (= cornflour)
- 1 tbsp cocoa powder
- 2 tsp baking powder
- 1 tsp baking soda (= bicarbonate of soda)
- ¼ tsp fine salt
- ¾ cup (170g) unsalted butter , softened
- 1 ½ cups (300g) superfine sugar (= caster sugar), or granulated
- 3 tbsp vegetable oil
- 3 large eggs , room temperature
- 2 tsp vanilla bean paste
For the frosting
- 1 cup (240ml) heavy cream (= double cream), cold
- ½ cup (80g) white chocolate chips
- 2 cups (450g) mascarpone cheese
- 1 cup (120g) powdered sugar (= icing sugar), sifted
- 2 tsp vanilla bean paste (or vanilla powder)
- 2 tbsp milk powder (= powdered milk)
Assembly & Decoration
- edible blood
- meringue bones
Instructions
Bake the Cake Layers
- Preheat oven to 340°F (170°C). Grease and line three 6-inch (15cm) round cake pans with parchment paper.
- Combine the food coloring and buttermilk, stirring well to make sure it is fully dissolved. Set aside.1 tbsp red food coloring, ¾ cup (180ml) buttermilk
- Sift the flour, cornstarch, cocoa powder, baking powder, baking soda, and salt into a medium bowl. Set aside.2 cups (240g) all-purpose flour, 2 tbsp cornstarch, 2 tsp baking powder, 1 tsp baking soda, ¼ tsp fine salt, 1 tbsp cocoa powder
- In a stand mixer fitted with the paddle attachment (or a large mixing bowl and a hand mixer), beat the butter until smooth.¾ cup (170g) unsalted butter
- Add the sugar and beat on medium-high speed until pale and fluffy (about 3-4 minutes), scraping down the bowl as needed. Beat in the vegetable oil until fully combined.1 ½ cups (300g) superfine sugar, 3 tbsp vegetable oil
- Add the eggs and vanilla bean paste.3 large eggs, 2 tsp vanilla bean paste
- Reduce the mixer speed to low. Add one-third of the dry flour mixture, followed by half of the buttermilk. Repeat, ending with the final third of the dry ingredients. Mix just until combined—do not overmix. Fold the last few turns by hand with a spatula.¾ cup (180ml) buttermilk
- Divide the batter evenly between the prepared pans. Bake for 25-28 minutes, or until a skewer inserted in the center comes out clean.
- Cool in the pans for 5 minutes, then invert the cakes onto a wire cooling rack.
Make the frosting
- Heat the cream until small bubbles appear around the edge of the saucepan. Pour over the chocolate, rest for 3 minutes then gently stir until the chocolate is completely melted and smooth. Set aside to cool (you can place in the fridge)½ cup (80g) white chocolate chips, 1 cup (240ml) heavy cream
- In a medium bowl, beat the mascarpone, powdered sugar, milk powder and vanilla bean paste until completely smooth and creamy. Set aside.2 cups (450g) mascarpone cheese, 1 cup (120g) powdered sugar , 2 tsp vanilla bean paste, 2 tbsp milk powder
- Add the cooled melted white chocolate and beat until peaks form. Keep frosting chilled unless using immediately.
Assemble the layer cake
- Place the first cake layer on a serving plate. Spread a generous layer of frosting over the top and level using an offset spatula.
- Add the second cake layer, press lightly, and repeat. Top with the final third cake layer.
- Apply a thin layer of frosting over the entire cake to lock in the crumbs. Transfer the cake to the refrigerator to chill and set for 20 minutes.
- Cover the entire cake with a second layer of frosting and smooth using a bench scraper.
Decorate (just before serving)
- Arrange the meringue bones around the cake, breaking some in half to fit them and using frosting, as needed, to stick them on.meringue bones
- Drizzle edible blood over the bones or use a pastry brush to spatter the cake with the blood (more realistically gory!). Serve immediately.edible blood
Notes
- Make Ahead: The cake layers can be baked up to 2 days in advance. Cool completely, wrap tightly in plastic wrap, and store at room temperature.
Nutrition
Nutritional information is always approximate, and will depend on quality of ingredients and serving sizes.
Troubleshooting
| Problem | Cause | Fix |
|---|---|---|
| Bones slide off the cake | Frosting too soft or bones too heavy | Chill the frosted cake for 15 minutes before decorating and use the smaller bones lower down |
| Bones soften after decorating | Fridge humidity | Add the bones close to serving and store spare bones separately |
| Red color bakes out dull | Liquid coloring or too little of it | Use a concentrated gel or paste coloring plus the cocoa powder swap for depth |
| Frosting too soft to hold the bones | Warm kitchen or overwhipped mascarpone | Chill the frosting until spreadable and mix the mascarpone only until just combined |