
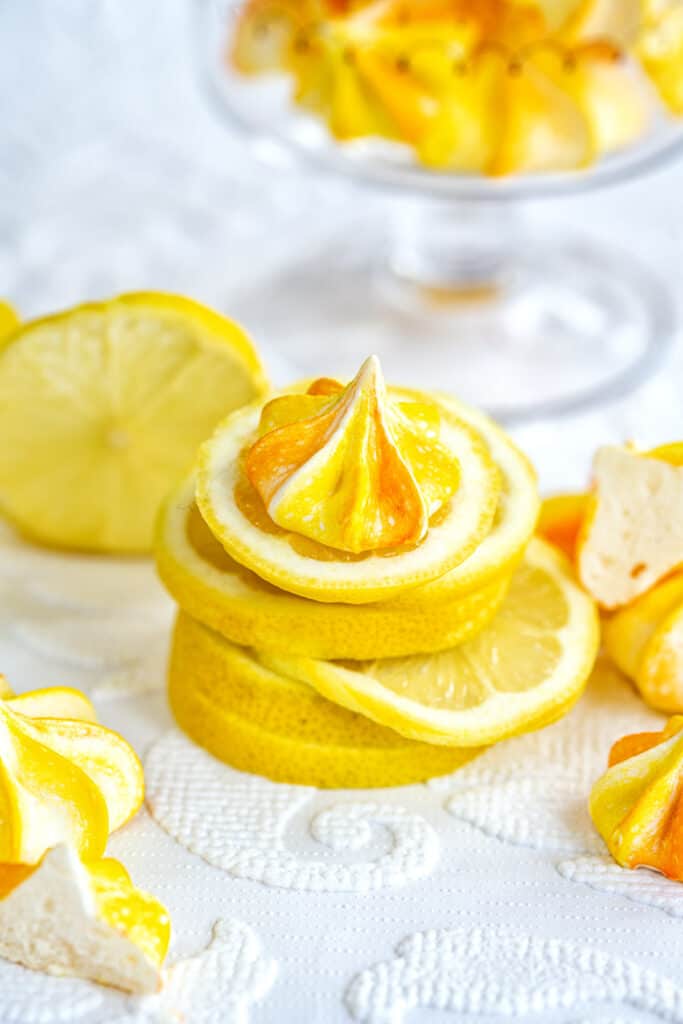
Meringue Kisses (Meringue Cookies)
, Updated Apr 22, 2025
This post may contain affiliate links. Please read our disclosure policy.
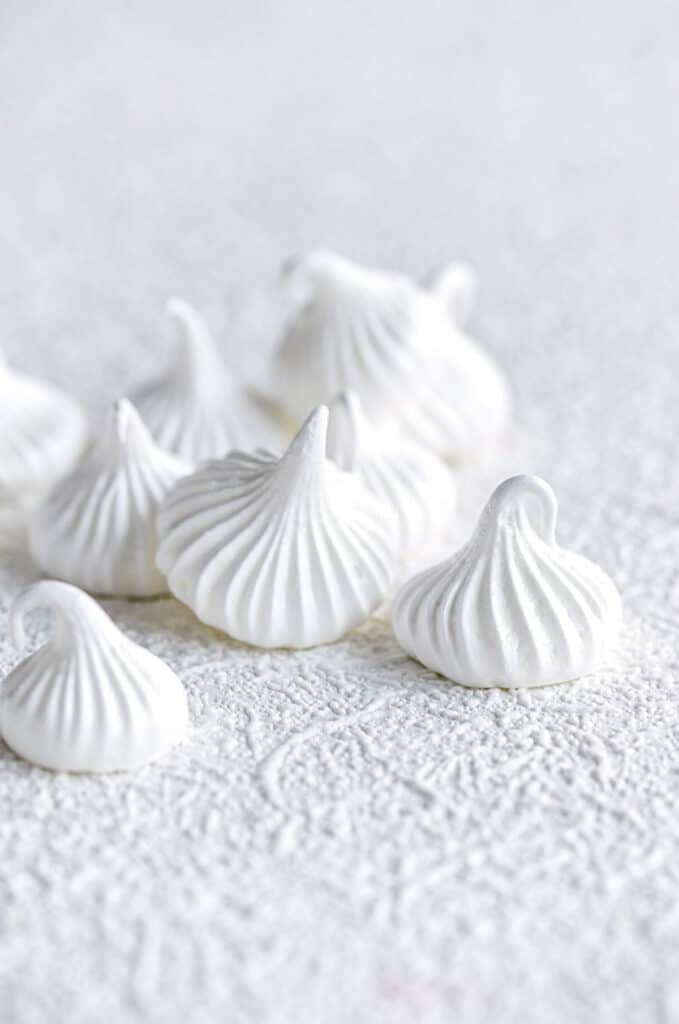
Meringue kisses (a.k.a meringue cookies) are easy to make and perfect for snacking, gifting, decorating cakes or making Eton mess! Follow my foolproof meringue recipe to make perfect meringue cookies.
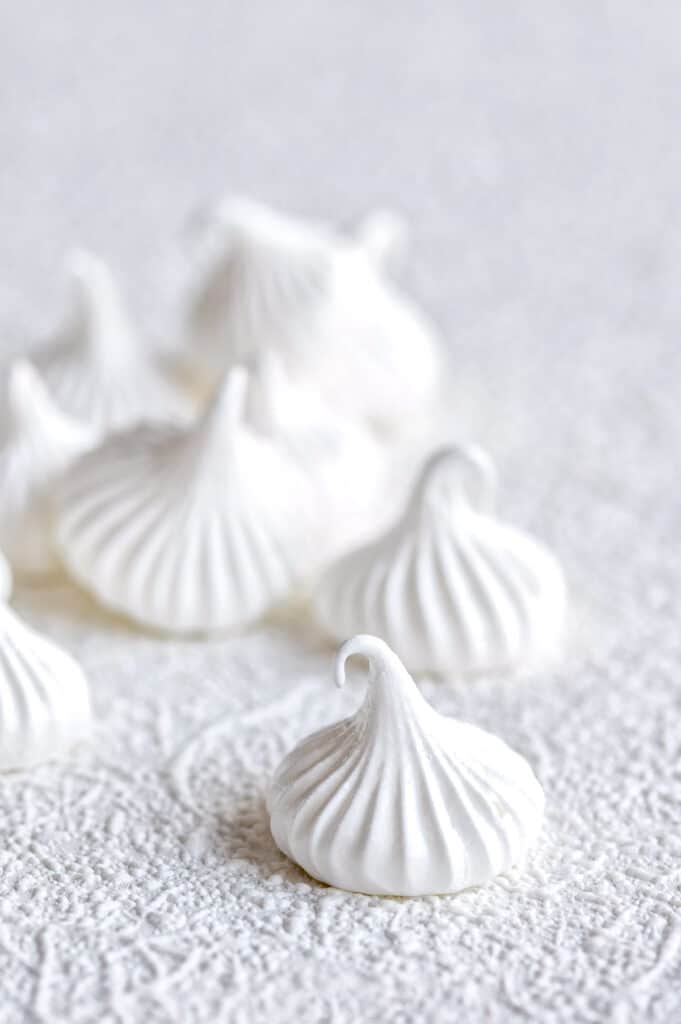
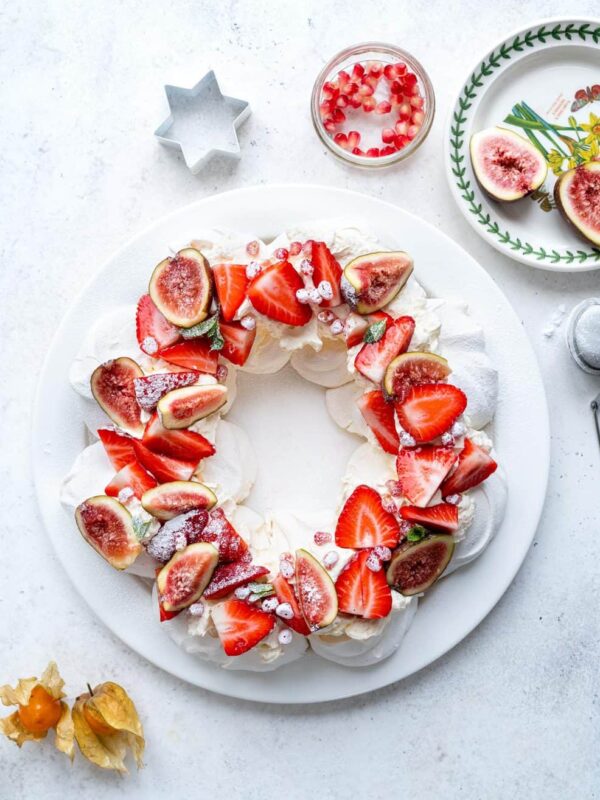
I am a huge fan of meringue and meringue desserts such as Pavlova. And if you can make Pavlova you can certainly make meringue kisses! They are so cute, so light and crisp and just the right hint of sweetness when you fancy a treat.
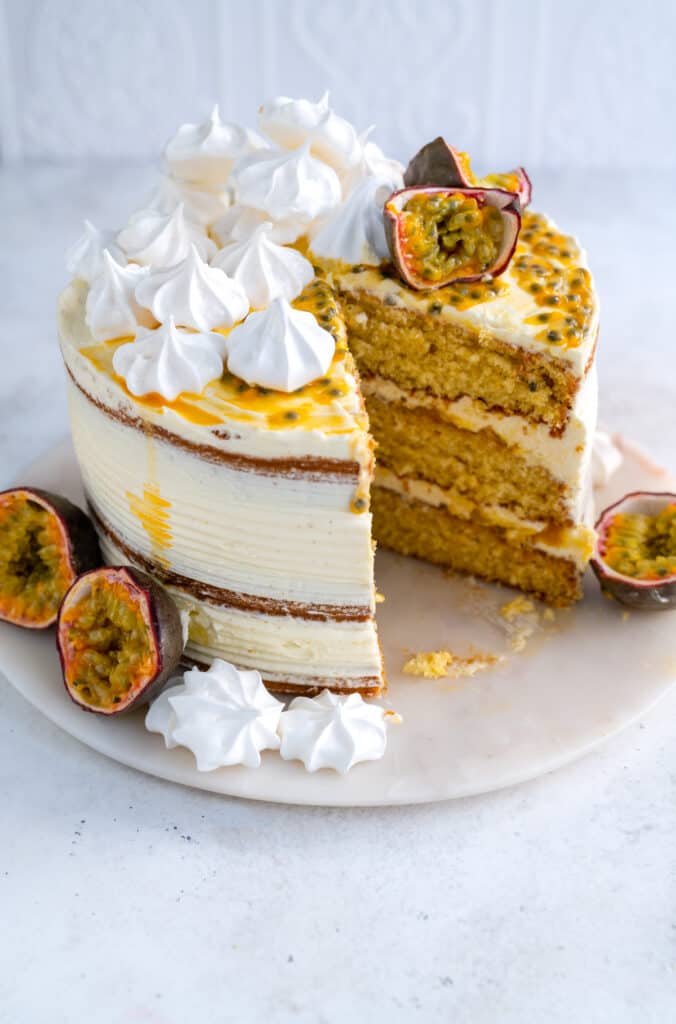
Meringue kisses are perfect for decorating cakes, cupcakes and pavlovas and you can also crush them into whipped cream to make my Eton Mess Cake 🙂
Meringue cookies are also known as meringue kisses, meringue drops or forgotten cookies. In Latin America they are called suspiros (which means “sigh”) or suspiritos – how cute is that?
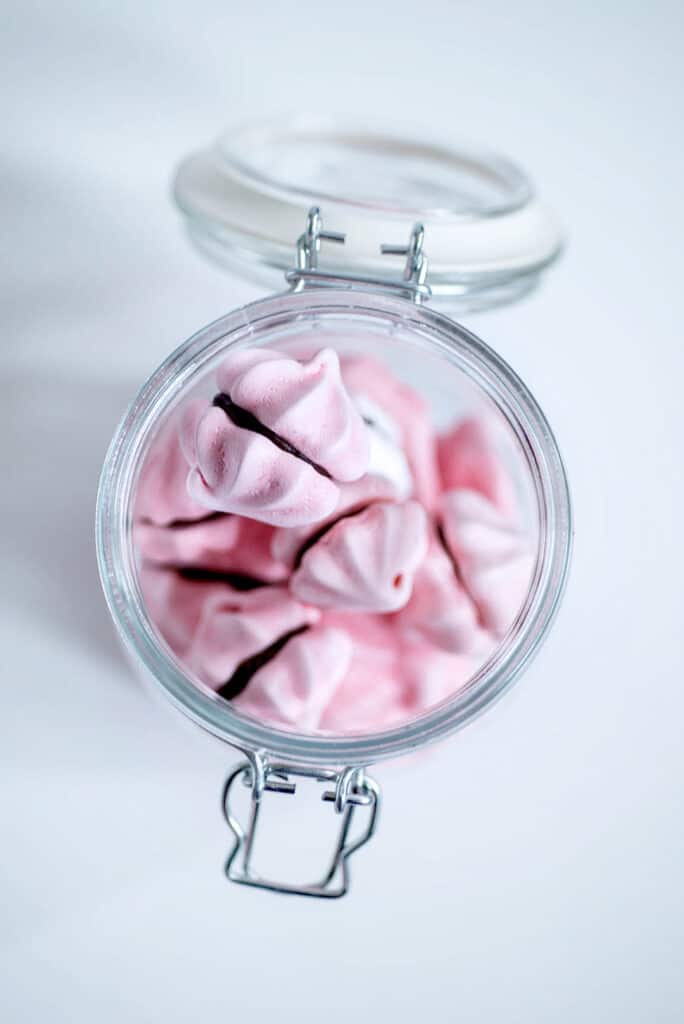
Bake a big batch and keep in an airtight container and you will always have a sweet cookie on standby.
Meringue Cookie Ingredients
Technically you can make meringue cookies with just two ingredients – egg whites and sugar. This makes them naturally gluten free and just a handful of calories each.
- Large egg whites – fresh or use pasteurised egg whites from a carton for ease and less wastage.
- Sugar – caster sugar or granulated
- Vanilla extract or vanilla bean paste – vanilla is the classic flavor for meringue cookies but other extracts can be used
- Cream of Tartar – this is optional but will help stabilise the meringue
- Gel food colors are a great way of coloring your meringue kisses
How to make Meringue Cookies
Full measurements and instructions can be found on the printable recipe card at the bottom of the page. Please take a look at the steps and video before attempting this recipe!
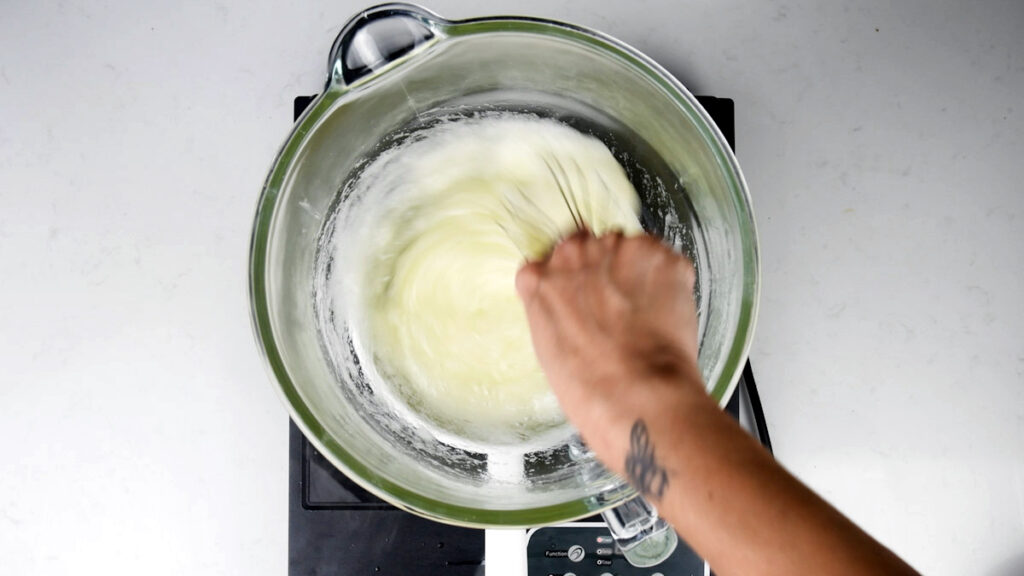
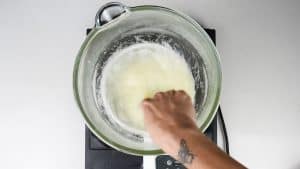
- Make sure your stand mixer bowl and whisk attachment are clean and free of grease. I usually run mine through the dishwasher before making meringue. Add the egg whites and sugar to the bowl. Place this over a pot of barely simmering water, making sure the bottom of the bowl doesn’t come into contact with the water.
- Stir using a balloon whisk until the sugar has dissolved. If you have an instant read thermometer you can check whether the mixture has reached the right temperature of 55°C/ 130°F. If not, simply check whether the sugar has dissolved by checking it between your fingers – if it is still gritty continue to heat while mixing for a little longer.
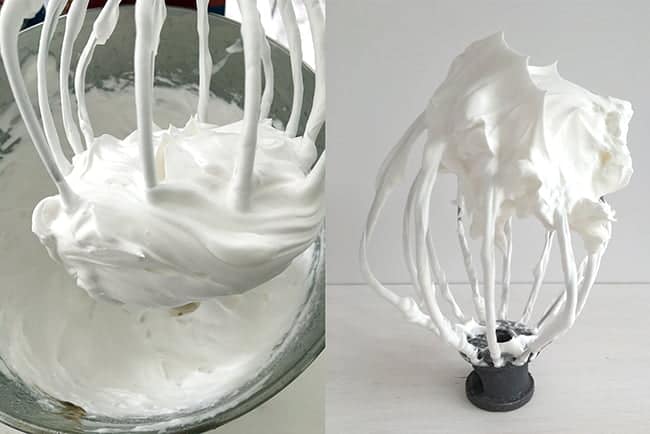
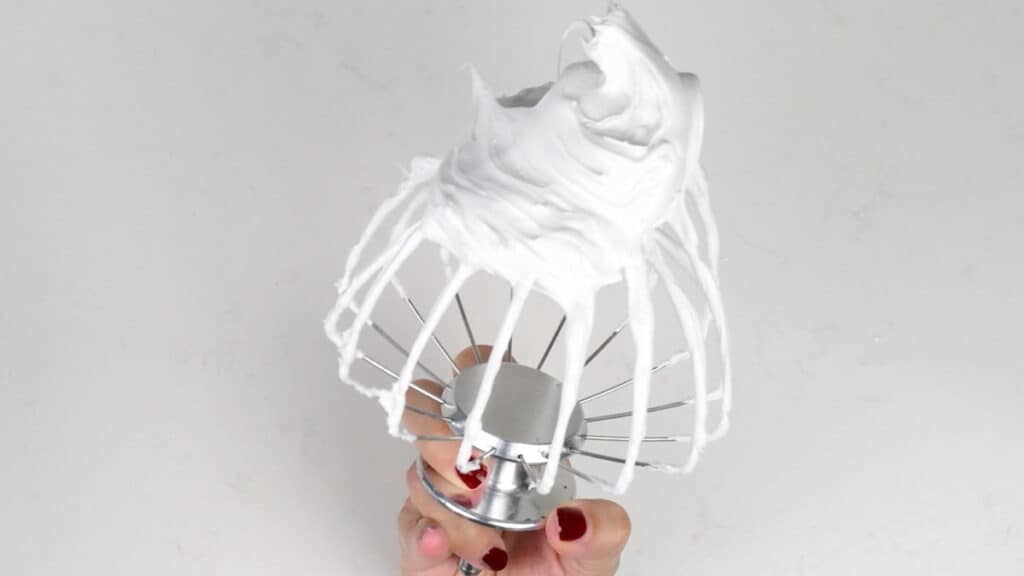
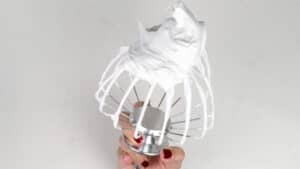
- Dry the bottom of your mixing bowl and attach to the stand mixer. Add the vanilla or other flavourings and whisk at maximum speed for 5-7 minutes, or until the meringue forms stiff peaks.
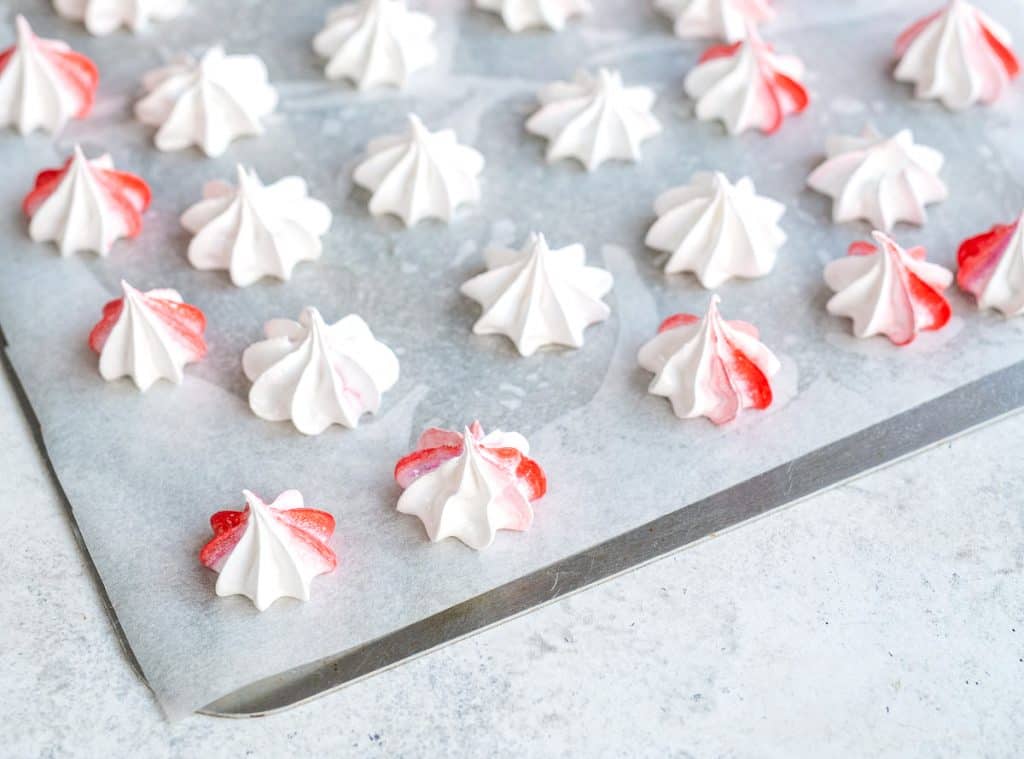
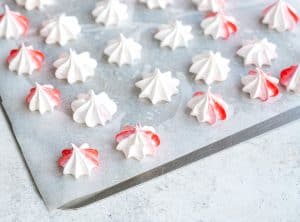
- Transfer the meringue into a piping bag fitted with a star tip (or any other large tip). Pipe meringue swirls onto a silicone mat, spaced slightly apart. Hold the bag vertically over the mat, pipe the meringue and pull the piping bag away to create a little curl.
- Bake in a 80°C /175°F Fan Setting or 100°C / 210°F normal setting for 60minutes or until the meringue cookies feel dry to the touch and release easily from the baking mat. Turn the oven off and leave the trays in the oven until it cools down. Store in an airtight container for up to to two weeks.
Recipe notes & tips
Meringue is easy to make, especially when you use my Swiss Meringue recipe. Even so there’s a few things to note before baking these meringue cookies.
- Make sure the stand mixer bowl, whisk and any other tools used to make the meringue are spotlessly clean and free of grease. Wipe them with vinegar or better yet run them through the dishwasher.
- If you are using eggs (and not liquid egg whites) then make sure not a trace of the yolk contaminates the whites. Even a tiny spec will cause your meringue to flop.
- Moisture and meringue do not mix! Store your cookies in airtight containers otherwise they will soften and lose their crispness.
- Making meringue cookies with sweetener is possible but the texture is not the same and the meringue will not whip to perfect peaks.
Adding color & flavor
- It’s easy to add color to meringue cookies. You can tint the whole meringue a uniform color of your choice adding a small amount of gel food coloring while you are still whisking.
- Use a paintbrush to paint stripes of food coloring on the insides of your piping bag before you add the meringue. This will create colorfully striped meringue cookies when you pipe them.
- You can add different extracts to play around with the flavor of your meringue cookies. Do not add oils as they will deflate your meringue.
- Sandwich meringue kisses together using a little ganache or jam for a lovely sweet treat.
Related recipes


HAVE YOU MADE MY MERINGUE COOKIE RECIPE? Please leave a rating, post a photo on my Facebook page, share it on Instagram, or save it to Pinterest with the tag #supergoldenbakes and make my day!

Perfect Meringue Cookies
Equipment
- Piping bags and piping tips
Ingredients
Meringue Nests
- 90 g (just over ⅓ cup) pasteurised egg whites or from three large eggs
- 180 g (1 cup minus 2 tbsp) sugar caster or granulated
- 1 tsp vanilla extract or vanilla bean paste (optional)
Optional
- selection of food color gels
Instructions
Preheat the oven and prep your baking Trays
- Preheat the oven to 80°C /175°F Fan Setting or 100°C / 210°F normal setting. Line two large baking sheets with silicone baking mats.
Make the meringue
- Put the egg whites and sugar in the bowl of your stand mixer. Set this over a pot of barely simmering water, making sure the bottom of the bowl doesn’t come into contact with the water. Use a balloon whisk to lightly whisk the egg whites and encourage the sugar to dissolve.90 g (just over ⅓ cup) pasteurised egg whites, 180 g (1 cup minus 2 tbsp) sugar
- If you have a digital thermometer you can check whether the mixture has reached the right temperature of 55C/ 130F. If not, simply check whether the sugar has dissolved by checking it between your fingers – if it is still gritty continue to heat while mixing for a little longer.

- Dry the bottom of your mixing bowl and attach to the stand mixer. Add the vanilla extract and whisk at maximum speed for 5-7 minutes, or until the meringue forms perfectly stiff peaks.1 tsp vanilla extract
Pipe the Meringue Cookies
- Transfer the meringue into a piping bag fitted with a large star nozzle. Pipe the meringues onto the prepared trays spaced slightly apart.

Bake and Cool
- Bake the meringue cookies for 60 minutes or until they are dry to the touch and release easily from the baking mats.
- Turn the oven off and leave the meringues to cool in the oven until it cools down – don’t open the door!
Notes
- Make sure the stand mixer bowl, whisk and any other tools used to make the meringue are spotlessly clean and free of grease.
- If you are using eggs (and not liquid egg whites) then make sure not a trace of the yolk contaminates the whites. Even a tiny spec will cause your meringue to flop.
- It’s easy to add color to meringue cookies. You can tint the whole meringue a uniform color of your choice adding a small amount of gel food coloring while you are still whisking.
- Use a paintbrush to paint stripes of food coloring on the insides of your piping bag before you add the meringue. This will create colorfully striped meringue cookies when you pipe them.
- You can add different extracts to play around with the flavor of your meringue cookies. Do not add oils as they will deflate your meringue.
Nutrition
Nutritional information is always approximate, and will depend on quality of ingredients and serving sizes.


Delicious!