
Perfect Meringue Nests | Step By Step Guide
, Updated Oct 13, 2022
This post may contain affiliate links. Please read our disclosure policy.

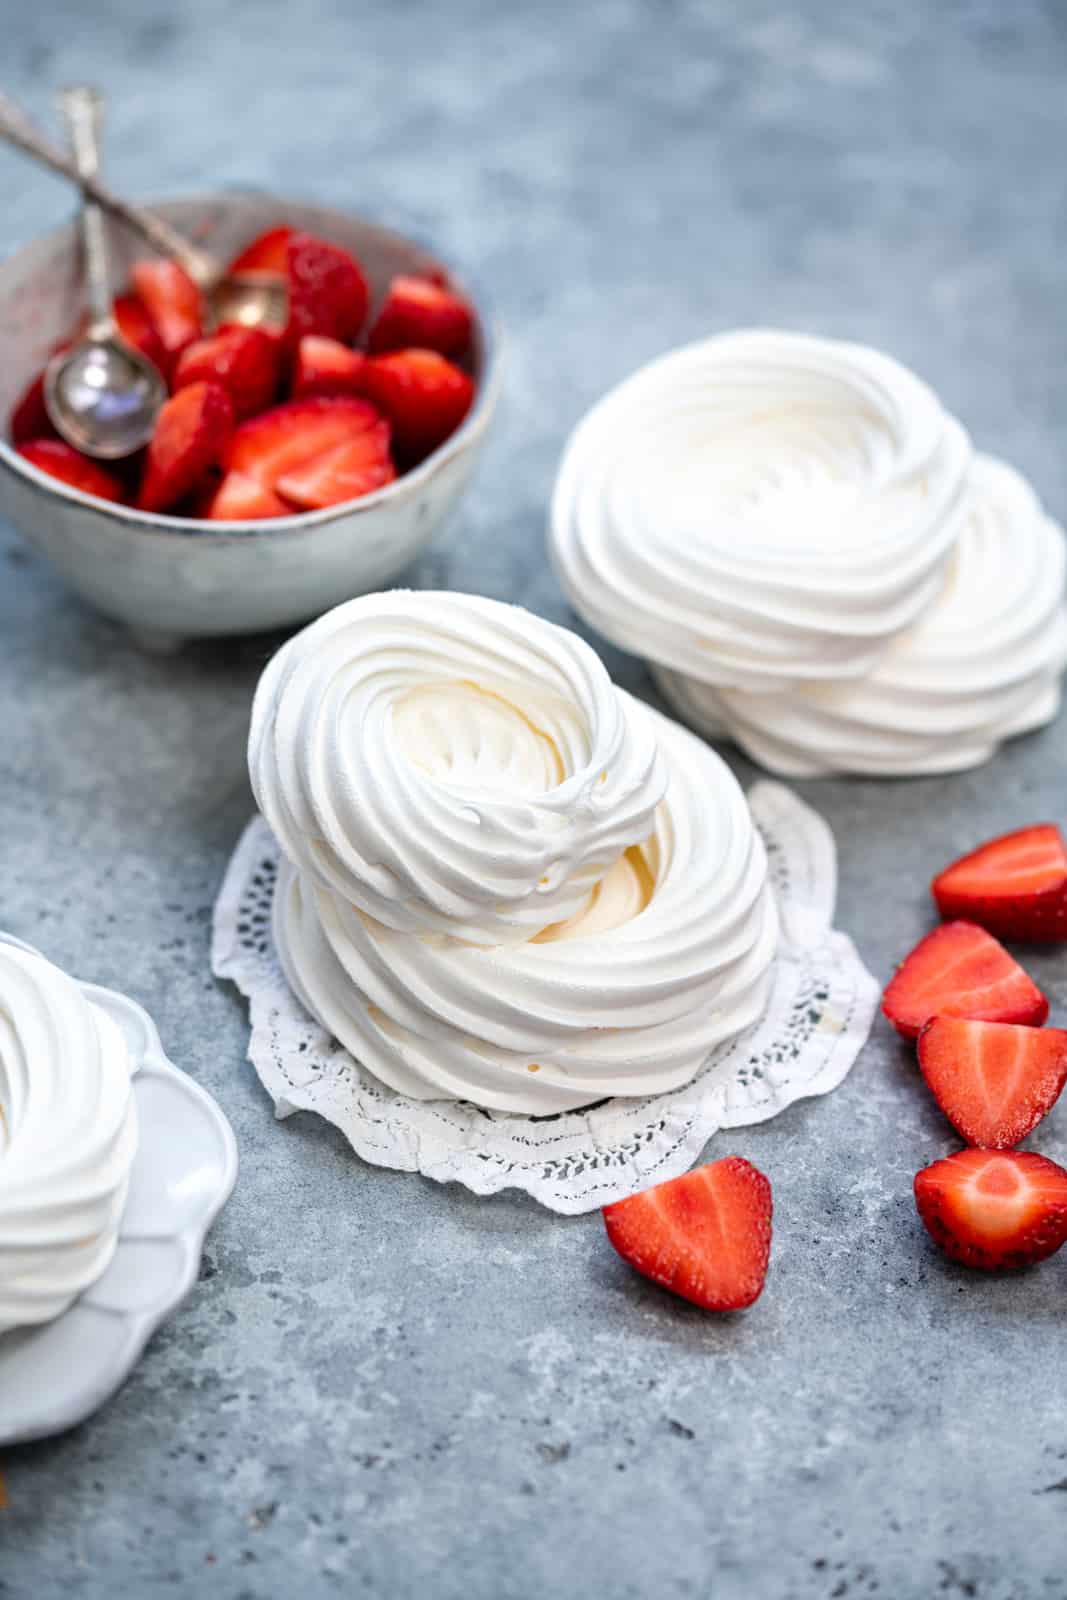
Perfect Meringue Nests are easy if you follow my step by step guide! My foolproof method makes snowy white, crispy meringues that can be filled to make mini pavlovas.
Check out my Perfect Macarons Recipe!
Post may contain affiliate links. For more information, check my disclosure
As you know, Pavlova is one of my absolute desserts. I just can’t resist the crispy meringue piled high with cream and fruit – it’s a true showstopper!
Making a big Pavlova is a great idea only if you have a big crowd of people ready to demolish it though. This beautiful dessert has a very short lifespan once it is filled – unless you eat it all at once you will end up with Eton Mess!
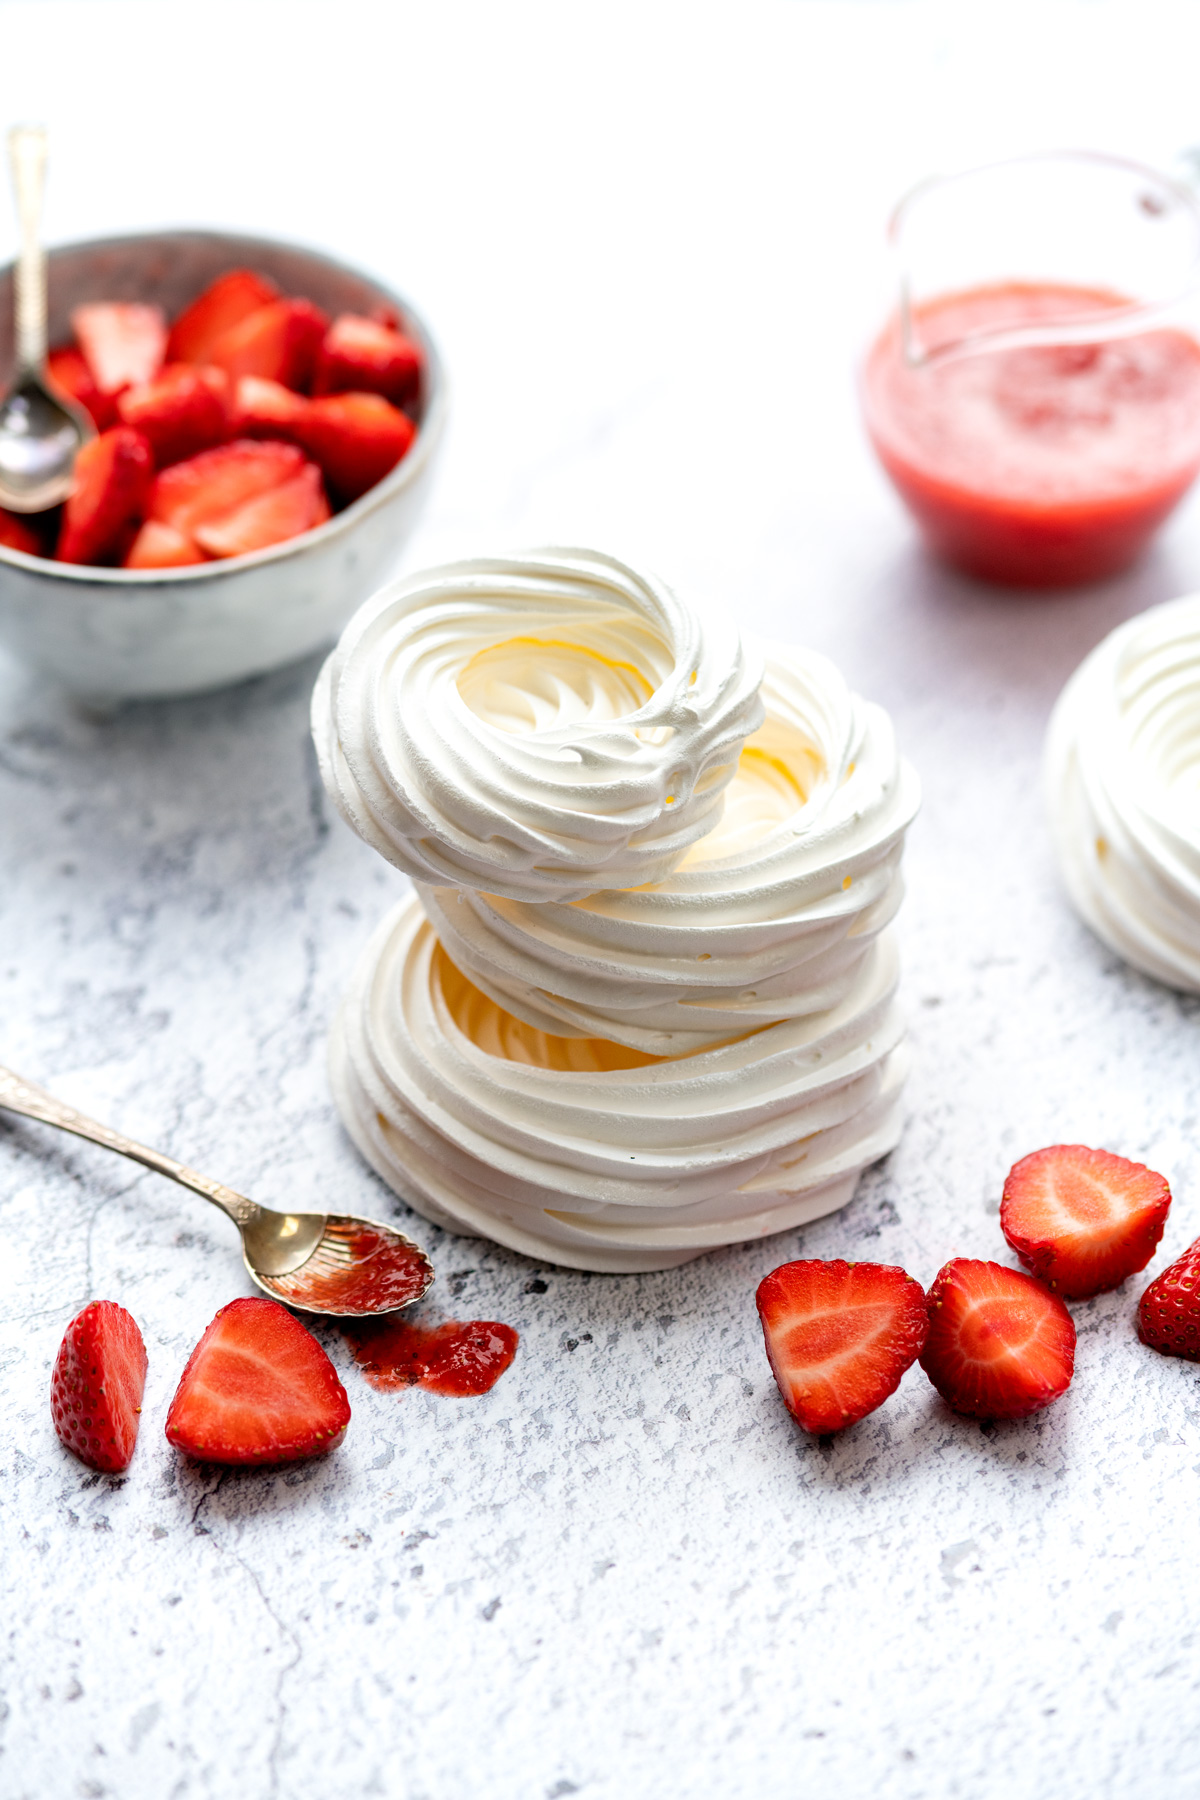
The solution? Make mini pavlovas! Individual servings that can be filled as and when you need them – genius am I right? Read my step by step instructions for how to make the perfect meringue nests.

Table of Contents
- Types of Meringue
- HOW TO MAKE MERINGUE NESTS
- Meringue Tips and Troubleshooting
- My meringue will not whip
- How to stop the meringue from cracking
- How to stop meringue from browning
- Fresh VS Pasteurized Egg Whites
- Egg White to Sugar Ratio
- Mini Pavlova Filling suggestions
- How many calories in a meringue nest
- Storing and Freezing Meringue
- Perfect Meringue Nests Recipe
Types of Meringue
Meringue is made up of two basic ingredients: egg whites and sugar. Simple, right? Yet there are no less than three types of meringue, all made with the same ingredients but differing in method. Let’s take a quick look – I promise this is relevant!
- French Meringue This is the simplest type of meringue made by whisking egg whites to stiff peaks while gradually adding sugar. This type of meringue is usually used for making meringue nests and Pavlova (take a look at my How to Make the Perfect Pavlova post).
- Swiss Meringue Egg whites and sugar are combined and heated over a pan of gently simmering water (double boiler) until they reach 55C/ 130F. They are then whisked to form a beautifully glossy and stable meringue which can be used to make Swiss Meringue buttercream or baked to make meringue nests.
- Italian Meringue In this meringue, hot sugar syrup is added to foamy egg whites and then whisked until glossy, dense and voluminous. This is considered the most stable type of meringue but it is also the trickiest.
Meringue nests are typically made using the French Meringue method. While the method is pretty easy, it can take a really long time for the sugar to be fully incorporated. And if the sugar is not fully dissolved, the meringue can “weep” (i.e. leak melted sugar) when it bakes.
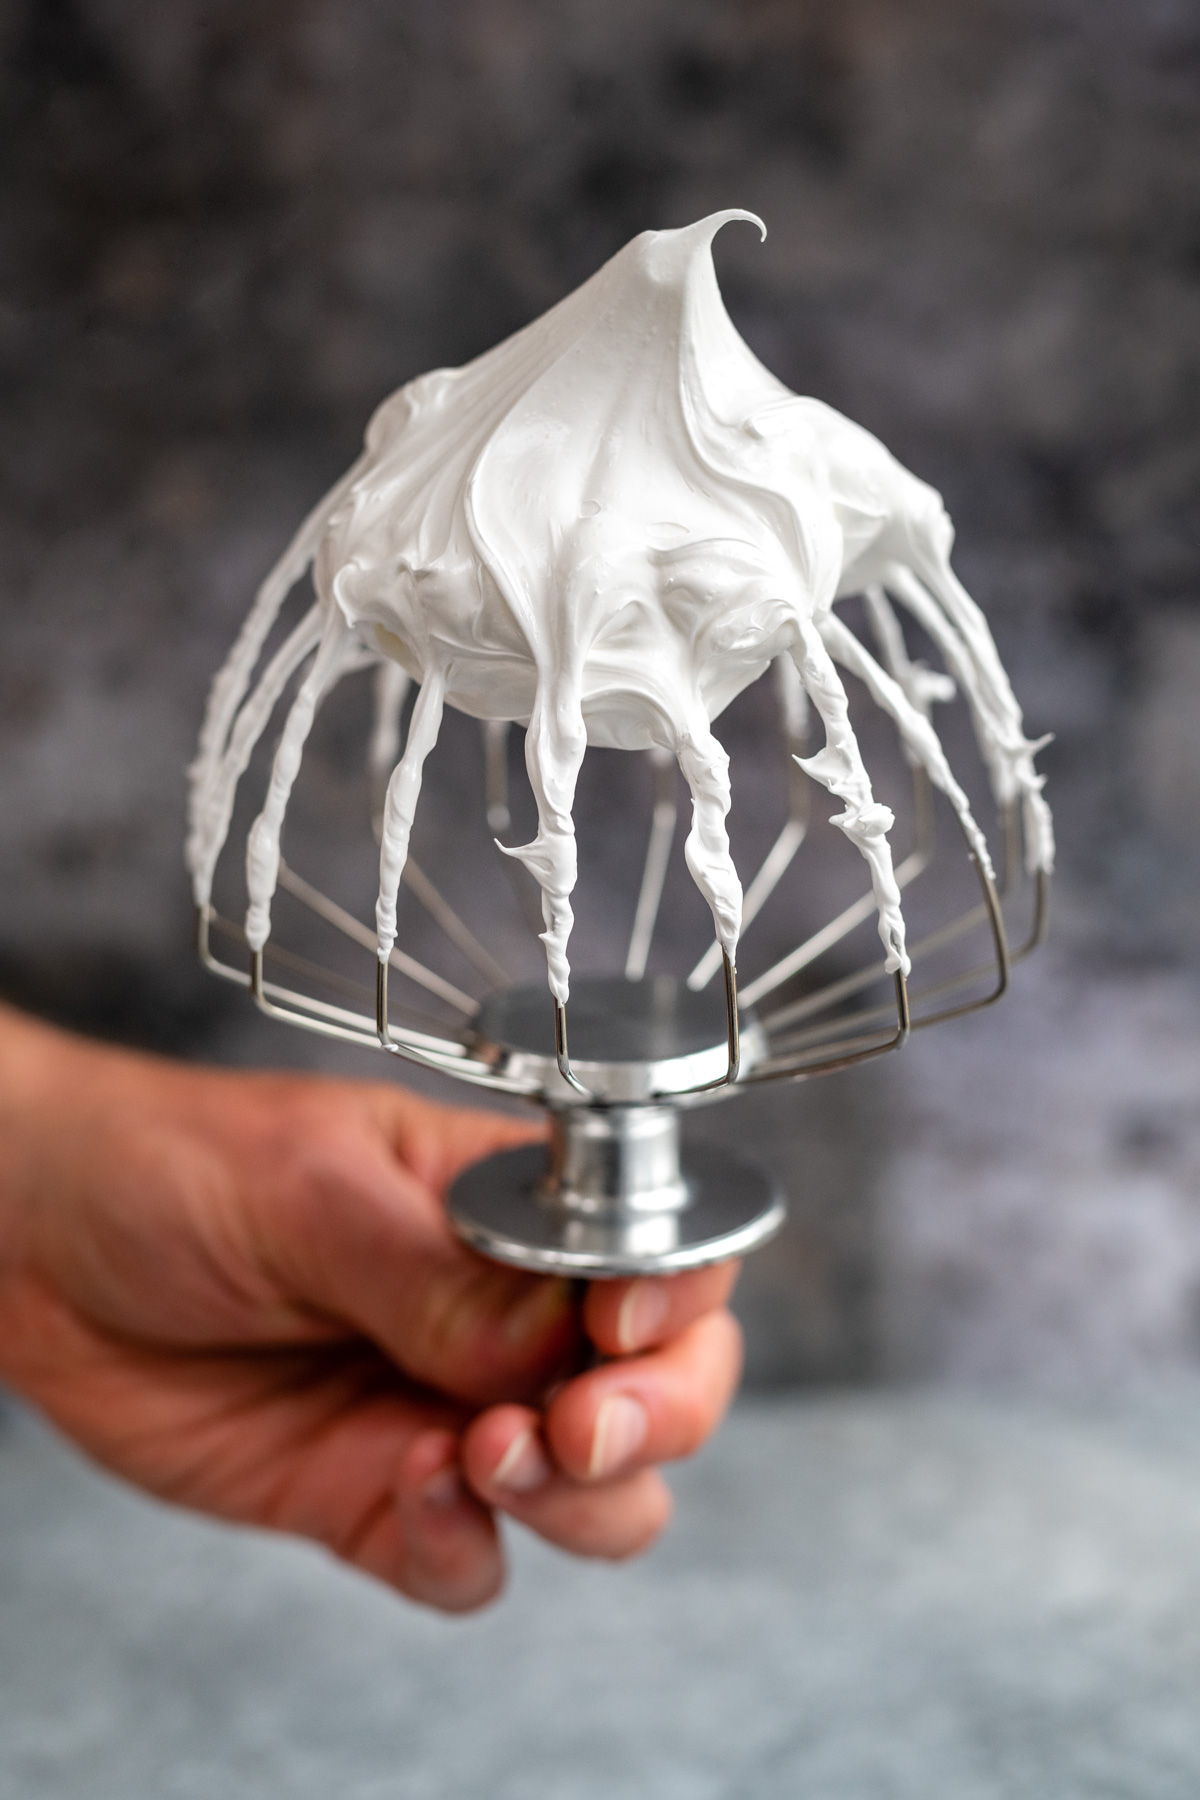
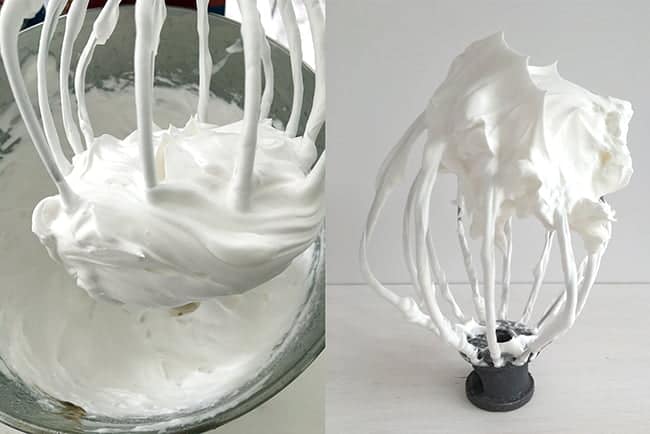
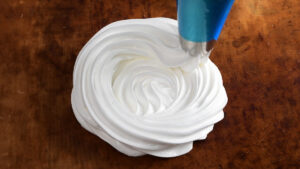
I prefer to use the Swiss Meringue method – that’s right I am a meringue rebel! This calls for one added step up front – heating the sugar and egg whites – but doesn’t require you to slowly add the sugar one tablespoon at a time. The sugar is already fully dissolved when you start whisking so the meringue is always perfect and pipes beautifully. Look at the perfect peak!
HOW TO MAKE MERINGUE NESTS
Full measurements and instructions can be found on the printable recipe card at the bottom of the page. Please take a look at the steps and video before attempting this recipe!
Preheat the oven to 80C /175 F Fan Setting or 100C / 210F normal setting. Mist two large baking trays with cake release and line with baking paper (I like these reusable liners). You want to secure the paper on the tray otherwise it might lift when you are piping the meringue.
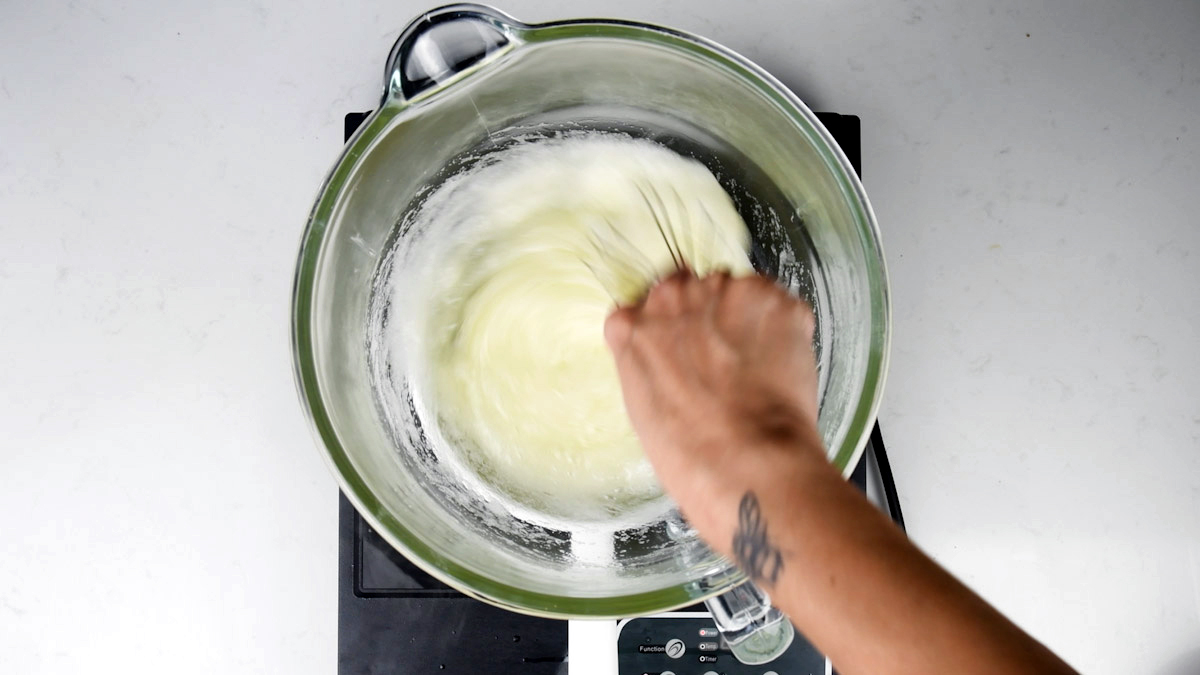
Wipe your stand mixer bowl with lemon juice or a little vinegar to make sure it is free or grease. Put the egg whites and sugar in the bowl of your stand mixer and set over a pot of barely simmering water, making sure the bottom of the bowl doesn’t come into contact with the water. Use a balloon whisk to lightly whisk the egg whites and encourage the sugar to dissolve.
If you have a digital thermometer you can check whether the mixture has reached the right temperature of 55C/ 130F. If not, simply check whether the sugar has dissolved by checking it between your fingers – if it is still gritty continue to heat while mixing for a little longer.
Dry the bottom of your mixing bowl and attach to the stand mixer. Whisk that high speed for about 5-7 minutes until the meringue forms perfectly stiff peaks.
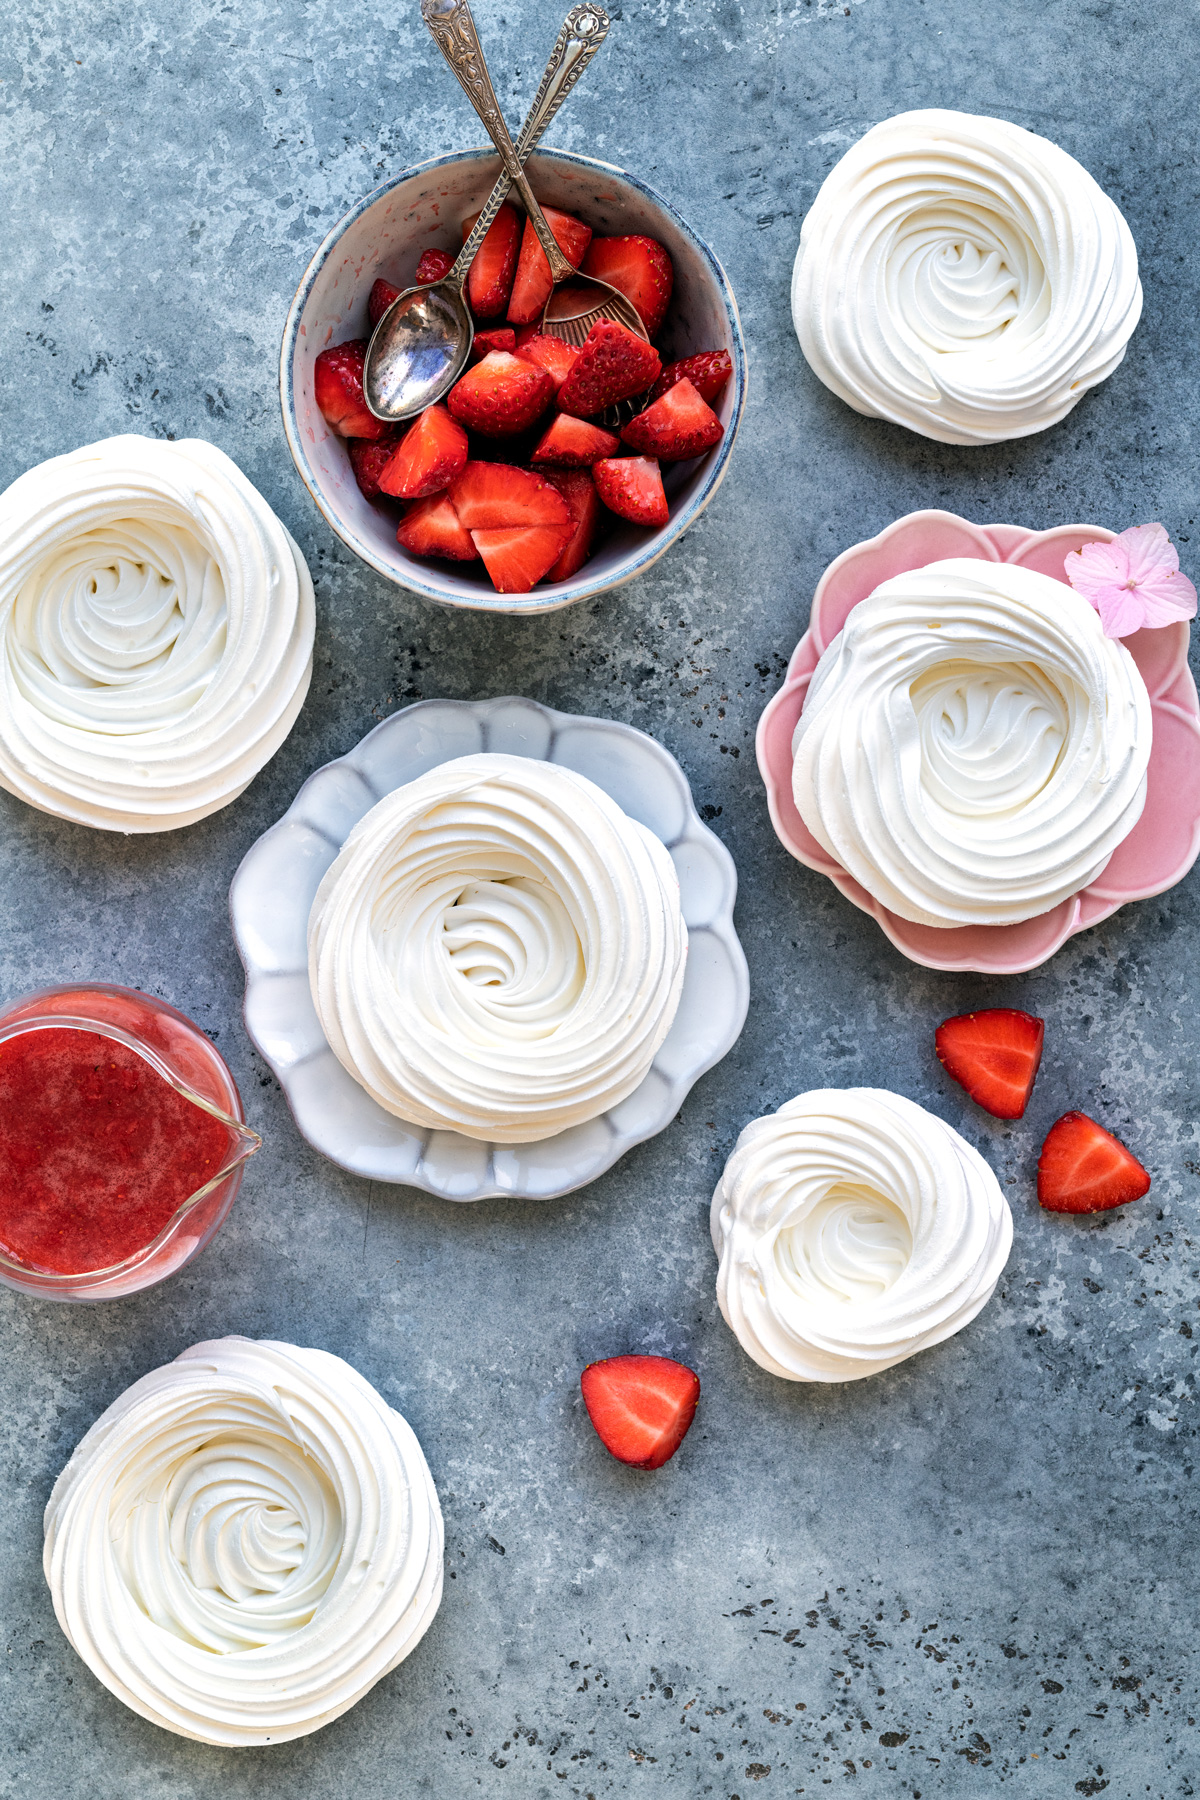
Transfer the meringue into a piping bag (I like these easy grip piping bags) fitted with a star nozzle. Pipe a dot in the centre of your meringue nest, then create a concentric circle. Continue piping in a single motion to build on the edges to create the meringue nest (see video).

Bake the meringue nests for 90 minutes. Turn the oven off and leave them in the oven until it cools down. Store the unfilled nests in an airtight container until you are ready to fill them or freeze to use at a later date.
Meringue Tips and Troubleshooting
Making meringue is very easy but there are a few things you should know! Follow these essential tips for perfect results every time.s
My meringue will not whip
Even a tiny amount of egg yolk or speck of grease will stop your meringue from whipping. I like to wipe the bowl of my stand mixer with lemon juice or vinegar to make sure it is meringue ready.
How to stop the meringue from cracking
You can avoid cracks in your meringue by keeping the oven temperature low and not opening the oven door too early. Leave your meringue to cool in the oven gradually to avoid sudden temperature changes which can cause it to crack.
How to stop meringue from browning
If you notice your meringue turning brown or beige then your oven is too hot. Even though the temperature I specify is very low, some ovens can run hot or have hot spots and uneven temperature. If you notice your meringue browning then turn the oven down by 10 degrees and cook for slightly longer next time you make this recipe.
Fresh VS Pasteurized Egg Whites
Pasteurized egg whites are so convenient when making meringue – no unwanted egg yolks to use up! I tested this meringue nest recipe with egg whites from a carton and it worked reasonably well. The meringue needed a full 10-12 minute whisking on maximum speed before it reached full volume, piped and baked well.
Using egg whites from actual eggs however was SO MUCH BETTER. The meringue reached perfect peaks with only 5 minutes of whisking and was a dream to pipe. If you are looking for meringue perfection I would advise you to use separated egg whites and put the egg yolks to good use in Spaghetti Carbonana.
Egg White to Sugar Ratio
I like to use a double the amount of sugar to egg whites in this recipe. One egg white is 30ml or 2 tablespoons (useful if using pasteurised egg whites). In this recipe I have used three egg whites (90ml / 6 tablespoons / slightly over ⅓ of a cup) and 180g (⅞ cup) sugar. This recipe can easily be doubled if you want to make more meringues.
Do I have to pipe the meringue nests?
You can simply spoon the meringue onto your baking tray and make a small indent in the centre if you don’t want to faff around with piping bags. This recipe is suitable for making meringue cookies / meringue kisses.

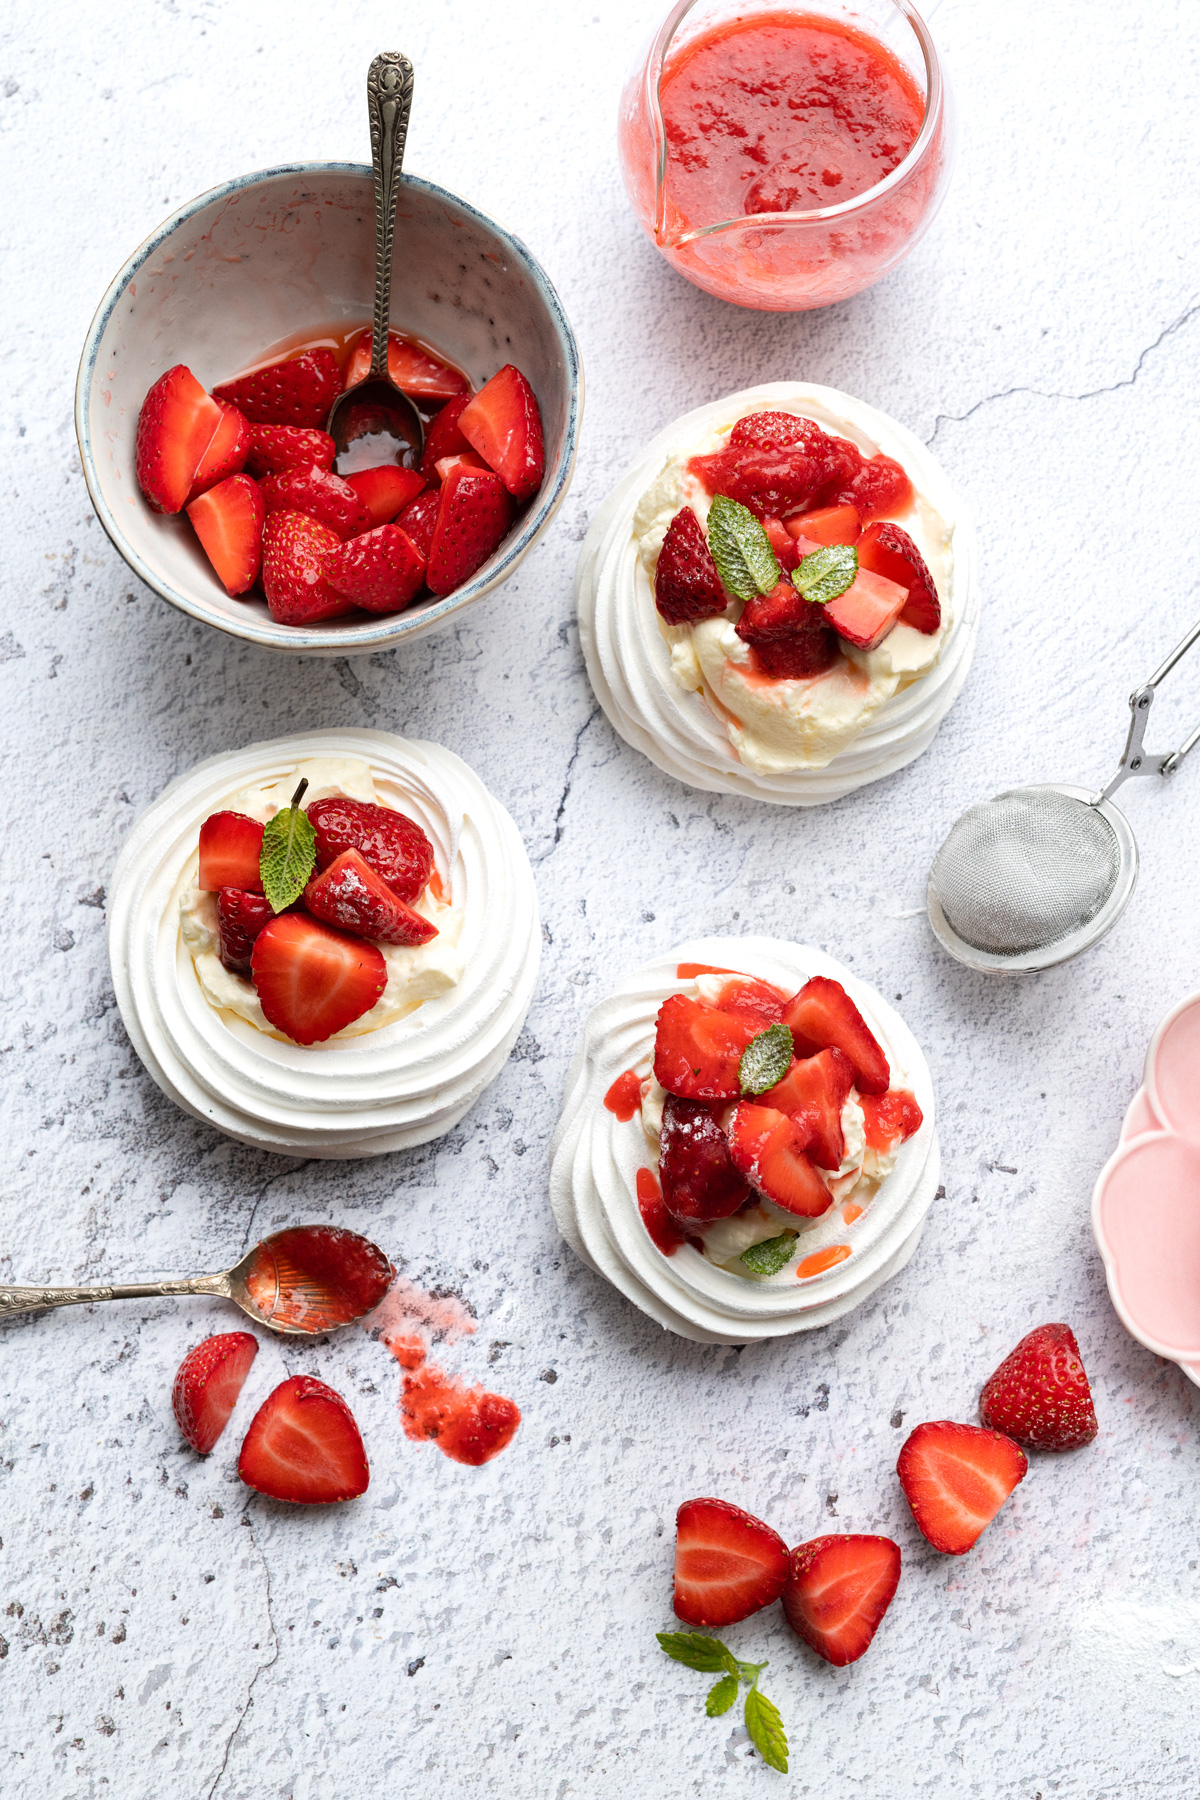
Mini Pavlova Filling suggestions
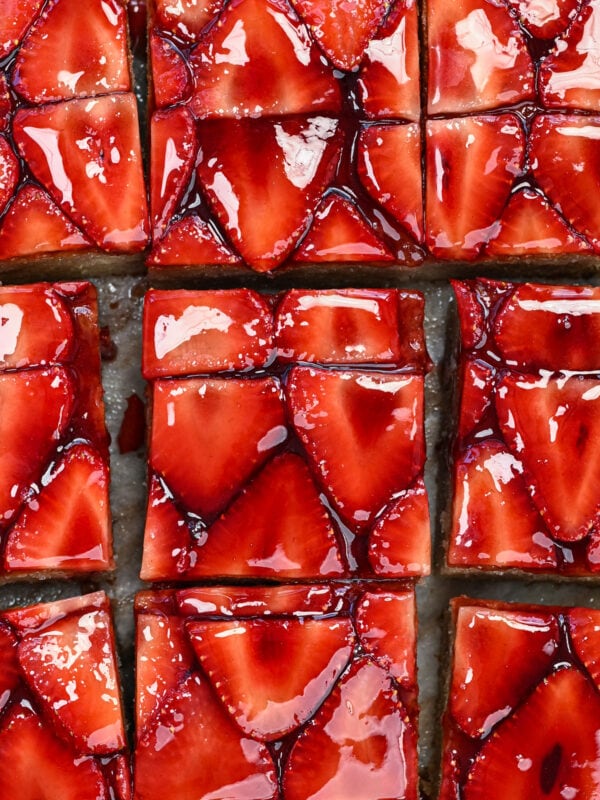
You can fill your meringue nests simply with softly whipped cream and fresh berries or tropical fruit for an easy summertime dessert. Lemon or any type of curd are also delicious to bring a little contrast to the sweetness.
Only fill your meringue nests when you are ready to serve them – the moisture from the cream and fruit will cause them to soften if filled too much in advance.
How many calories in a meringue nest
This recipe will make 6-8 nests, depending on size. Each is around 90 calories without any filling. If you are wondering how many SYNS in a meringue nest, it is approximately 4-5 (if making 8 nests with this recipe) making it a good option for Slimming World dessert.
Storing and Freezing Meringue
Moisture is the enemy of meringue so make sure you store in an airtight container. The meringue nests can last for several days if stored properly making them a great make-ahead dessert. Don’t leave meringues at room temperature after removing from the oven, store them as soon as they are cool enough unless you are using straight away.
How to freeze meringue Carefully stack the meringue nests in an airtight container, separated by greaseproof paper. Make sure not to crush them! Freeze for up to one month. You can fill the meringue nests straight from frozen and serve them straight away.
HAVE YOU MADE MY MERINGUE NESTS RECIPE? Post a photo on my Facebook page, share it on Instagram, or save it to Pinterest with the tag #supergoldenbakes and make my day!

Perfect Meringue Nests
Video
Ingredients
Meringue Nests
- 3 egg whites or 90g (just over ⅓ cup) pasteurised egg whites
- 180 g (1 cup minus 2 tbsp) sugar
- 1 tsp vanilla extract (optional)
Filling Suggestions
- double cream whisked to soft peaks
- fresh strawberries or other berries
- lemon or other types of curd
- icing sugar to dust
Instructions
Preheat the oven and prep your baking Trays
- Preheat the oven to 80C /175 F Fan Setting or 100C / 210F normal setting. Mist two large baking sheets with cake release and line with baking paper (I like these reusable liners). You want to secure the paper on the tray otherwise it might lift when you are piping the meringue.
Make the meringue
- Put the egg whites and sugar in the bowl of your stand mixer. Set this over a pot of barely simmering water, making sure the bottom of the bowl doesn’t come into contact with the water. Use a balloon whisk to lightly whisk the egg whites and encourage the sugar to dissolve.
- If you have a digital thermometer you can check whether the mixture has reached the right temperature of 55C/ 130F. If not, simply check whether the sugar has dissolved d by checking it between your fingers – if it is still gritty continue to heat while mixing for a little longer.
- Dry the bottom of your mixing bowl and attach to the stand mixer. Add the vanilla extract and whisk at maximum speed for 5-7 minutes, or until the meringue forms perfectly stiff peaks.
Pipe the Meringue Nests
- Transfer the meringue into a piping bag fitted with a star nozzle. Pipe a dot in the centre of your meringue nest, then create a concentric circle. Continue piping in a single motion to build on the edges to create the meringue nest (see video).

- Use the remaining meringue to pipe up to 8 small or 6 medium meringue nests, spaced slightly apart on the tray.
Bake The Meringue Nests
- Bake the meringue nests for 90 minutes.
- Turn the oven off and leave the meringues to cool in the oven until it cools down – don’t open the door!
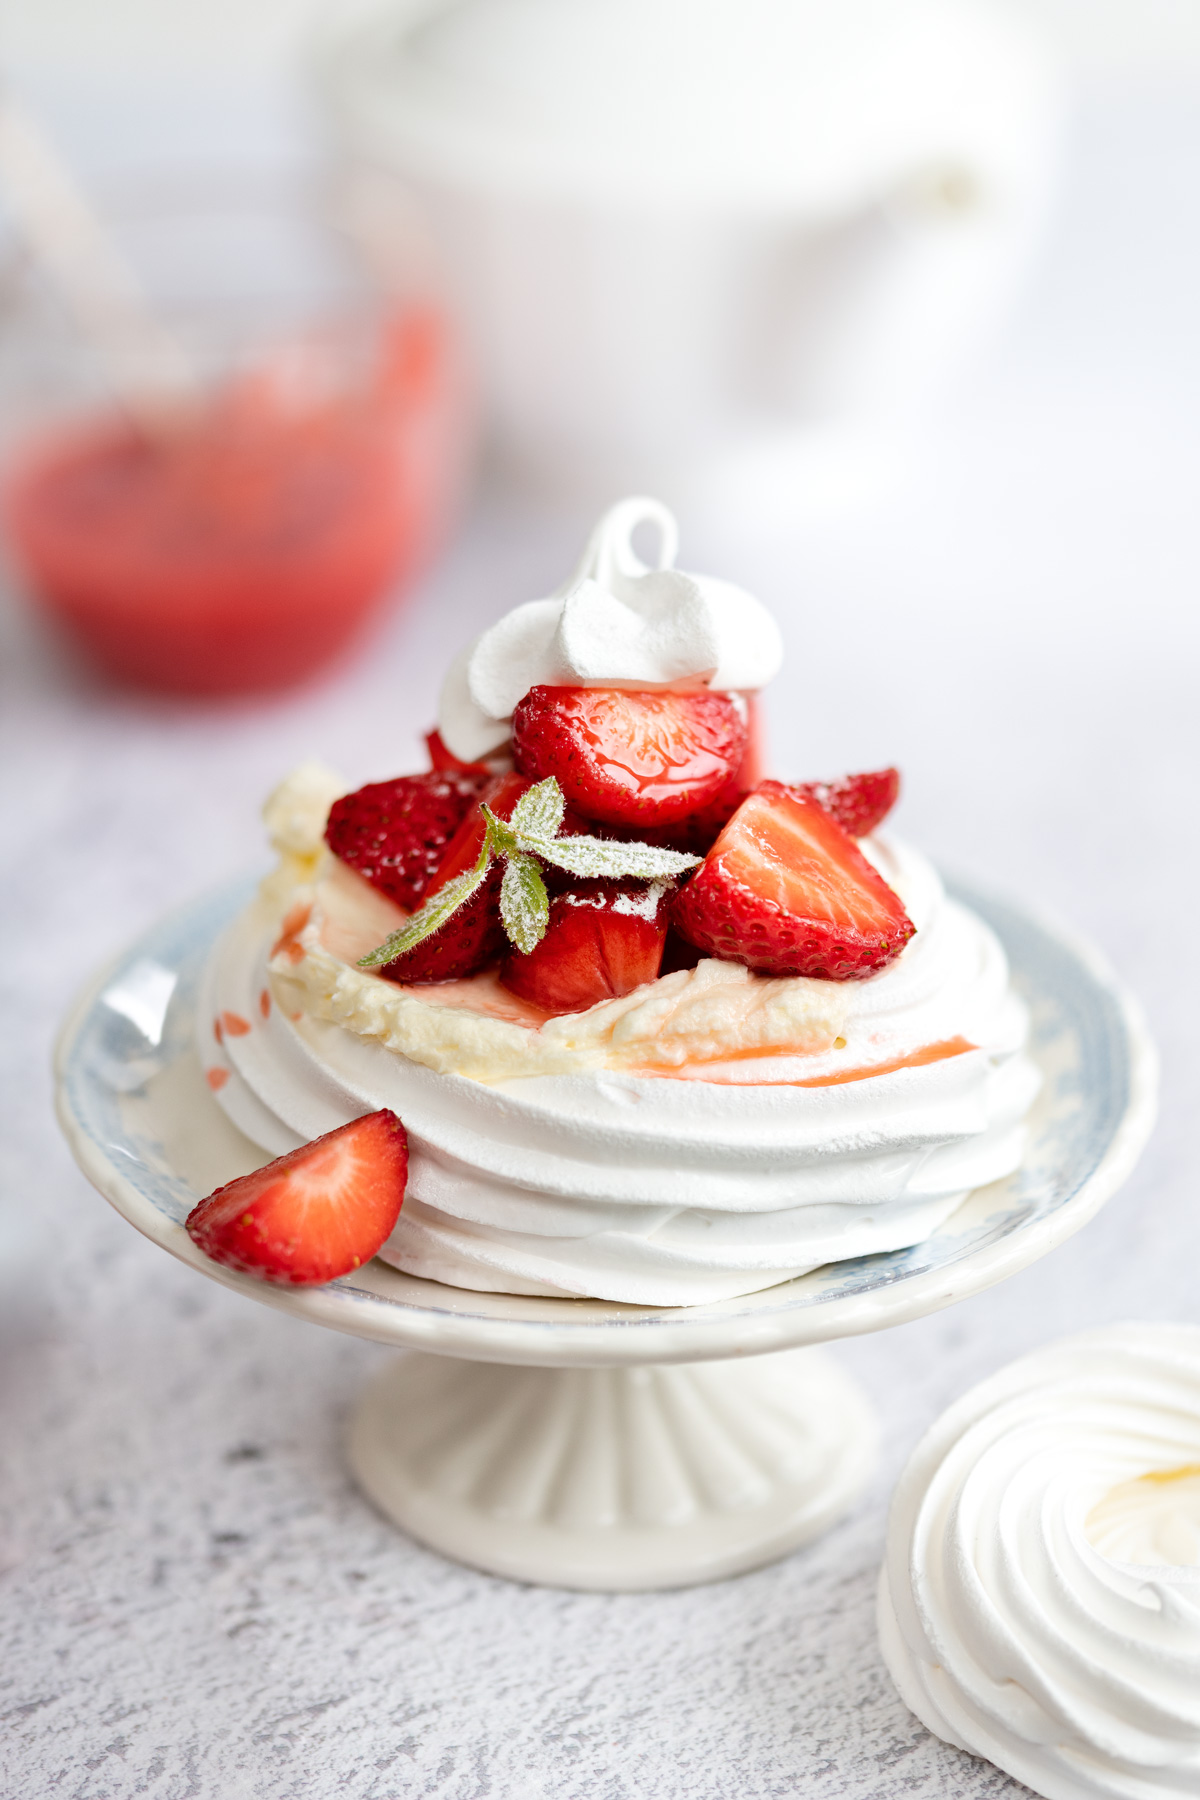
Fill and Serve
- Spoon softly whipped cream over your meringue nests and top with fresh strawberries or your choice of fruit. Dust with a little icing sugar and serve immediately.
Nutrition
Nutritional information is always approximate, and will depend on quality of ingredients and serving sizes.
ALL IMAGES AND CONTENT ON SUPERGOLDEN BAKES ARE COPYRIGHT PROTECTED. IF YOU WISH TO SHARE THIS RECIPE, THEN PLEASE DO SO BY USING THE SHARE BUTTONS PROVIDED. DO NOT SCREENSHOT / POST RECIPE OR CONTENT IN FULL.


Your comments here looked positive so I decided to try it out. I’m an experienced cook and have made hard meringue quite a few times.
I’ve had them cooking for 2 hrs.. still not dried out… someone here commented perfect, I’m not getting that… so I’ve left them in the oven on 85 and I’ll leave them for an hour.
Hi Helen – you need to let them dry in the oven for several hours after the oven has been turned off. Moisture can affect the texture of meringue and ovens can vary!
I like this recipe, going to experiment.
Do I leave the oven door closed after they are baked? My oven has a fan that turns on after my hot oven is turned off. Will that affect the meringue cups?
You can prop the door slightly open if you like.
This recipe never fails and I have certainly tried many!
hi, will this work with a whisk over the heat and then a hand mixer vs a balloon whisk? That’s all I have – a hand mixer. Thank you
When I tried this it did not work even after whisking for ages. I think a hand mixer is not powerful enough
I tried making this with a hand mixer because it’s all I had too. It took over 20 minutes of beating, but it did work! Probably took 23 minutes. I switched off mixing with other family members because otherwise my arm would have fallen off.
Great recipe!
yes, you are right – they worked beautifully, I would say prefect!!
Thanks Libby! Have a wonderful Christmas xxx