
Low Sugar Berry Jam

, Updated Aug 28, 2026
This post may contain affiliate links. Please read our disclosure policy.
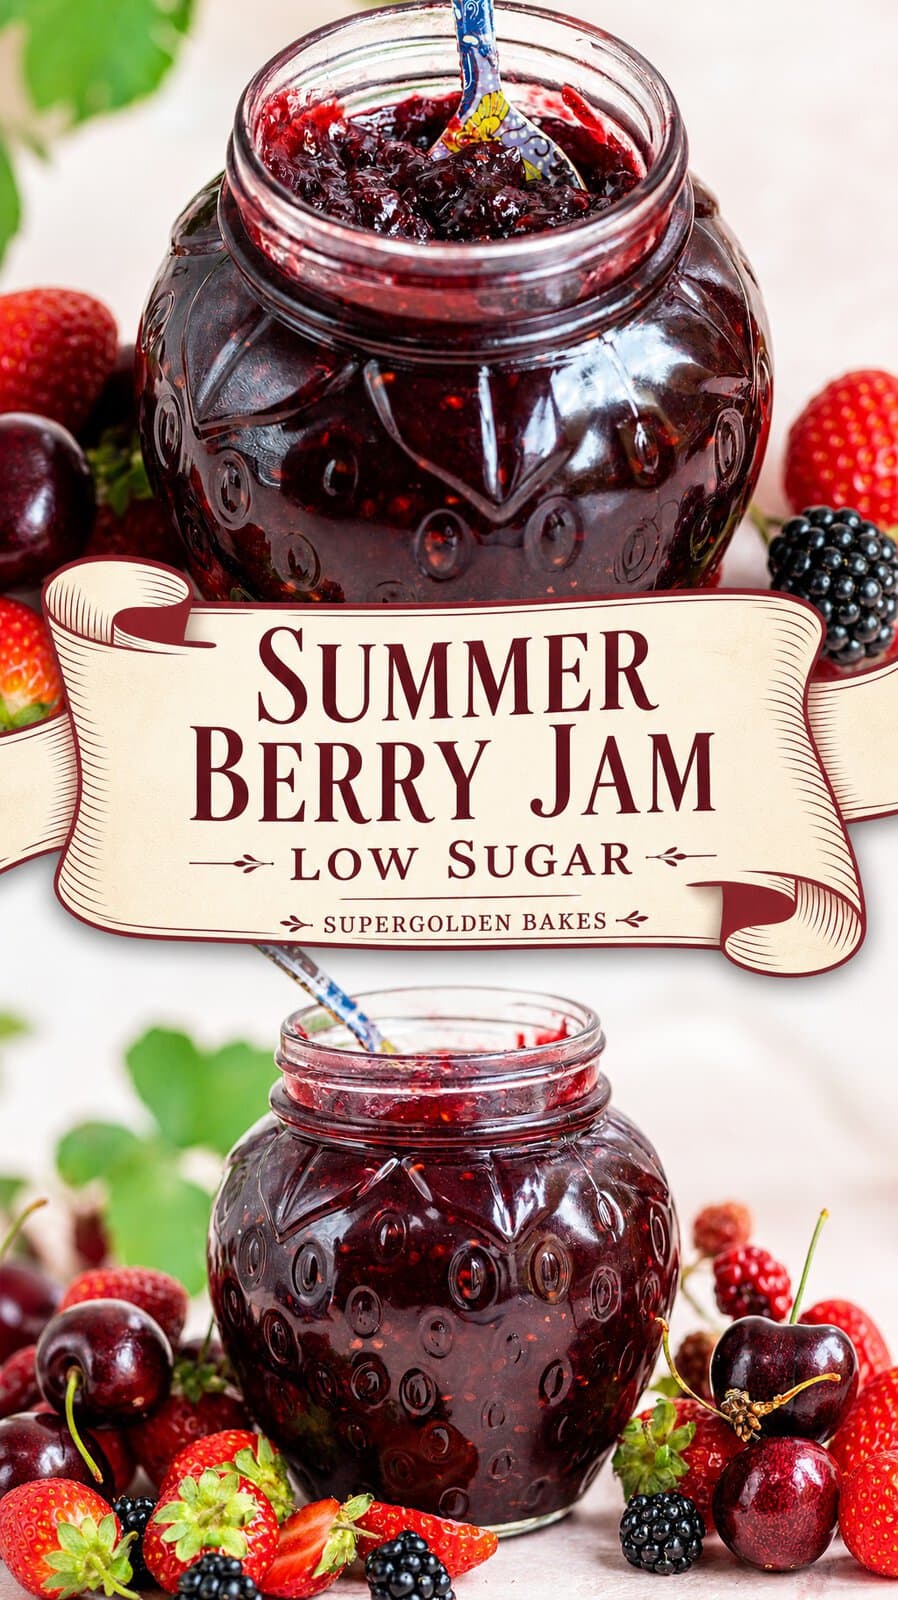
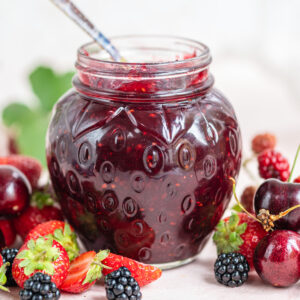
Bursting with vibrant summer flavor, this Cherry Berry Jam contains 50% less sugar than traditional recipes. If you love the idea of a pantry stacked high with homemade preserves but crave a lighter, truly fruit-forward bite, this is the perfect spread for you.
If you like this recipe, why not try out my Easy Blackberry Jam!
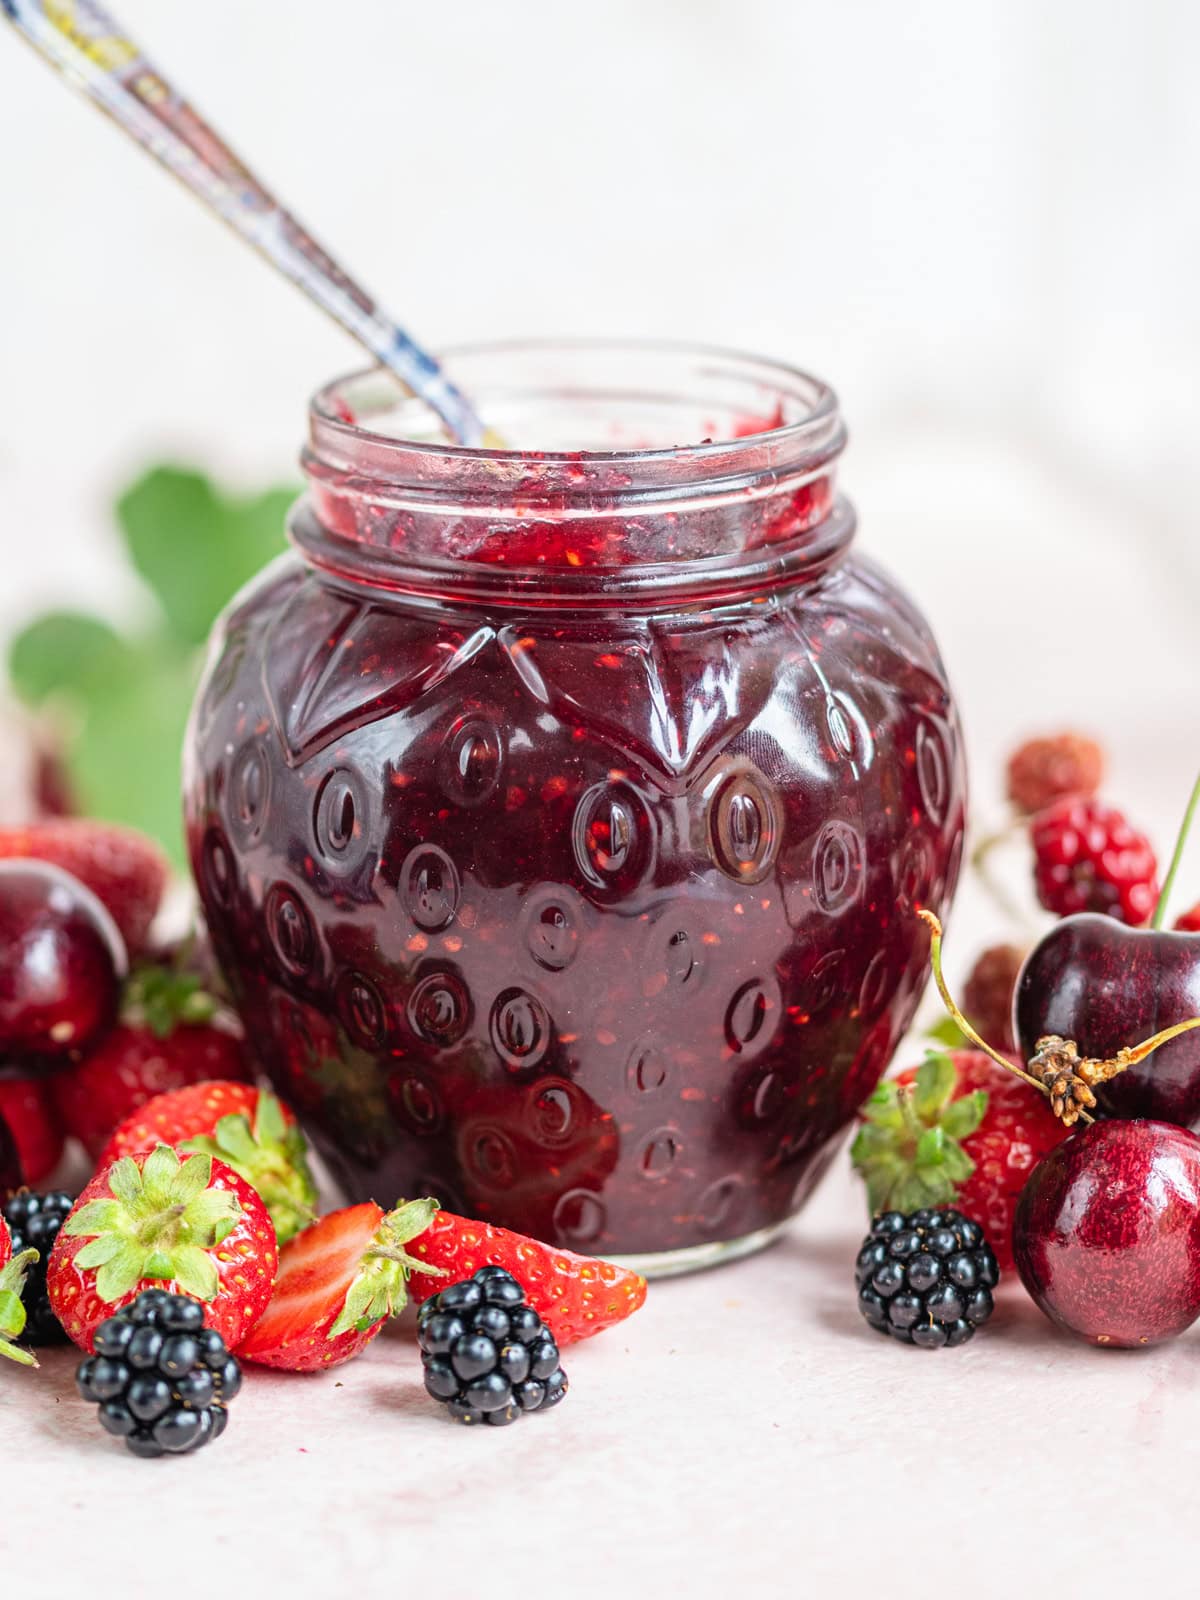
Back in 2016 (an entire DECADE ago!) I posted this recipe for reduced sugar cherry berry jam made using automatic jam maker. Today we’re going old-school with a simple stovetop version of the original recipe.
I have swapped the raspberries for beautifully tart, foraged blackberries to go with our sweet cherries and strawberries. If you want to capture the absolute best of summer berries in your homemade preserves without a ton of fuss, you’re in the right place!
Making Low Sugar Jam
Traditional jam typically relies on a strict 1:1 ratio of fruit to sugar to create a gel and keep it preserved. This recipe uses a whopping 50% less sugar letting the beautiful vibrant flavors of the fruit truly shine.
The KEY to a low-sugar jam is the right type of pectin: look for “low-sugar” or “no-sugar-needed” pectin. Brands like Ball® Low or No-Sugar Pectin, Certo or Sure-Jell will give you that perfect, spreadable texture every time.
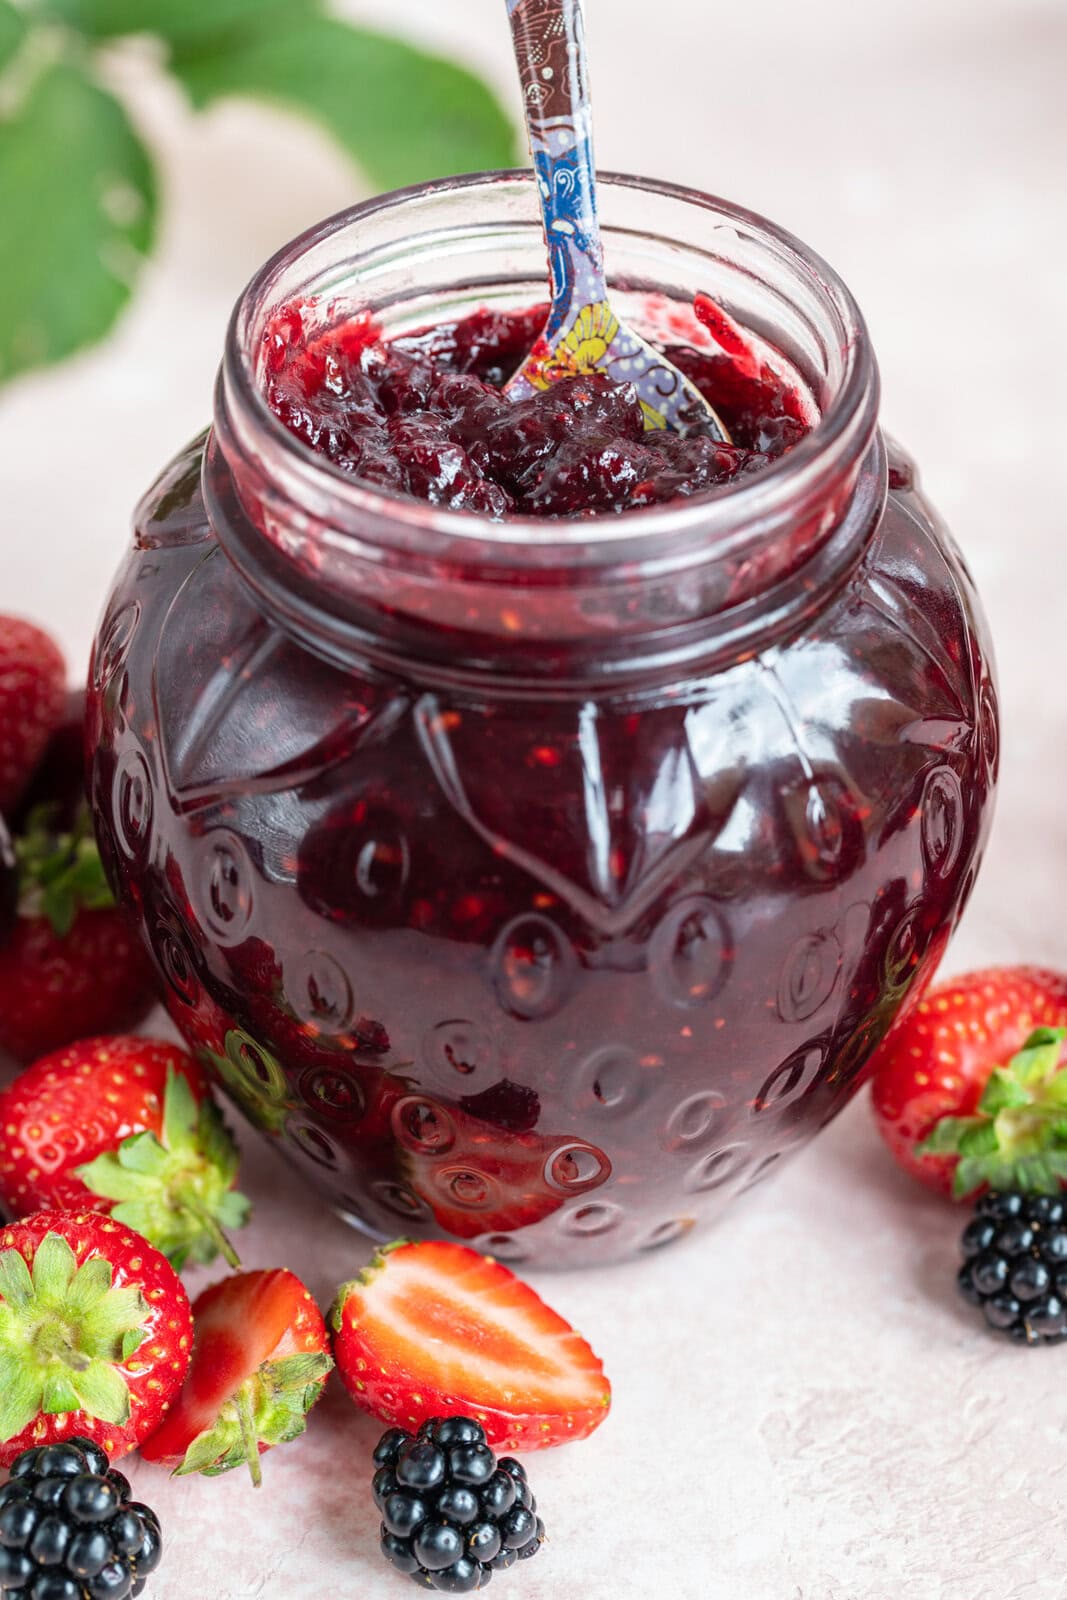
What you’ll need
- Choose the Best Berries: Great jam starts with great fruit. Keep an eye on seasonal availability and visit your local farmers markets for peak-season sweet cherries and strawberries. I used foraged blackberries instead of raspberries this time around but you can swap the berries as long as you keep the same amount of fruit.
👉 Pro tip: Mix a few slightly underripe berries in with your soft, ripe ones – they pack more natural pectin! - Stovetop vs Jam Makers: I used to rely on my Ball Jam Maker for this recipe. While that appliance (or competing brands like Cuisinart jam makers) is brilliant for hands-off cooking, making a stovetop cooked jam lets you keep a close eye on the bubbling fruit so you can nail that perfect setting point and ensure the best results.
- Using Frozen Fruit: This is fantastic shortcut as the freezing process breaks down the cell walls of the fruit, helping them to soften and release their brilliant, ruby-red juices much faster. Frozen fruit is generally more affordable as well – just let it thaw in the fridge overnight before using.
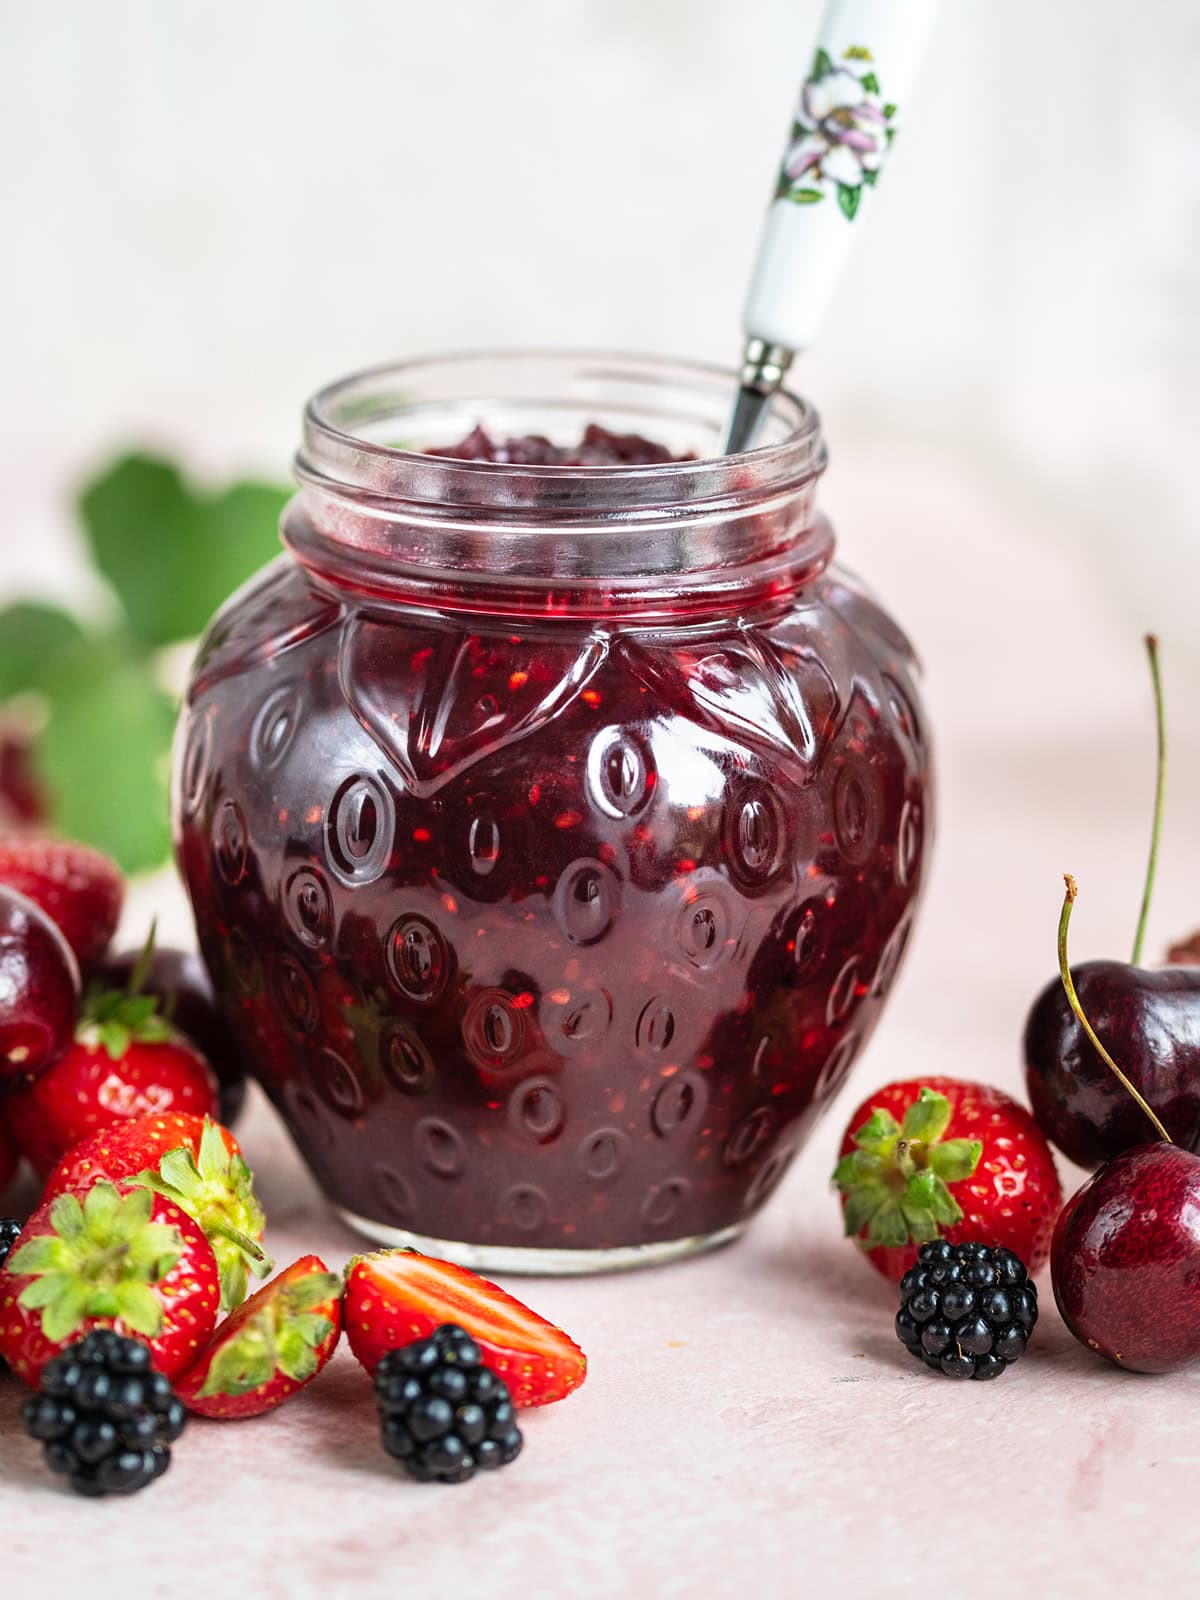
Tips for the Perfect Cherry Berry Jam
Creating a reliable cherry berry jam recipe at home is incredibly rewarding. Here are my favorite tips for stovetop success:
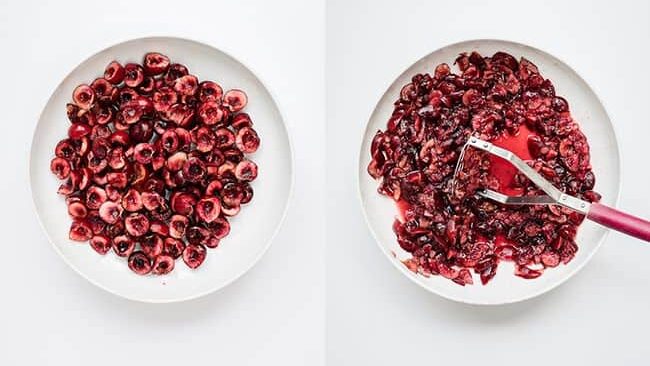
- Prep the Fruit: Wash, stem and pit your sweet cherries. Hull the strawberries and gently rinse your foraged blackberries. Give them a rough crush with a potato masher – we want some lovely chunky bits left over!
- The Right Pectin Ratio: Different fruit combinations work beautifully with this reduced sugar jam technique. Cherries are naturally quite low in pectin, so pairing them with berries and using 3-to-4 tablespoons of low-sugar pectin powder ensures a gorgeous set.
- Don’t Skip the Lemon Juice: Adding 2 tablespoons of lemon juice does more than just add zing. The acidity helps coax the natural pectin out of the fruit and perfectly balances the sweetness.
- Beyond the Toast: What are the best ways to use homemade berry jam beyond toast? Swirl it into the batter of an Ultra-Moist Whole Lemon Cake, use it to fill a classic Victoria Sponge or spread it on a toasted slice of sourdough bread (my idea of heaven!).
How to Make Reduced Sugar Berry Jam
Prep and crush your fruit
- Wash, stem, and pit your cherries (or use frozen pitted cherries for convenience). Hull the strawberries and roughly chop them.
- Soak your foraged blackberries in cold water with a splash of white vinegar for 10–15 minutes to remove dust, then rinse gently with fresh water.
- Measure out exactly 32oz / 900g (about 4 cups) of fruit, add them to a large pot, and give them a good mash with a potato masher.
Macerate the fruit
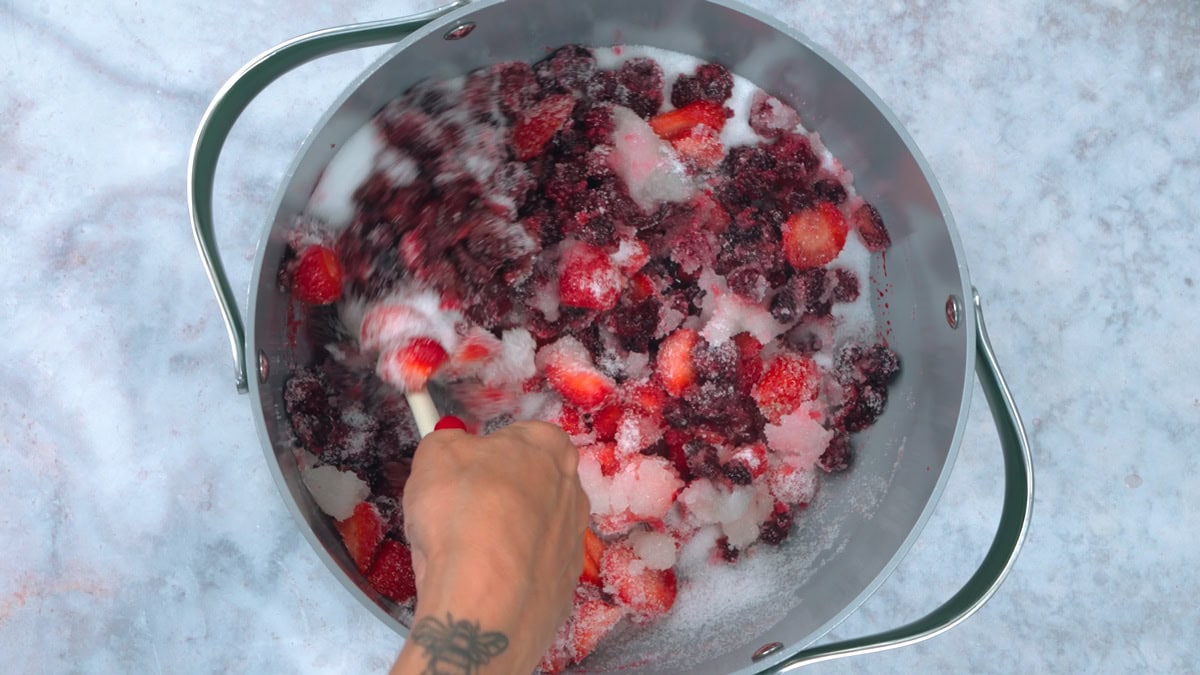
- Add your lemon juice and all of your sugar (minus 2 tablespoons – set those aside for the next step!) to the crushed fruit and stir well.
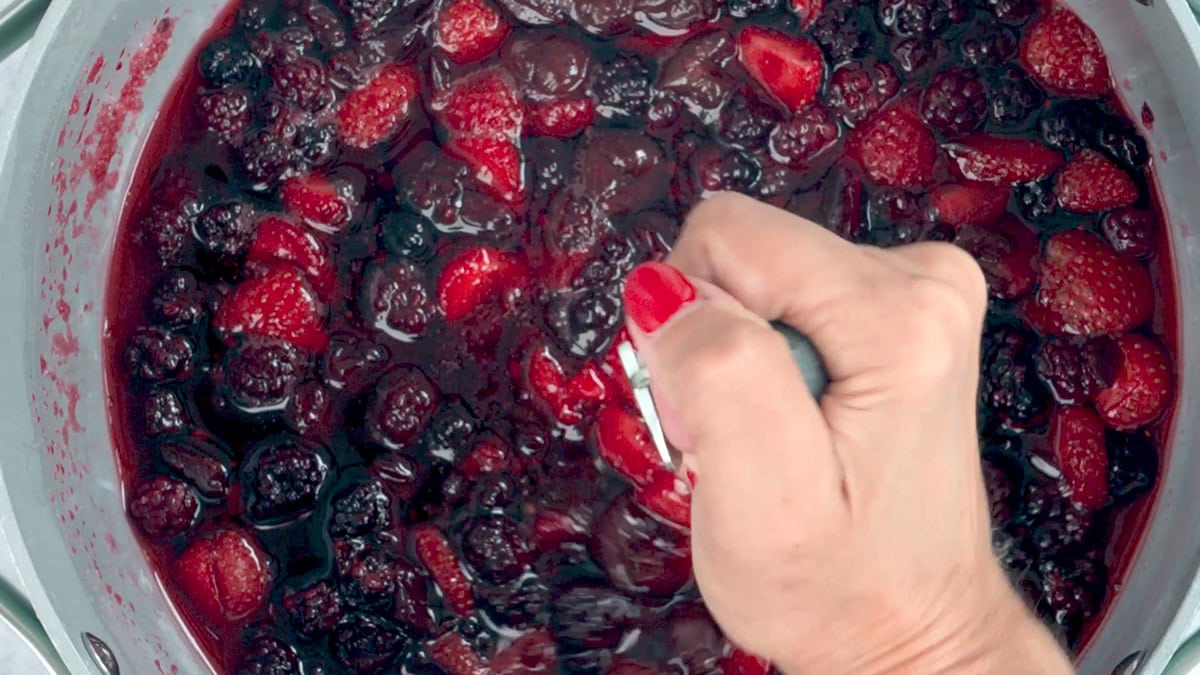
- Leave the pot on the counter for 2 hours or cover and macerate overnight in the fridge. This allows the sugar to draw out the natural juices from the fruit.
Prepare your pectin jelly
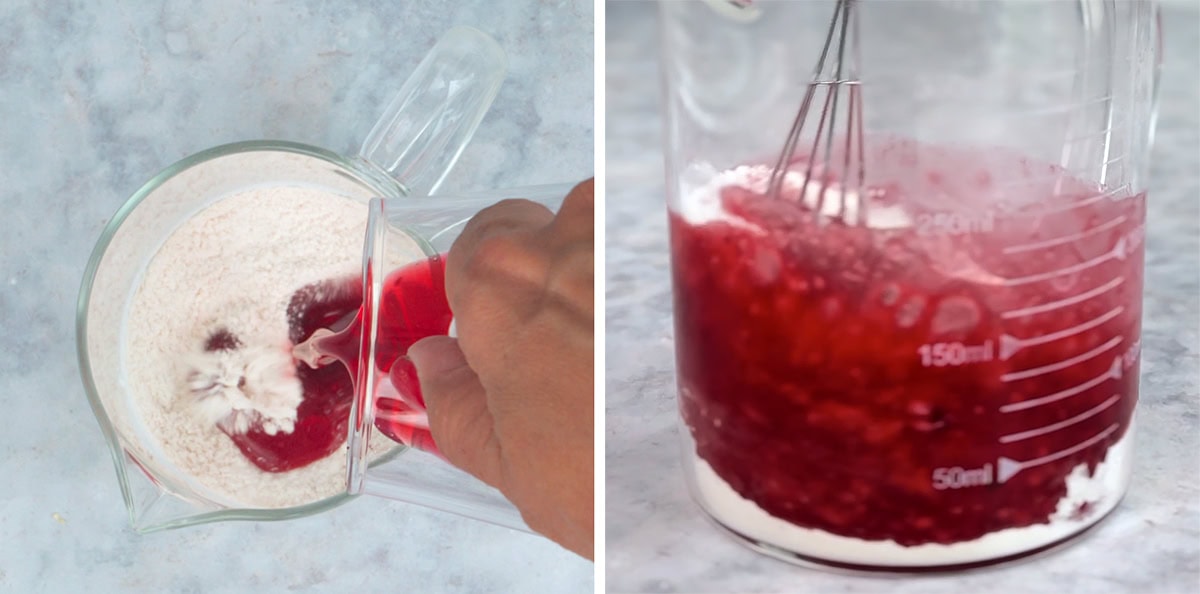
- In a small bowl, stir together your pectin powder and the sugar you set aside. Add 2-3 ladlefuls of the sweet juice released by your macerated fruit and stir well to combine – a handheld coffee frother is absolutely brilliant for this task. You want the pectin to be fully dissolved without any lumps! Set aside.
Make the jam
- Place your pot of macerated fruit on the stove over medium-high heat. Bring the mixture to a “full rolling boil” and let it boil for 2 to 3 minutes. (A full rolling boil means the jam is bubbling so vigorously that it doesn’t stop boiling even when you are stirring it). Stir constantly to prevent burning.
👉 Pro tip: If you notice a lot of foam, drop ½ teaspoon of butter into the pot now to magically disperse it!
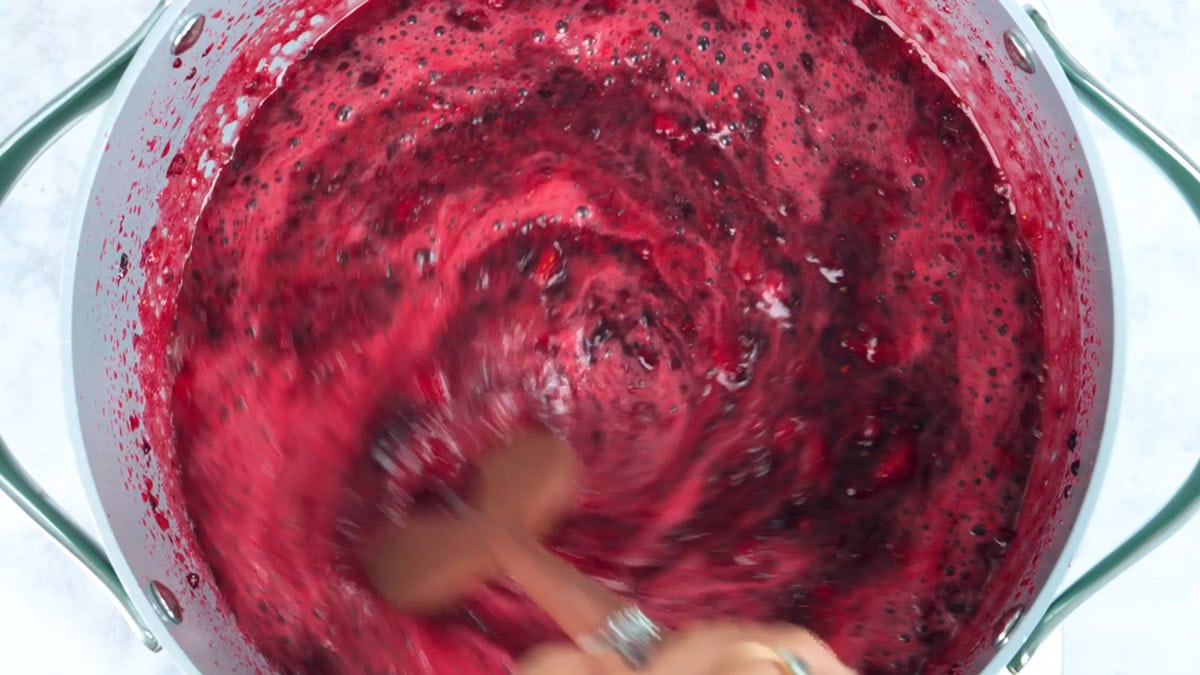
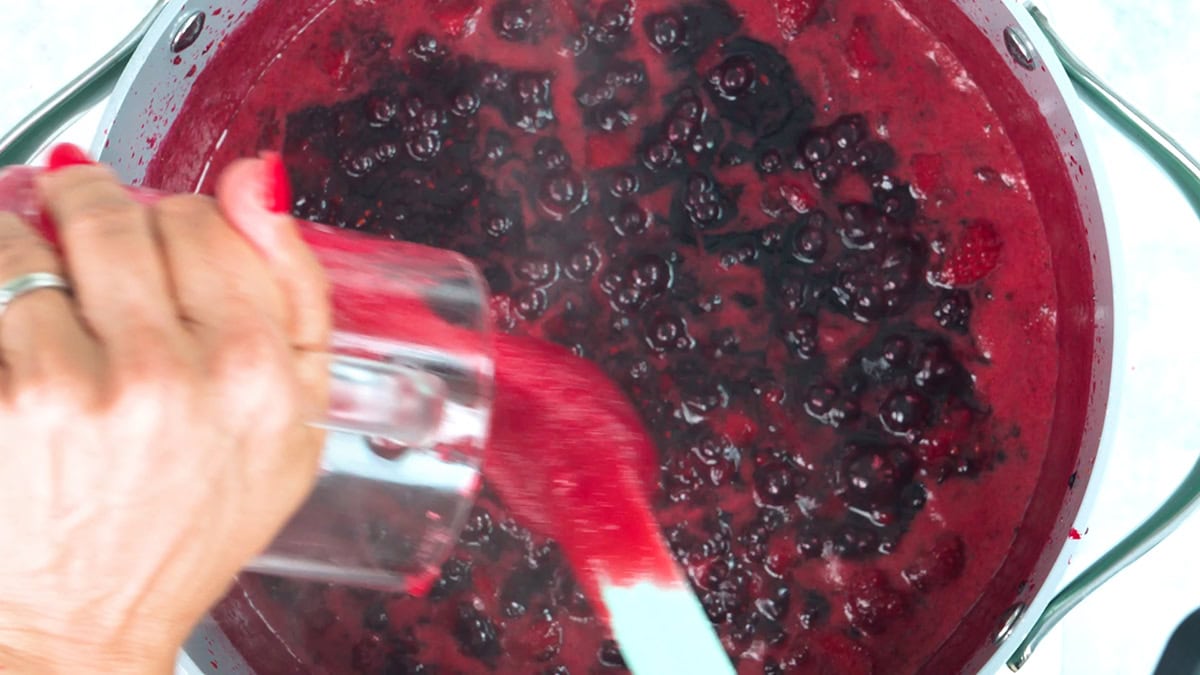
- Scrape the pectin jelly prepared earlier into the boiling fruit and stir quickly to dissolve it completely. Bring the mixture back up to a full rolling boil and set a timer for exactly 1 minute boiling hard the entire time.
Fill the jars and store
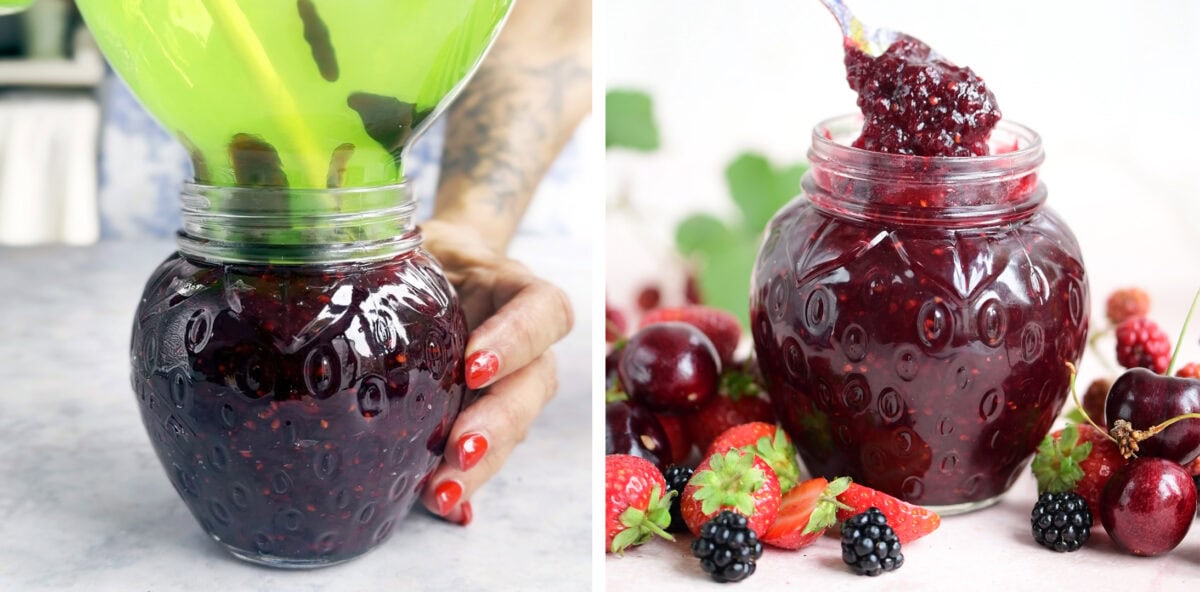
- Remove the pot from the heat. If there is any lingering foam on top, skim it off with a spoon. Carefully ladle the hot jam into warm, sterilized jars using a funnel, leaving ¼-inch of space at the top.
- Gently run a amall silicone spatula or a wooden skewer around the inside edge of the jar. Push inward slightly to allow any trapped air pockets to escape.
- Dampen a clean cloth and thoroughly wipe the very top rim and the glass threads of the jar.
- Place your lids on top and screw the bands on until snug. You can use standard metal canning lids, or reusable plastic storage caps since you aren’t boiling them.
- Place jars on a towel and leave them to cool down for 1–2 hours. Once the jars feel cool to the touch, move them into the fridge. Your jam will stay fresh in the refrigerator for 2-3 weeks (see recipe notes for canning tips).
Cleaning Foraged Fruit
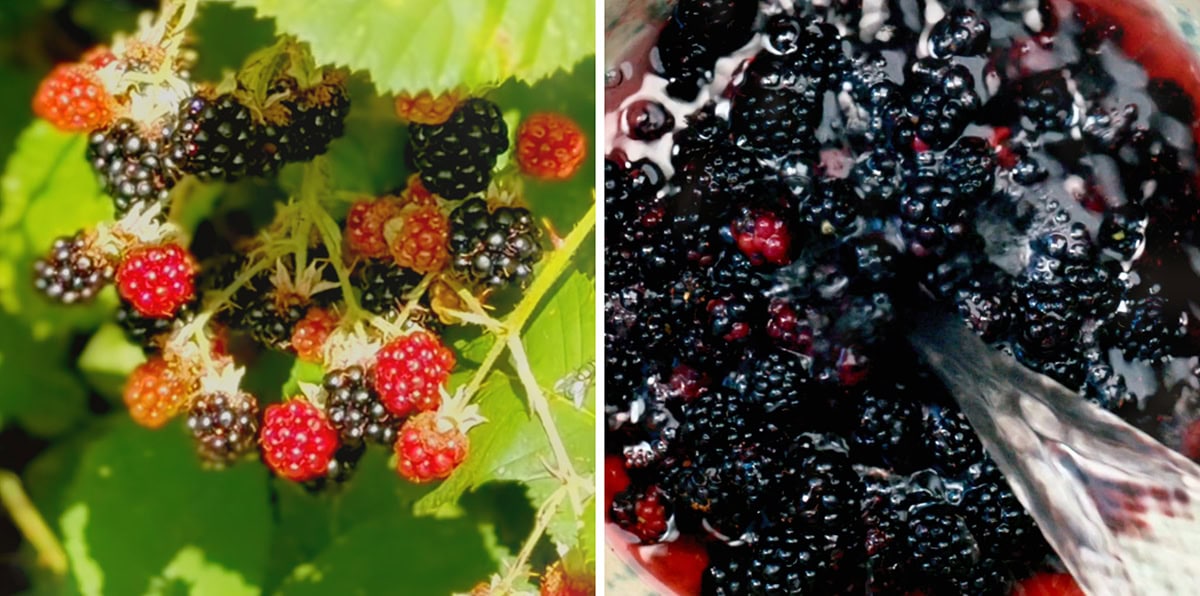
Foraging for blackberries is one of the absolute joys of late summer, but a few unwanted guests like little bugs or dust always hide in the crevices of the fruit.
To clean, place berries in a large bowl, cover with cold water and add a splash of white vinegar or a teaspoon of salt. Let the berries sit in their bath for 10-15 minutes.
Tip the water out and give them a thorough but gentle rinse with fresh cold water. Drain well before mashing so you don’t add any excess water to your jam pot.
Troubleshooting Guide
Jam-making feels bit intimidating, but it’s actually quite forgiving. Here is a quick troubleshooting guide to help you overcome common hick-ups:
- Runny Jam: This usually happens if you accidentally grab standard pectin or if the jam didn’t boil hard or long enough. You need to bring the fruit to a “full rolling boil” before you start your timer.
- Jam is Too Set or Thick: If your jam turns out more like a rubber ball than a soft spread, don’t throw it away! This usually happens if it boils a little too long or if your berries had a high amount of natural pectin. Scoop the jam back into a saucepan and add enough water or fruit juice to thin out to a lovely, spreadable consistency. Bring to a simmer once again before adding into jars.
- Crystallization: If you notice sugar crystals forming after your jam cools, then some undissolved sugar was clinging to the sides of the pot. Make sure the sugar is completely dissolved – macerating helps with that!
Frequently Asked Questions
If you’re using a sugar thermometer, the magic temperature for jam to set is 105°C (220°F). To test it without a thermometer, here are two favorite old-school tricks:
• The “Wrinkle” Test: Place a couple of small saucers in the freezer before cooking the fruit. When you think your jam is ready, take the pot off the heat and drop a spoonful on the cold plate and leave for exactly one minute. Gently push the edge of the jam with your finger. If the surface wrinkles, your jam is set. If it floods back into the space your finger left, boil for another minute or two before testing again.
• The “Flake” or “Sheet” Test: Dip a large, cool metal spoon into your boiling jam. Lift it out horizontally above the pot and watch how the jam drops off the spoon. When the jam is set, it slide off the edge of the spoon in one wide, cohesive “sheet” or flake.
Because sugar acts as a preservative, reduced-sugar jams don’t last quite as long once opened as the ultra-sweet traditional kinds. Stored in a clean, airtight jar in the fridge, it will stay fresh and delicious for about 3 – 4 weeks. Make sure to use clean utensils when spooning the jam otherwise it will spoil sooner!
Ladle the boiling hot jam into sterilized canning jars, leaving 1/4-inch of headspace at the top. Secure the lids and process the jars in a boiling water bath canner for 10 minutes. Once you hear those lids “pop,” the jam is sealed and can sit happily in a cool, dark pantry for up to a year!
👉 Please leave a comment and rating if you try this recipe, follow me on Pinterest for more easy recipes and don’t forget to tag me on @Instagram or TikTok so I can see your creations!
Cherry Berry Jam (Reduced Sugar)
Video
Equipment
Ingredients
- 10 ½ oz (300g) cherries pitted and roughly chopped
- 6 oz (175g) strawberries roughly chopped
- 6 oz (175g) blackberries or raspberries
- 1 lb (450g) sugar granulated
- 2 tbsp lemon juice
- 3 tbsp low sugar pectin powder
- ½ tsp butter optional
Instructions
Prep and crush your fruit
- Wash, stem, and pit your cherries (or use frozen pitted cherries for convenience). Hull the strawberries and roughly chop them.10 ½ oz (300g) cherries, 6 oz (175g) strawberries
- Soak your foraged blackberries in cold water with a splash of white vinegar for 10–15 minutes to remove dust, then rinse gently with fresh water.6 oz (175g) blackberries
- Measure out exactly 32oz / 900g of fruit, add them to a large pot, and give them a good mash with a potato masher.
Macerate the fruit
- Add your lemon juice and the sugar (minus 2 tablespoons – set those aside for the next step!) to the crushed fruit and stir well.1 lb (450g) sugar, 2 tbsp lemon juice
- Leave the pot on the counter for 2 hours or cover and macerate overnight in the fridge. This allows the sugar to draw out the natural juices from the fruit.
Prepare your pectin jelly
- In a small bowl, stir together your pectin powder and the sugar you set aside. Add 2-3 ladlefuls of the sweet juice released by your macerated fruit and stir well to combine – a handheld coffee frother is absolutely brilliant for this task. You want the pectin to be fully dissolved without any lumps! Set aside.3 tbsp low sugar pectin powder
Make the jam
- Place your pot of macerated fruit on the stove over medium-high heat. Bring the mixture to a "full rolling boil" and let it boil for 2 to 3 minutes. Stir constantly to prevent burning.
- 👉 Pro tip: If you notice a lot of foam, drop ½ teaspoon of butter into the pot now to magically disperse it!½ tsp butter
- Scrape the pectin jelly prepared earlier into the boiling fruit and stir quickly to dissolve it completely. Bring the mixture back up to a full rolling boil and set a timer for exactly 1 minute boiling hard the entire time.
Fill the jars and store
- Remove the pot from the heat. If there is any lingering foam on top, skim it off with a spoon. Carefully ladle the hot jam into warm, sterilized jars using a funnel, leaving ¼-inch of space at the top.
- Gently run a amall silicone spatula or a wooden skewer around the inside edge of the jar. Push inward slightly to allow any trapped air pockets to escape.
- Dampen a clean paper towel or cloth and thoroughly wipe the very top rim and the glass threads of the jar.
- Place your lids on top and screw the bands on until snug. You can use standard metal canning lids, or those reusable plastic storage caps since you aren’t boiling them.
- Leave the jars sitting on a towel on your kitchen counter for about 1 to 2 hours. Once the jars feel cool to the touch, move them into the fridge. Your jam will stay fresh in the refrigerator for 2-3 weeks.
Notes
- Wash, stem and pit the cherries. Roughly cut them with kitchen scissors or a sharp knife and then measure the right quantity. Crush them roughly using a potato masher.
- Wash the berries. Hull and quarter the strawberries then measure the right quantity into a bowl with the blackberries. Crush with a potato masher as before.
- Sprinkle the pectin evenly over bottom of the appliance fitted with the stirrer.
Add the crushed fruit evenly over pectin. Add the lemon juice and butter – this helps reduce any foaming. - Press the jam button – the cook time will automatically default to 21 minutes – and then enter. The machine will start cooking the fruit – wait 4 minutes for appliance to sound 4 short beeps indicating that it is time to add sugar.
- Add sugar gradually while stirrer continues running. Cover the pot with the lid and keep an eye on it. The machine will beep when the jam is ready. Press cancel, unplug the appliance and remove the lid.
- Pour the jam into warmed jars and store in the fridge – consume within four weeks.
Nutrition
Nutritional information is always approximate, and will depend on quality of ingredients and serving sizes.


Well I can't comment on how crafty you are, but you are definitely the Pinterest queen. Your photos are fab and they really make me want to dive right into one of those jars. And the thought of warm bread, butter and jam has me positively weak at the knees. I haven't made any jam yet this year.
I've been meaning to make jam every weekend for the past month and just haven't got round to it. I would really love a jam maker, it looks so simple and you can leave it to get on with the job while you do something else! Your jam looks fabulous, I love the idea of combining cherries and strawberries, what a glorious flavour!
I've not made jam for such a long time. This one looks glorious. I must make some while we are still enjoying berry season. Stumbled, pinned and yummed.
I like to think that I am quite crafty, but I always end up starting craft projects and then never getting round to finishing them; I do like making jam though, and have managed to never burn a pan of it (yet). The flavour of this jam is lovely, cherry is my favourite 🙂 x