
Slimming Chilli Con Carne

, Updated Aug 31, 2026
This post may contain affiliate links. Please read our disclosure policy.

This hearty chilli con carne is packed with flavor but lighter on fat and calories. Simmered low and slow for rich depth, it’s freezer‑friendly, versatile and loved by all ages.

Chilli (or Chili if you are on the other side of the pond) has got to be right up there with Spaghetti Bolognese in our family’s most cooked and best-loved recipes. There’s nothing like a steaming bowl of chilli con carne to warm you up on a cold night or a plate of chilli fries to share with friends over drinks.
This version uses lean beef, plenty of veggies, beans and warming spices to create a rich, big‑flavored chilli that’s ideal for weeknight dinners, meal prep or feeding a crowd. It tastes even better the next day and freezes brilliantly too.

Here’s what you’ll need
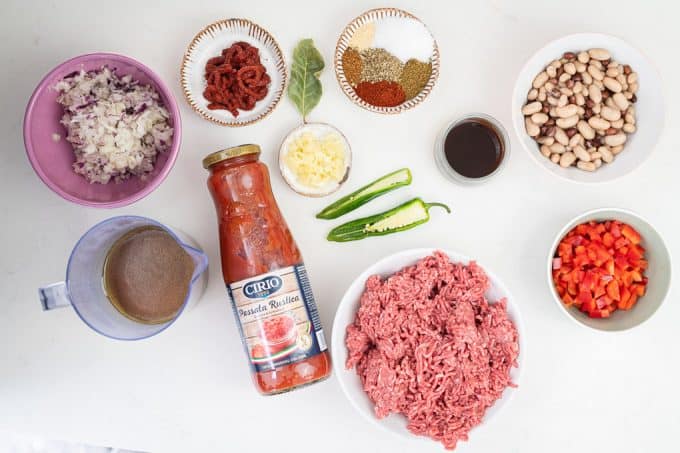
Chilli con Carne means Chilli with Meat – the rich sauce also contains onions, garlic, tomatoes, peppers and seasonings. For best-tasting chilli you must use your own spice mix – don’t rely on chilli seasoning packets which tend to have a slightly chalky bitter taste.
- Finely diced onions and plenty of minced garlic
- Bell peppers (red, orange or yellow)
- Extra lean ground beef stays juicy but keeps the recipe lighter than traditional versions. It’s the backbone of this classic dish.
- Spices and seasonings: cayenne pepper, ground cumin, smoked paprika, garlic powder, dried oregano, salt and a little sugar or sweetener
- The best tomatoes you can find – my favorite is Passata Rustica which is a slightly chunkier and thicker passata. You can also use tinned crushed or chopped tomatoes (and their juice). Added tomato paste deepens to the overall flavor.
- Beans: black beans and kidney beans drained and rinsed (or whatever type you prefer). Beans boost nutrition, fiber and texture — classic additions in most chilli con carne recipes.
How to Make Slimming Chilli Con Carne
- Mist a large casserole or frying pan with low calorie cooking spray. Add the onions and garlic and cook over low heat for 2 minutes.
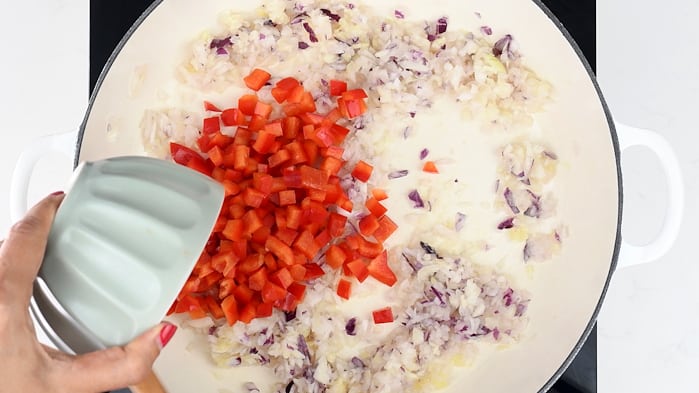
- Add the diced bell pepper and cook for another 2 minutes, stirring.
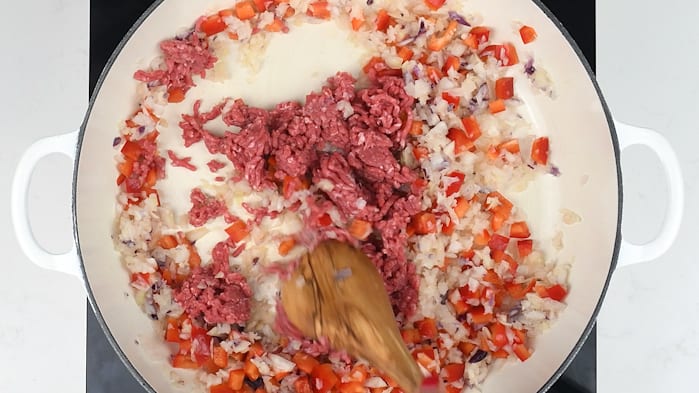
- Increase the heat and add the beef mince, breaking it up with the back of a wooden spoon. Cook for a few minutes until lightly browned.
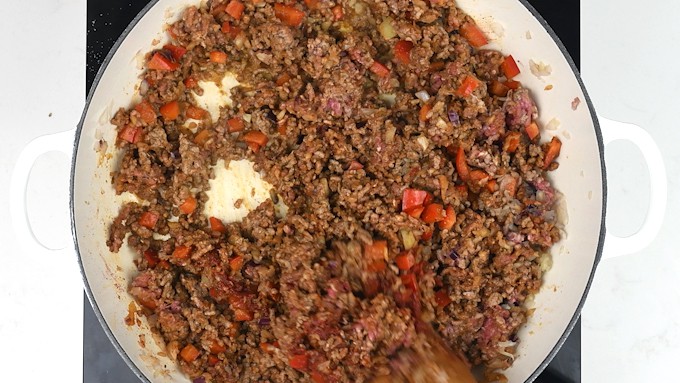
- Add the spices, herbs and seasonings and continue to cook until beef is nicely browned.
- Stir in the tomato paste and Worcestershire sauce. Add the passata or tomatoes, beans, bay leaf, chilli and stock. Bring to a simmer over medium-low heat.
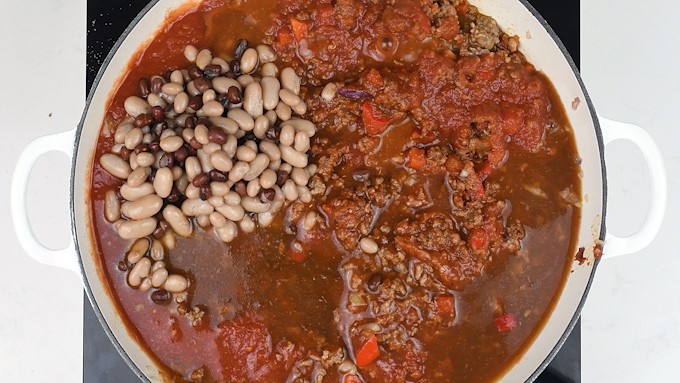
- Cook for 35-40 minutes, stirring occasionally, until the sauce is thickened. Discard the halved chilli and bay leaf. Check the seasoning and add salt and pepper to taste.
- Serve over rice with some Greek yoghurt, grated cheese or other toppings of your choice (see below).

Instant Pot Instructions
- Heat the pressure cooker by selecting ‘Sauté’ and ‘More’. Wait until it displays ‘Hot’ then cook the onions, garlic, pepper, beef and all spices etc. for 10 minutes until the beef is nicely browned. Make sure to break up the mince really well. If the pot gets too dry or hot add a splash of beef stock.
- Add the tomato paste, Worcestershire sauce and beef stock and stir well, scraping the bottom of the pot to get to in any browned bits.
- Top with the tomatoes – do not stir. Close pot and set vent to sealing.
- Cook for 10 minutes on High Pressure and allow for Natural Release. Discard the halved chilli and bay leaf. Check the seasoning and add salt and pepper to taste.
- If the chilli is too runny then cook for another 5-10 minutes on Sauté /medium with the lid off.
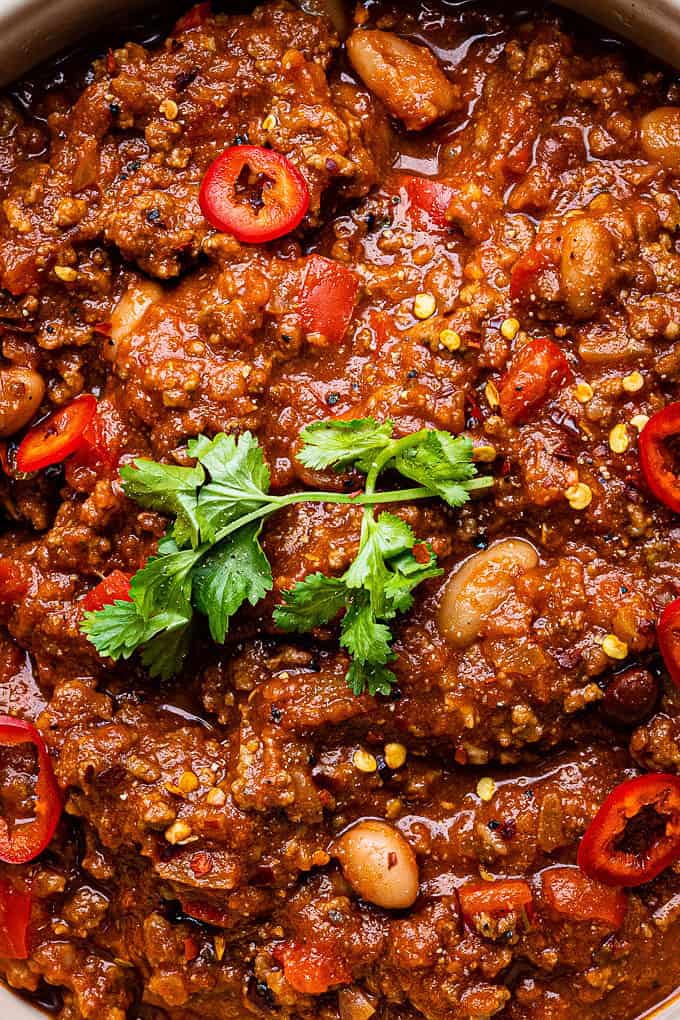
Serving Suggestions
The toppings can make the chili I always say… The below toppings and serving suggestions are only a guide, feel free to add and subtract as needed.
- Serve over rice with a little reduced-fat soured cream or fat-free Greek yoghurt and a sprinkling of grated Cheddar cheese.
- Serve over fries or potatoes as a sharing plate. Cook the potatoes in an airfryer or roast in the oven for a great slimming friendly snack or meal.
- Guacamole or sliced avocados were ALWAYS on my chilli in the pre-diet days and I always make an exception despite the high fat content. It is all HEALTHY fats after all!
- Make a Cowboy Pie: transfer chilli into a baking dish and top with mashed potato (or mashed swede for a speed option) and sprinkle with a little finely grated cheddar. Bake for 20-25 minutes at 350°F (180°C) until the potato crust is golden and serve with a salad or steamed vegetables.
- Serve over baked potatoes – especially yummy with sweet potatoes!
- Pile on burger buns, Sloppy Joe style – a fave with kids.

Recipe Notes
- LOVE YOUR LEFTOVERS Chilli tastes even better the next day and it will keep for up to 4 days in the fridge in a sealed container. Make sure it is piping hot all the way through when reheating.
- FREEZING INSTRUCTIONS cool completely and divide into freezer bags or containers within an hour or so of cooking. Label and use within two months. Defrost in the fridge overnight or in the microwave. Reheat until hot all the way through before serving.
- UP THE VEGGIES! To make this recipe stretch even further add two tins of beans instead of one plus some peeled and diced butternut squash (around 1/2 cup / 100g). The squash breaks down and thickens the chilli in a most lovely way.

Please leave a comment and rate the recipe, it really helps others find it and gives me great feedback for future tweaks. Don’t forget to share your Wellington photos and tag me on tag me on @Instagram or TikTok – I LOVE seeing what you’re cooking.

Healthy Chili Con Carne
Video
Equipment
Ingredients
- 1 large onion , finely diced
- 4 cloves garlic , minced
- 1 bell pepper , finely diced (red, orange or yellow)
- 1 lb (450-500g) lean ground beef
- 1 tsp salt
- 1 tsp cayenne pepper
- 1 tsp ground cumin
- 1 tsp smoked paprika
- 2 tsp garlic powder
- 1 tbsp dried oregano
- 2 tsp sweetener or sugar
- 2 tbsp tomato paste
- 2 tbsp Worcestershire sauce
- 28 oz (800g) canned crushed tomatoes or passata Rustica
- 1 bay leaf
- 1 red jalapeño , halved
- 14 oz (400g) beans kidney beans / black beans, drained and rinsed
- 1 cup (250ml) beef stock (made with two stock cubes)
- Salt and pepper to season
- Pinch red pepper flakes
To serve
- Sour cream or fat-free yogurt
- Grated cheese
- Cilantro (coriander)
- Lime wedges
Instructions
Stovetop Chilli
- Spritz a large casserole or frying pan with low calorie cooking spray. Add the onion and garlic and cook over low heat for 2 minutes.1 large onion, 4 cloves garlic
- Add the diced bell pepper and cook for another 2 minutes, stirring.1 bell pepper
- Increase the heat and add the beef, breaking it up well with the back of a wooden spoon. Cook for a few minutes until lightly browned all over.1 lb (450-500g) lean ground beef
- Add the spices, herbs and seasonings, salt and sweetener and continue to cook until beef is nicely browned.1 tsp salt, 1 tsp cayenne pepper, 1 tsp ground cumin, 1 tsp smoked paprika, 2 tsp garlic powder, 1 tbsp dried oregano, 2 tsp sweetener or sugar
- Stir in the tomato paste and Worcestershire sauce and toast for a minute.2 tbsp tomato paste, 2 tbsp Worcestershire sauce
- Add the tomatoes, beans, bay leaf, jalapeno and beef stock. Bring to a simmer over medium-low heat.28 oz (800g) canned crushed tomatoes, 1 bay leaf, 1 red jalapeño, 14 oz (400g) beans, 1 cup (250ml) beef stock
- Cook for 35-40 minutes, stirring occasionally, until the sauce is thickened. If the pot is getting too dry add a little hot water.
- Check the seasoning and add salt and pepper to taste. Discard the chilli and bay leaf.Salt and pepper to season
- Serve over rice with your favorite toppings.Pinch red pepper flakes, Sour cream , Grated cheese, Cilantro (coriander), Lime wedges
Instant Pot Chilli
- Heat the pressure cooker by selecting ‘Sauté’ and More. Wait until it displays ‘Hot’ then cook the onions, garlic, pepper, beef and all spices etc. for 10 minutes until the beef is nicely browned. Make sure to break up the mince really well. If the pot gets too dry or hot add a splash of the beef stock.
- Add the tomato paste, Worcestershire sauce and beef stock and stir well, scraping the bottom of the pot to get to in any browned bits.
- Top with the tomatoes but do not stir. Close pot and set vent to sealing.
- Cook for 10 minutes on High Pressure and allow for Natural Release.
- Check the seasoning and add salt and pepper to taste. Discard the chilli and bay leaf.
- If the chilli is too runny then cook for another 5-10 minutes on Sauté /medium with the lid off.
Slow Cooker Chilli
- You only need (⅓ cup / 80ml) of beef stock in a slow cooker. Follow steps 1-6 then transfer everything to your crockpot. Cook on low for 6-8 hours or on high for 4-5 hours.
Notes
- Leftovers: Cool completely and store in an airtight container for up to 4 days.
- Freezing: Freeze in portions for up to 2–3 months. Defrost overnight and reheat gently on the stovetop or microwave until piping hot.
Nutrition
Nutritional information is always approximate, and will depend on quality of ingredients and serving sizes.



The recipe is amazing its my go to chili con carne. Do you think it will come good if i tried it with chicken minced? thanks for sharing
I don’t see why not! However try to use thigh mince (or Turkey thigh mince) I think breast meat would be a bit dry
HI sorry if this is a silly question but where it says 264 calories is that per serving or for all the chilli!? My partner is on a diet so struggling to keep his calories intake down. Thank you for your help
Hi Hayley – the calorie estimation is per portion (not for the whole pot). This recipe serves 5 so the 264 calories is for 1/5 of the whole pot. This doesn’t include any extras such as rice, cheese or whatever else you serve your chilli with. I would recommend serving with salad or cauliflower rice if you want to keep the carbs and calories really low. Hope this helps.
Easy, delicious, recipe…perfect for our busy weeknights. Thanks for sharing! 🙂
I love how hearty and comforting this chili is! I’m going to make a big batch and save it for the rest of the week!
This recipe looks absolutely delicious and thanks so much for all the tips!
I love a good (and healthy) freezer meal!