
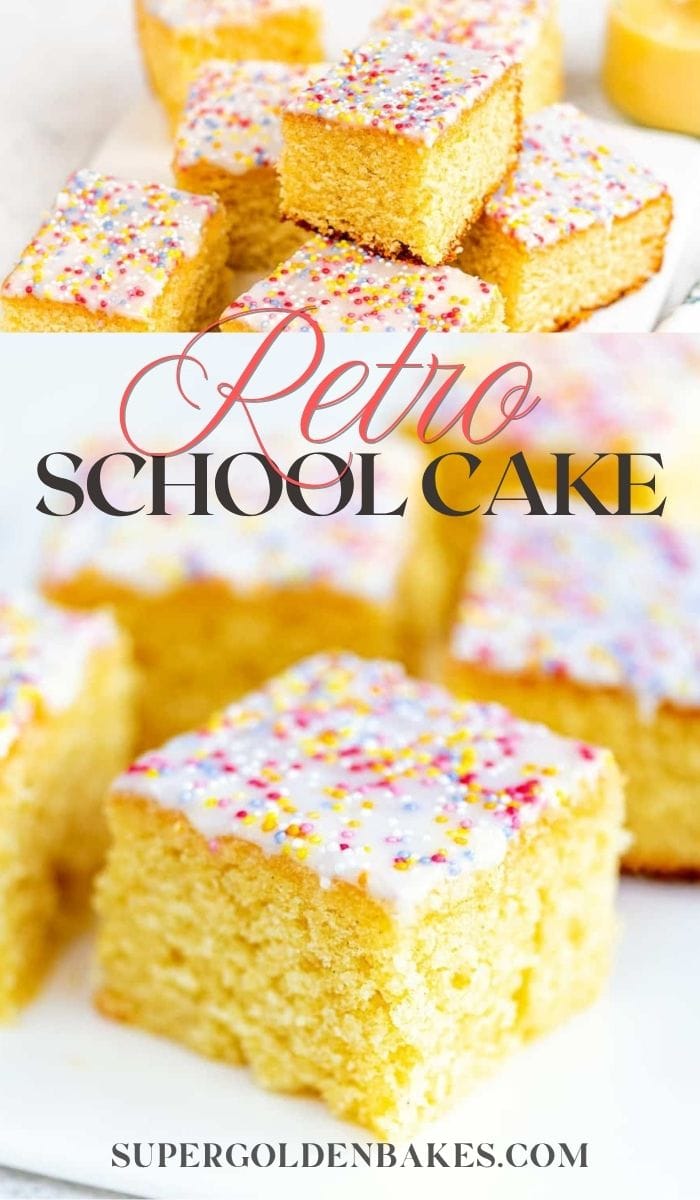
School Cake (Sprinkle Vanilla Tray Bake)
, Updated Aug 06, 2025
This post may contain affiliate links. Please read our disclosure policy.


This School Cake topped with a simple glaze and sprinkles is just the simple nostalgic bake we all need right now! Easy to make all in one bowl and delicious served plain or with warm vanilla custard.
Love this cake but wish it was chocolatey? Try my Chocolate School Cake!
Craving a slice of childhood nostalgia? This Retro School Cake is exactly the treat you remember from lunch halls, light and fluffy vanilla sponge, covered in glossy icing and covered with colorful sprinkles.
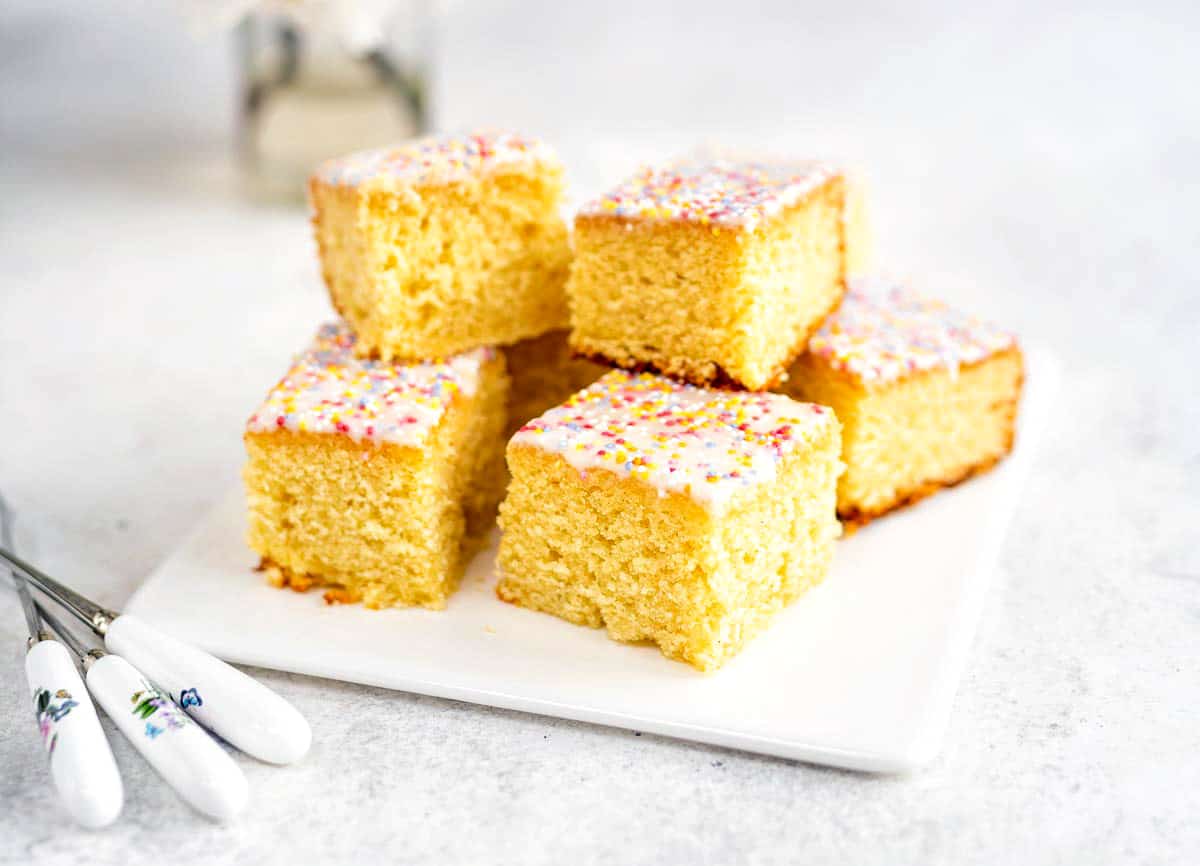
This simple sprinkle cake is guaranteed to remind those of a certain age of their school days. Actually, it’s still served as “pudding” at my kids primary school – sliced into squares and served with custard so I guess its popularity hasn’t waned. It’s easy to see why this tray bake cake is served at schools – one batch can serve up to 20 plus it is DELICIOUS!

What is an Old School Cake?
This cake goes by many names including School Cake, School Dinner Cake, sprinkle tray bake, or old school pudding (much like this Tottenham Cake).
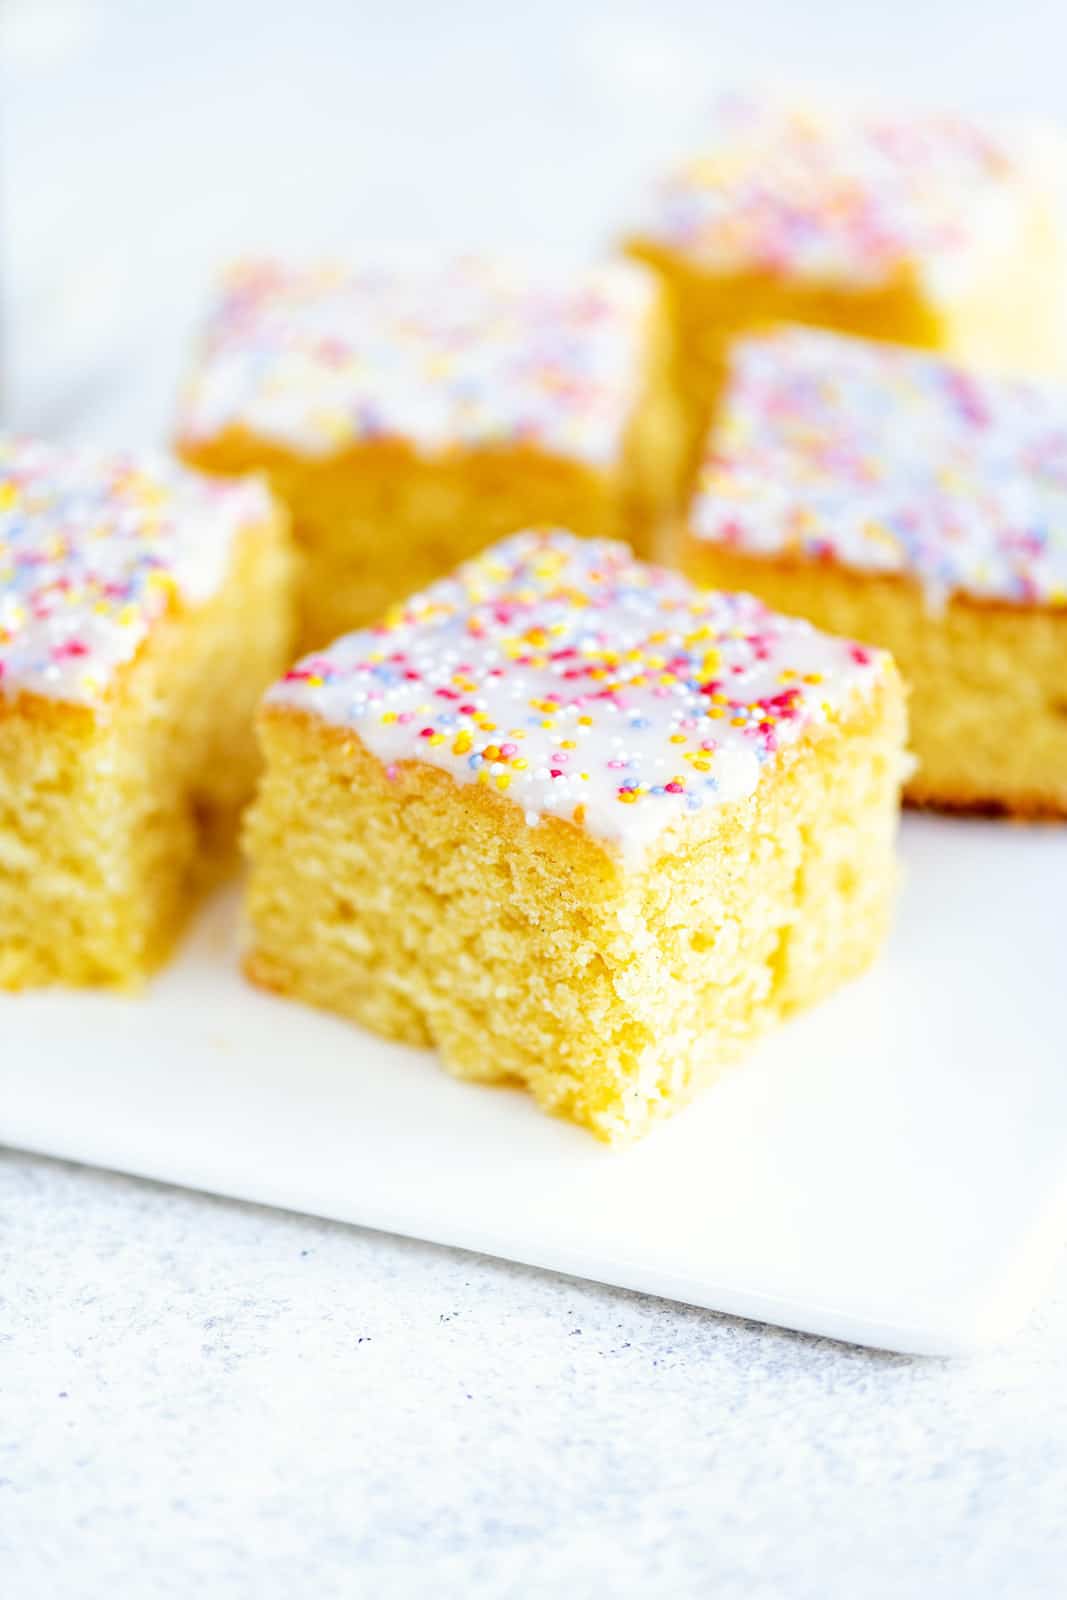
It is a simple vanilla sponge covered in a thick white icing and lots of sprinkles. This simple cake is still served at some schools as a treat (hence the name) and will take you on a trip down memory lane with a single bite!
School cake is delicious served with custard (much like another old-school retro fave Chocolate Concrete) or simply sliced into squares.

School Cake Ingredients
The vanilla sprinkle cake is fluffy and buttery and so easy to make even if baking is not your thing! All you have to do is beat all the ingredients together in one large mixing bowl using an electric hand mixer or a stand mixer. I call this my “one bowl bake” method 🙂
- Sugar – Superfine / Caster sugar is ideal for cake baking as it has fine granules that dissolve easily. If you can’t get hold of it you can use granulated sugar.
- Flour – All–purpose / plain flour with baking powder and soda. Make sure that your flour and raising agents are FRESH though. I once made this cake with baking powder that was a year out of date and it was a (literal) flop.
- Unsalted Butter or Margarine I usually opt for butter in my cake recipes but I would recommend using margarine (Stork if you are UK-based) in this school cake recipe. For one thing it is soft even straight out of the fridge so easier to mix and more affordable.
- Large eggs at room temperature. If your eggs are cold you can place them in a bowl of tepid water to warm up before using.
- Milk – Any type, including plant-based if preferred.
- Vanilla bean paste – for a wonderful vanilla aroma with the little specks of ground vanilla bean. Pure vanilla extract can also be used.

Get the icing just right
The glaze is made simply with powdered sugar (icing sugar) and water. I also add vanilla extract but that’s optional. The icing needs to be quite thick otherwise it will simply run off your cake!
The trick is to add just enough water and keep mixing until the glaze drops off your spoon slowly, like honey would. If it is too thin you can simply add more icing sugar. Too thick? Add water, a few DROPS at a time, until you have the right consistency.

Love baking? Get my cookbook Easy Air Fryer Bakes!
How to make School Cake
- Put the flour, sugar, baking powder, soda and salt in a large mixing bowl. If you can be bothered then sift everything into the bowl to aerate the dry ingredients. Mix together with a balloon whisk to combine. Add the eggs, milk, vanilla extract and butter or margarine.
- Start beating at lowest speed setting until the ingredients start to come together. I used my KitchenAid hand mixer but you can also use a stand mixer fitted with the paddle attachment.
- Gradually increase the speed to maximum and beat until the batter is completely smooth – about 30 seconds to one minute. Scrape the bottom and sides of the bowl with a spatula halfway through.
- Transfer to a 9×13 rectangular baking tray (I love my Wilton traybake tin) lined with paper and level using a spatula. Bake for 45-50 minutes or until the cake is golden and feels springy to the touch. A skewer or knife inserted in the middle should come out clean – if not, cook for a further 5 minutes.
- Leave the cake to cool completely on a wire rack before adding the glaze. If the cake is just cool as opposed to cold the icing will simply slide off!


- Mix the icing sugar with just enough water to make a thick glaze. Drizzle over the cake, letting it drip down the sides (you might want to do this over a large roasting tin to catch any excess glaze).
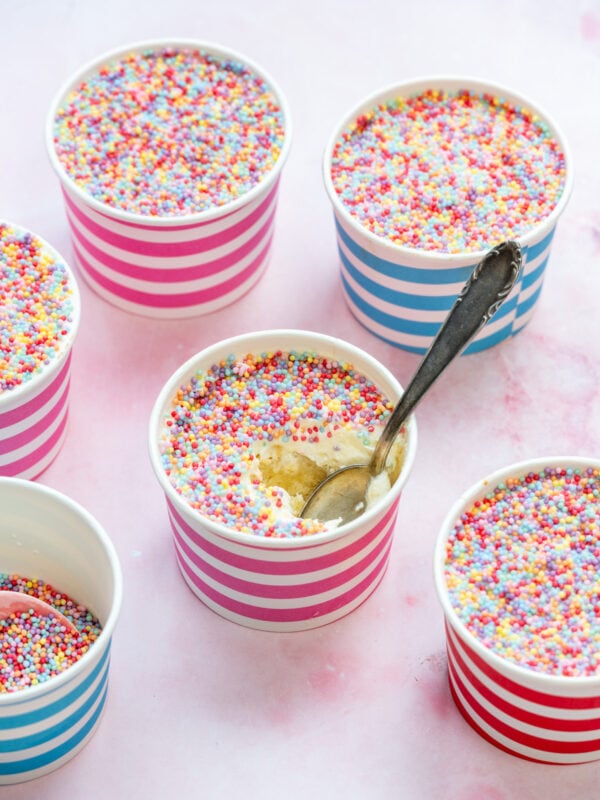
- Add sprinkles and leave the glaze to set slightly before slicing and sharing. You can serve with a little warm custard (I used tinned custard) for an extra slice of nostalgia!


Recipe Tips, Troubleshooting and FAQS
- The ingredients all have to be at room temperature – this is important! – so make sure you use softened butter and allow eggs / milk to warm up before using. Your batter is likely to split and look curdled if any of the ingredients are cold.
- How do I know my school cake is baked? Oven temperatures can vary so you need to rely on visual cues not just the recommended baking time. This sponge cake is JUST RIGHT when evenly risen and golden, springy to the touch and just coming away from the edges of the tin.
- Levelling your cake: If the cake has domed while baking, level using a large serrated knife. This is likely to happen if the baking tin is a tad too small or the oven is too hot. You can always flip the cake over (carefully!) so that you add the glaze to the FLAT side.
- Help, my cake has a dip in the middle! Your cake is not quite ready yet. Bake for an additional five minutes then check again. Repeat until you are confident the cake is ready. Avoid opening the oven door too often though – this will cause a drop in oven temperature.
- I always rely on a digital scale to measure my ingredients. Accurate measurements are especially important when it comes to measuring baking powder or soda – invest in some measuring spoons.
- How long will school cake keep? This sponge tray bake stays wonderfully fresh for up to four days at room temperature, in a covered cake container. It is best when freshly baked, as with all cakes.
Looking for more retro baking recipes?


Air Fryer
Air Fryer Vanilla Sprinkle Cake

Cookies & Bars
School Days Chocolate Concrete

Cookies & Bars
Homemade Jammie Dodgers
HAVE YOU MADE MY SCHOOL CAKE RECIPE? Please leave a rating, post a photo on my Facebook page, share it on Instagram, or save it to Pinterest with the tag #supergoldenbakes and make my day!

Retro School Dinner Cake
Video
Ingredients
- 2 ¾ cups (330g) flour all-purpose / plain
- 1 ⅔ cups (330g) sugar granulated or superfine / caster
- 1 tbsp baking powder
- ½ tbsp baking soda (bicarbonate of soda)
- ½ tsp salt omit if you are using margarine
- ⅞ cup (200g) softened unsalted butter or margarine
- 3 large eggs room temperature
- ¾ cup (180ml) milk room temperature
- 2 tsp vanilla extract or vanilla bean paste
For the icing & decoration
- 3 ½ cups ( 450) powdered sugar (icing sugar)
- water as needed to thin the icing
- 1 tsp vanilla extract
- sprinkles hundreds and thousands
Instructions
Make the cake
- Preheat the oven to 340°F (170°C). Mist a 9×13 cake pan with cake release and line with baking paper letting the edges hang over the sides.
- Put the flour, sugar, baking powder, soda in a large mixing bowl. If you can be bothered then sift everything into the bowl to aerate the dry ingredients.2 ¾ cups (330g) flour, 1 ⅔ cups (330g) sugar, 1 tbsp baking powder, ½ tbsp baking soda, ½ tsp salt
- Add the eggs, milk, vanilla extract and butter or margarine (room temperature please!).⅞ cup (200g) softened unsalted butter, 3 large eggs, ¾ cup (180ml) milk, 2 tsp vanilla extract
- Start beating at lowest speed setting until ingredients come together. Increase the speed to maximum and beat until the batter is completely smooth – about 30 seconds to one minute.
- Transfer to a rectangular baking tray lined with paper and level using a spatula. Bake for 45-50 minutes or until the cake is golden and feels springy to the touch. A skewer or knife inserted in the centre should come out clean – if not cook for a further 5 minutes.
- Leave the cake to cool completely then carefully invert so that you add glaze to the flat side. If the cake has domed while baking, level using a large serrated knife. This is likely to happen if your baking tray is a tad too small.
Decorate and serve
- Mix the icing sugar with just enough water to make a thick pourable glaze. Drizzle over the cake, letting it drip down the sides (you might want to do this over a large roasting tin to catch any excess glaze).3 ½ cups ( 450) powdered sugar, water, 1 tsp vanilla extract
- Add sprinkles and leave the glaze to set slightly before slicing and sharing. You can serve with a little warm custard (I used tinned custard) for an extra slice of nostalgia!sprinkles
Notes
- If you are using self-rising flour then add only half a teaspoon of baking powder (no baking soda).
- Unless specified otherwise all your ingredients including butter eggs and milk should be at room temperature in order to achieve a smooth batter. If one or more of the ingredients are cold they will cause your batter to split or look curdled.
- If your milk is cold from the fridge then heat briefly in the microwave or saucepan until just tepid. Make sure the milk is body temperature – not too hot!
- Place cold eggs into warm water for five minutes to bring them back to room temperature.
- Cut cold butter into cubes and leave for an hour on your counter to warm up or use margarine.
How do I know if my cake is done?
- Oven temperatures can vary so set a timer for 5 minutes before the specified time. The cake is done when the top is springy to the touch, the cake has just started to pull away from the edge of the tin and a skewer or toothpick inserted in the centre comes out clean or with a few moist crumbs.
- Avoid opening the oven too often – or too early! – to check if the cake is done or your oven will start losing heat.
Nutrition
Nutritional information is always approximate, and will depend on quality of ingredients and serving sizes.
ALL IMAGES AND CONTENT ON SUPERGOLDEN BAKES ARE COPYRIGHT PROTECTED. IF YOU WISH TO SHARE THIS RECIPE, THEN PLEASE DO SO BY USING THE SHARE BUTTONS PROVIDED. DO NOT SCREENSHOT / POST RECIPE OR CONTENT IN FULL.


Has the recipe changed? I’ve always used this one and loved it but recently I made the cake and it was brown all the way through when it’s usually pale? Went in the bin!
No, the recipe is the same. Did it taste bad? Sometimes there’s a reaction between ingredients that can give the sponge a darker colour but it doesn’t affect the flavor
My go to receipe and it never fails – lovely cake
But has anyone frozen the sponge before the icing is on ?
Hi – you can freeze the sponge. Cool it first and wrap it in the baking tray if possible. Thaw in the fridge and make sure there’s no condensation before icing x
My family love coconut cake so I substituted the vanilla essence with coconut essence, added coconut essence to the icing and sprinkled liberally with desiccated coconut. I kind of wish I hadn’t done it as I’m now expected to bake at least two a week! All your Traybakes are superb, thank you!
Perfect recipe to make with children on a rainy day (i.e yesterday!). So easy to follow and yummy. My little boy bashed up some party rings and sprinkled them on the top which was really yummy too. Thanks for a great recipe!
Brilliant tried and tested recipe. How would I go about making it vegan? I have tried swapping the dairy for vegan options but it always comes out dense
Thank you
It also contains eggs… I will have a think c
can u use a size tin
Which size? The recipe is tested in a standard traybake tin
Absolutely beautiful, made this afternoon and can’t stop eating it 😍