
Ultimate Fudgy Protein Brownies
, Published Apr 24, 2026
This post may contain affiliate links. Please read our disclosure policy.
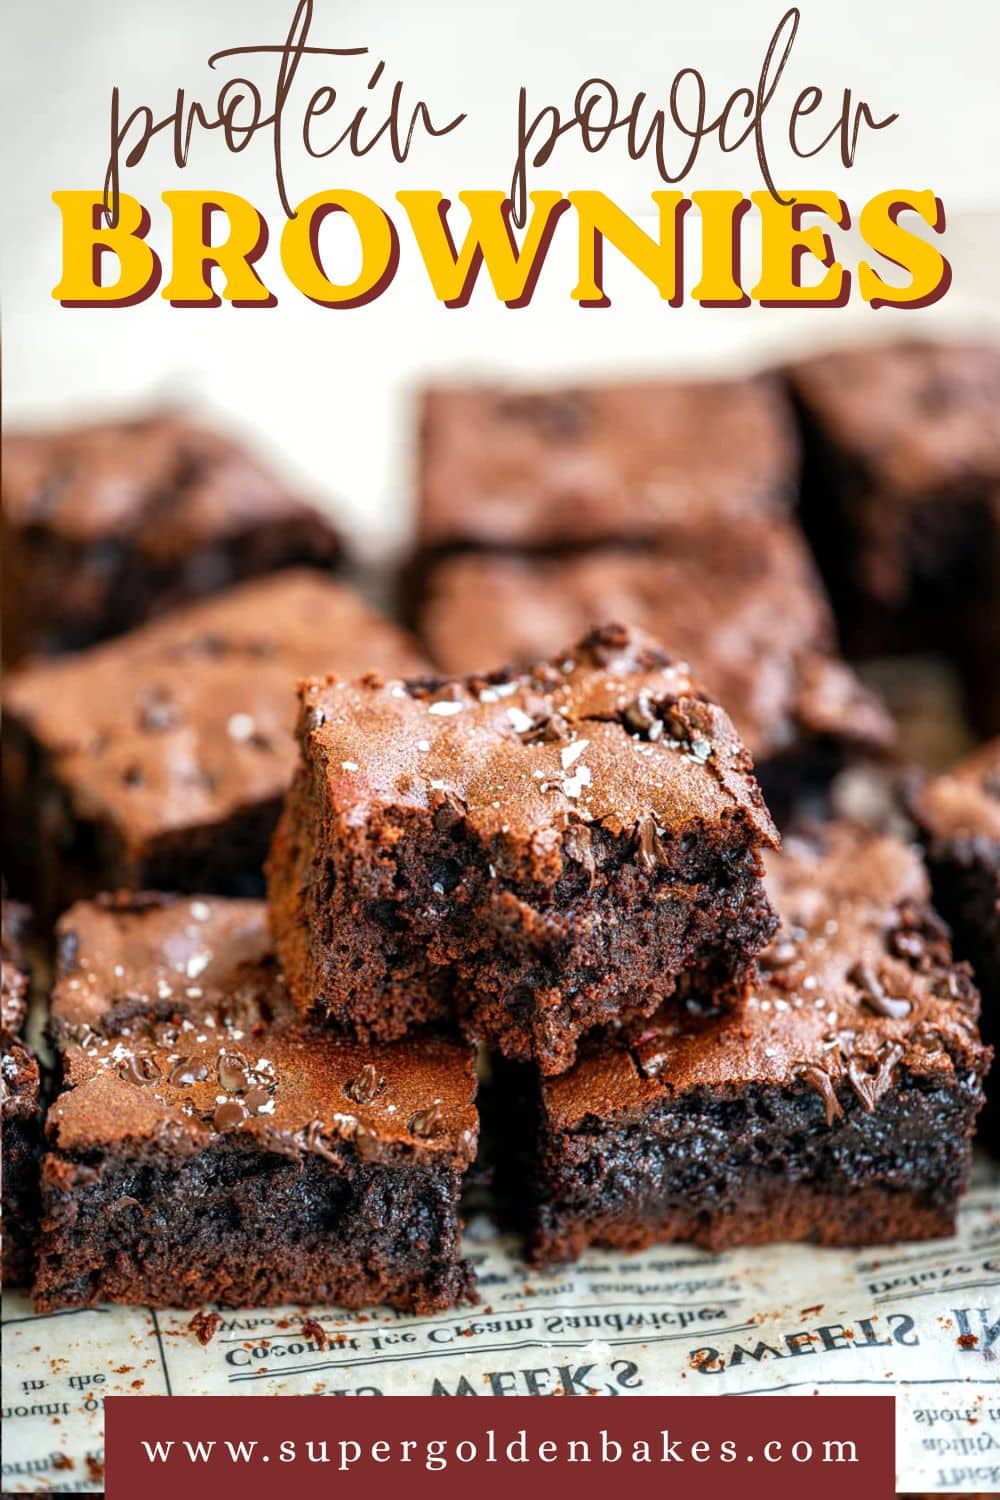
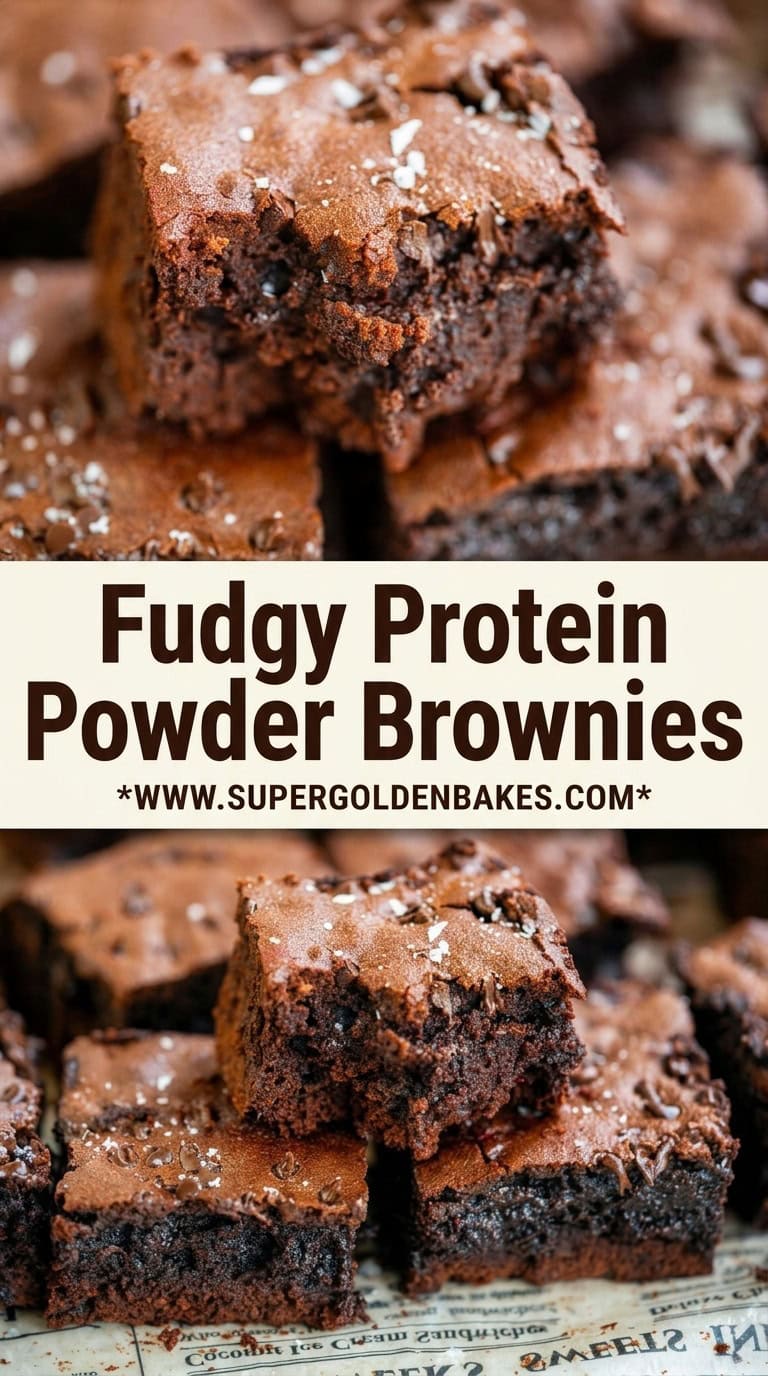
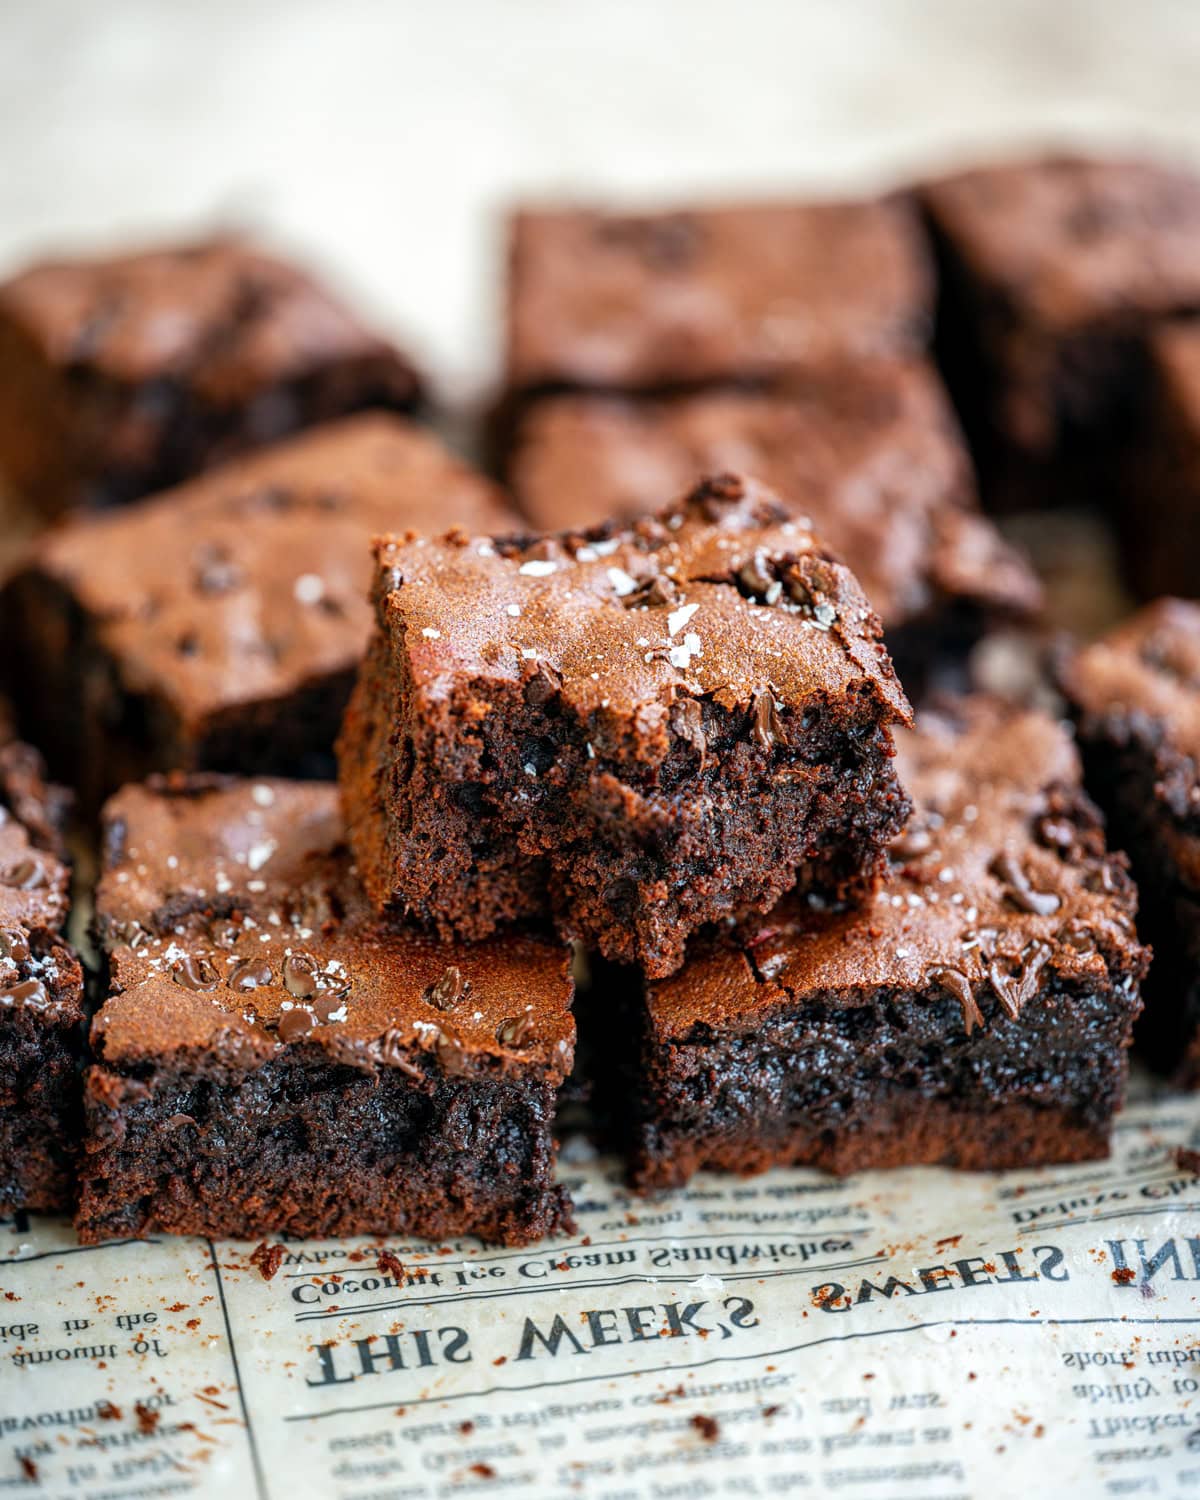
These protein powder brownies are rich, fudgy, chock full of chocolate AND a secret source of protein! Made with simple ingredients like cocoa powder, chocolate chips and maple syrup, they’re an easy way to enjoy a better-for-you brownie that still tastes indulgent.
Post sponsored by Naked Nutrition
I started strength training about 2 years ago… in my 50s. Better late than never, am I right? I have always hated going to the gym, much preferring the gentle power of yoga and pilates. But once I entered midlife, I realized that I needed to add lifting weights into my exercise regime. Well I say I realized – the truth is my doctor told me to do it in no uncertain terms…
I did so with great reluctance at first. It was – still IS – a struggle. But, with the support of my incredible personal trainer, I can finally say I enjoy going to the gym. What I never got used to is the tasteless protein bars I used to grab whenever I didn’t have time for breakfast.
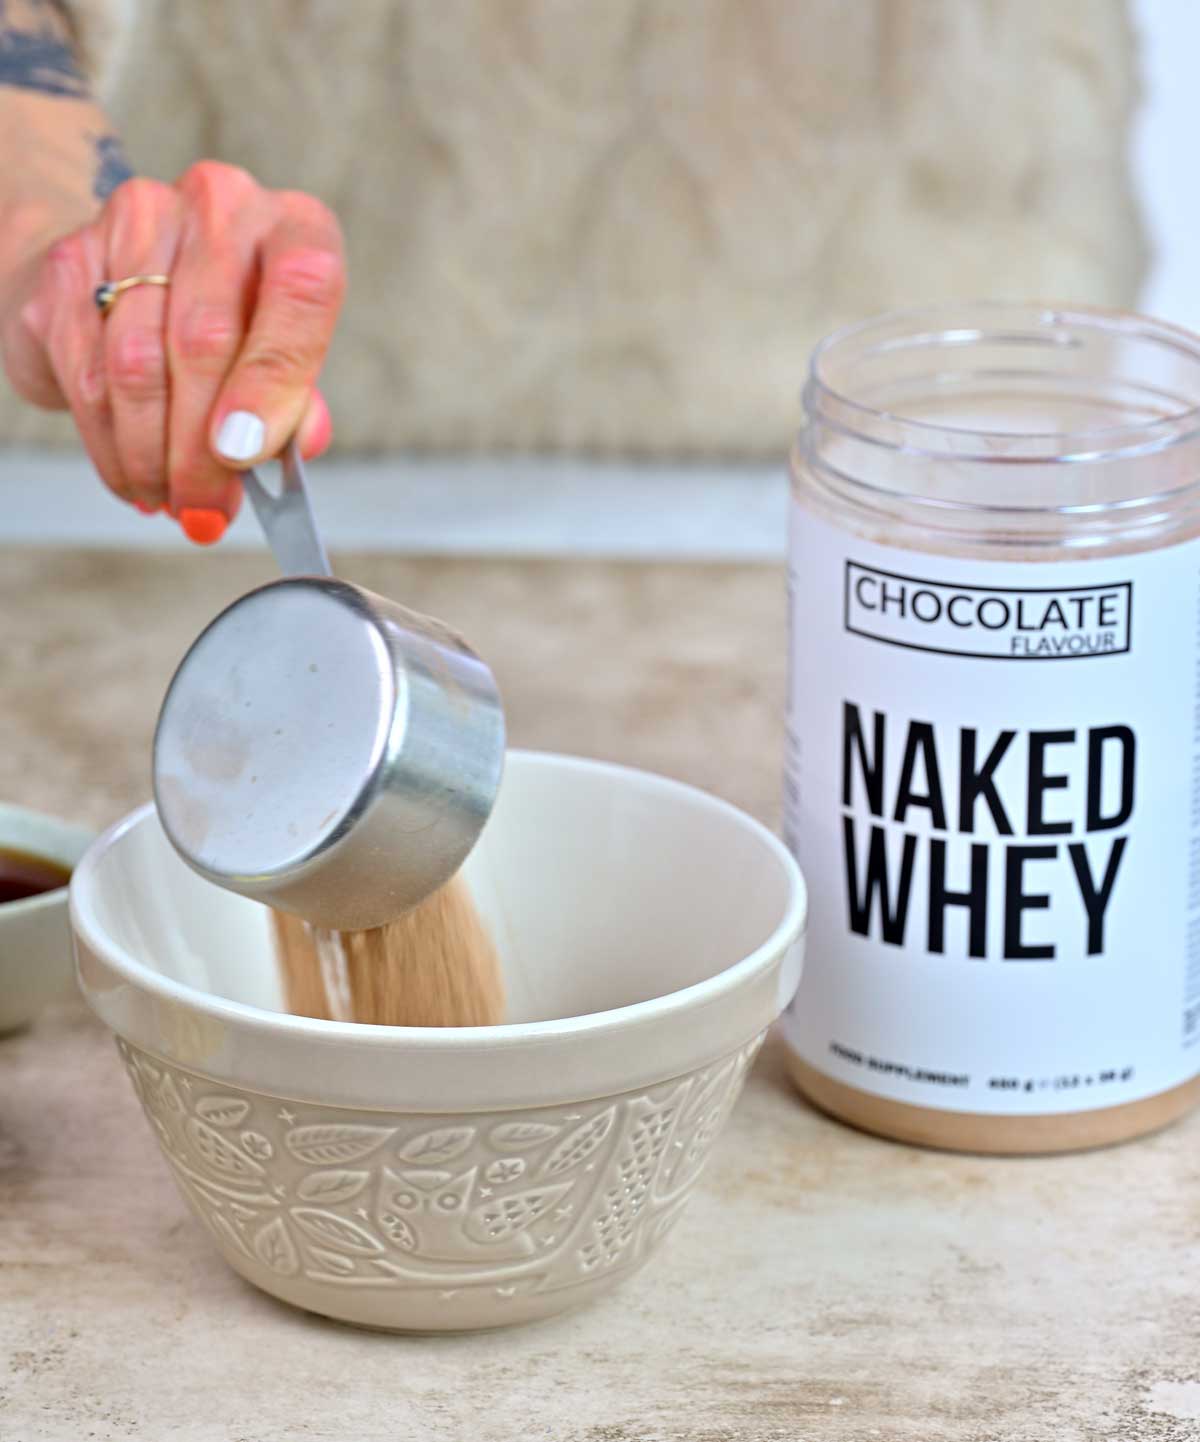
I finally replaced them with protein shakes, which is how I discovered Naked Nutrition’s Chocolate Whey Protein Powder. That stuff is SO GOOD that I have partnered with them to bring you this easy protein brownies recipe.
Lucy’s Pro Tip
Ingredient Spotlight
Naked Nutrition’s chocolate whey protein uses just 3 ingredients: high quality whey, cocoa and coconut sugar. Each serving packs in about 25 grams of protein plus essential amino acids, which is great if you’re trying to boost protein without overthinking it.
What I really like, especially for baking, is that it’s made from 100% premium grass-fed and kept pretty minimal and natural, so it blends into brownies without overpowering the flavor.
The result? Brownies that still taste rich and chocolatey—but with a little extra substance to them, which feels like a win whether you’re baking for snacks, dessert, or post-workout treats.
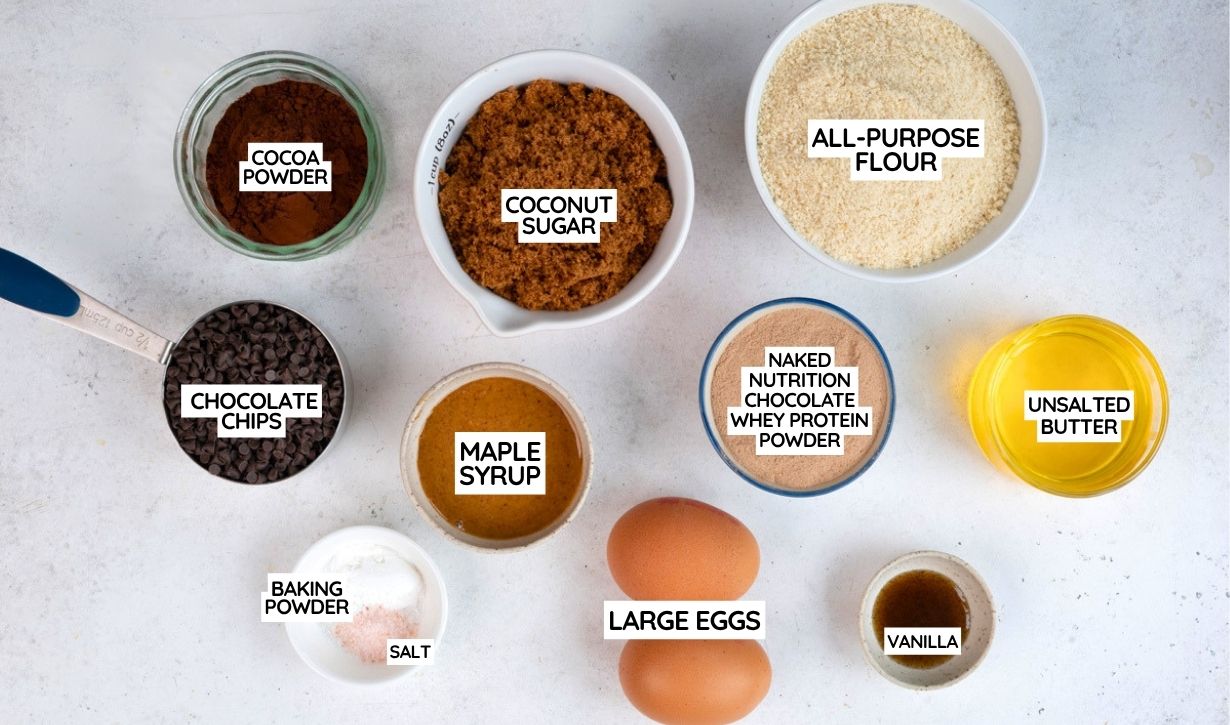
Here’s What You’ll Need
- Protein powder: I’m using chocolate whey protein from Naked Nutrition – zero additives and no artificial aftertaste.
- All-purpose flour (plain flour): A small amount of flour provides structure.
- Baking powder: Adds a little lift so that our brownies aren’t overly flat.
- Cocoa powder: For deep, intense chocolate color and flavor.
- Chocolate: These are real brownies and they contain real chocolate. Choose a high-quality dark chocolate chi[s with 70% cocoa solids.
- Unsalted butter: Provides the fat needed for a moist gooey texture.
- Maple Syrup: To keep the brownies soft and moist.
- Eggs: Act as a crucial binder and emulsifier for a traditional fudgy result.
- Coconut sugar: Adds a rich, caramel-like sweetness without the spike of refined sugars. I am also using 50% less sugar from my usual brownie recipe.
- Vanilla bean paste or real vanilla extract and a little salt to enhance flavor.
How to Make Protein Brownies
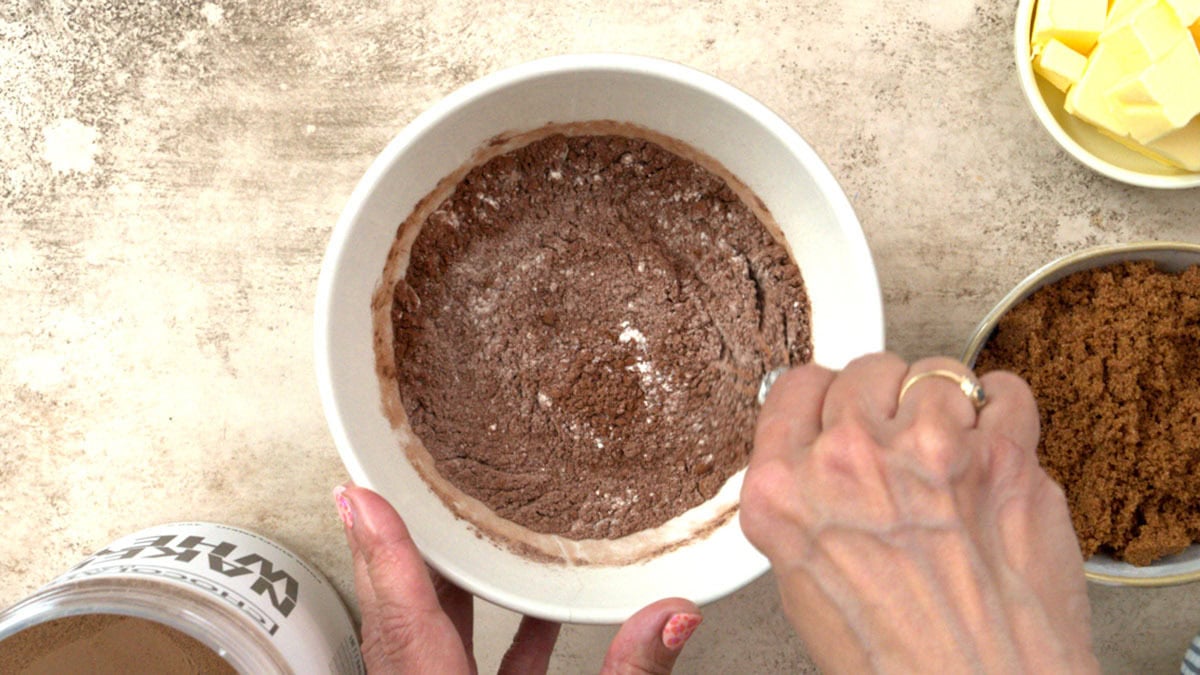
- Preheat the oven to 350°F (180°C) and line an 8-inch square baking pan with parchment paper. Combine the chocolate whey protein powder, flour, cocoa powder, baking powder and salt in a bowl, stirring to aerate the dry ingredients.
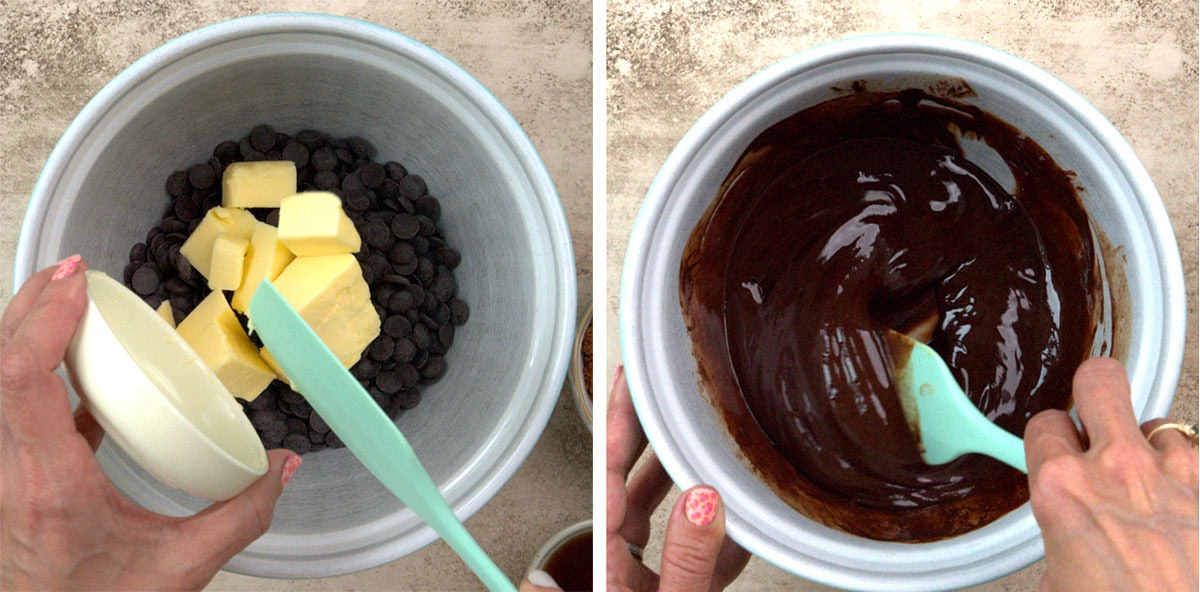
- Place the chocolate chips and butter in a bowl and microwave for short 30 second bursts until the butter starts to melt. Stir well until the chocolate has melted and set aside to cool.
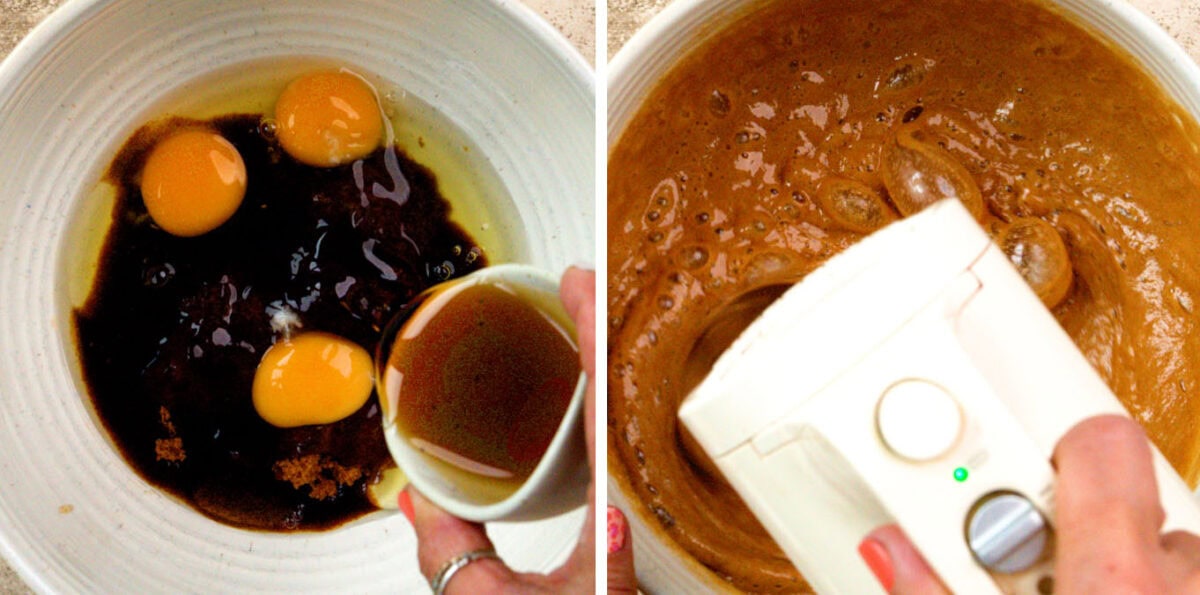
- Beat the eggs, coconut sugar, maple syrup and vanilla in a large mixing bowl using a hand mixer (or a balloon whisk if you want to give your arms a little workout) until pale, frothy and at least doubled in size.
- Add the melted butter and chocolate mixture and stir to combine.
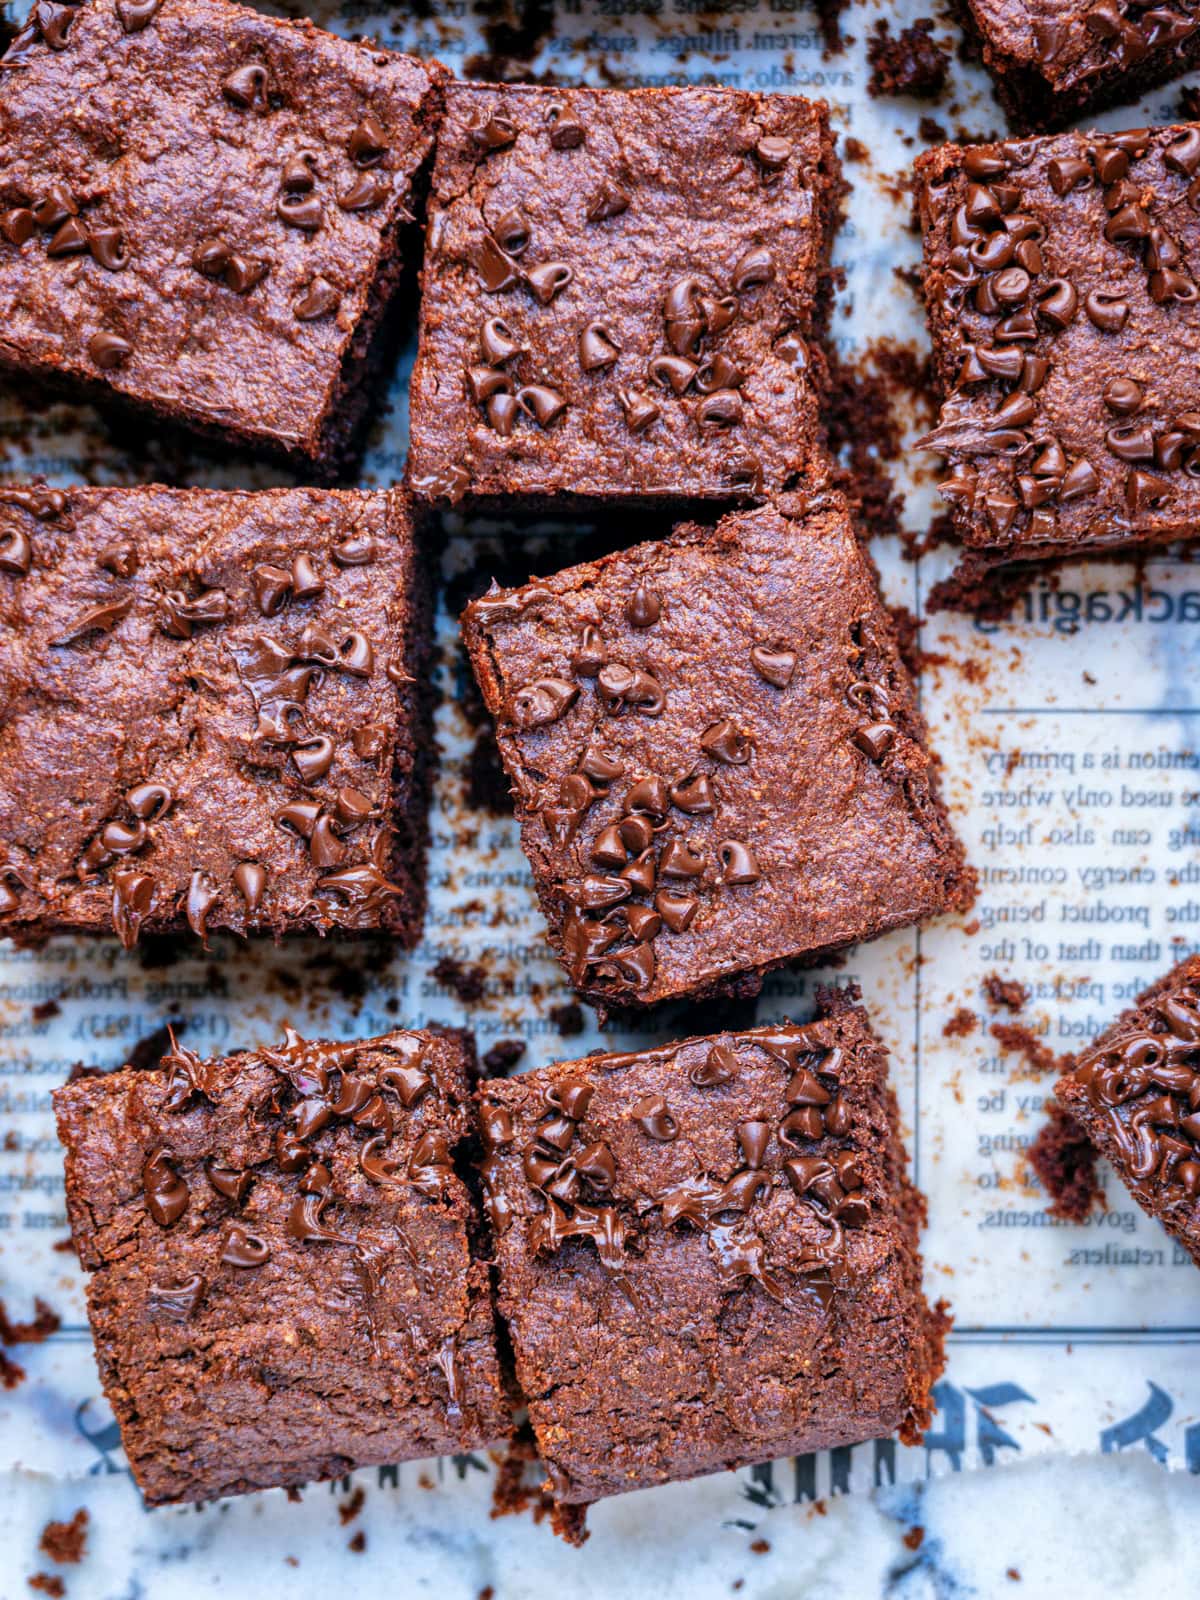
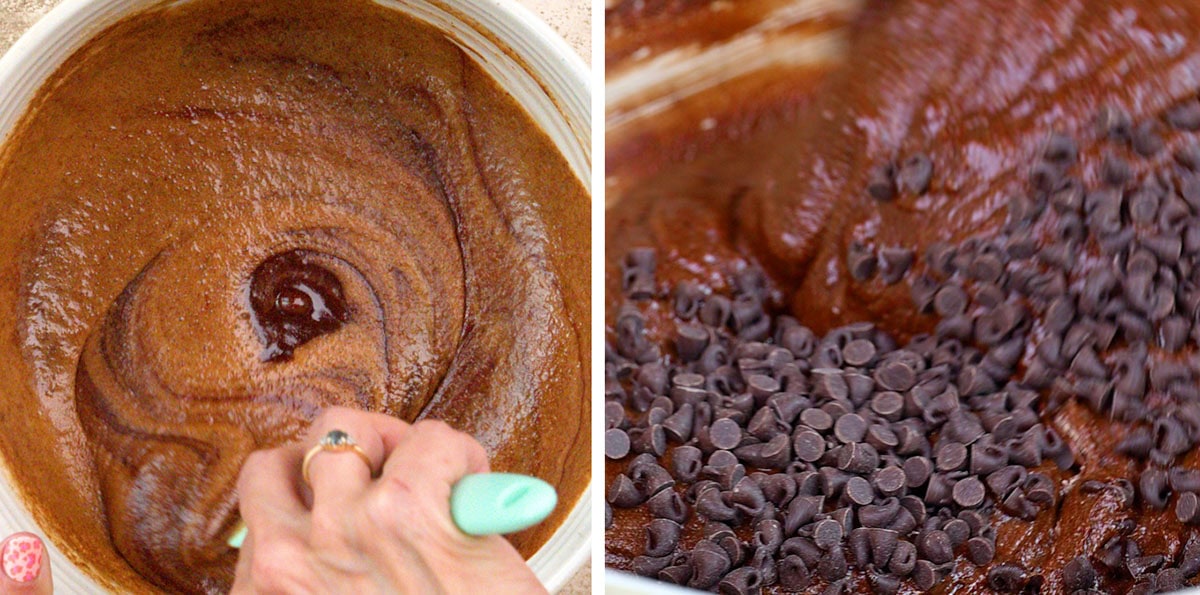
- Sift in the dry ingredients and fold until you have a gooey chocolaty batter. Stir in the chocolate chips, saving a few to top the brownies with.
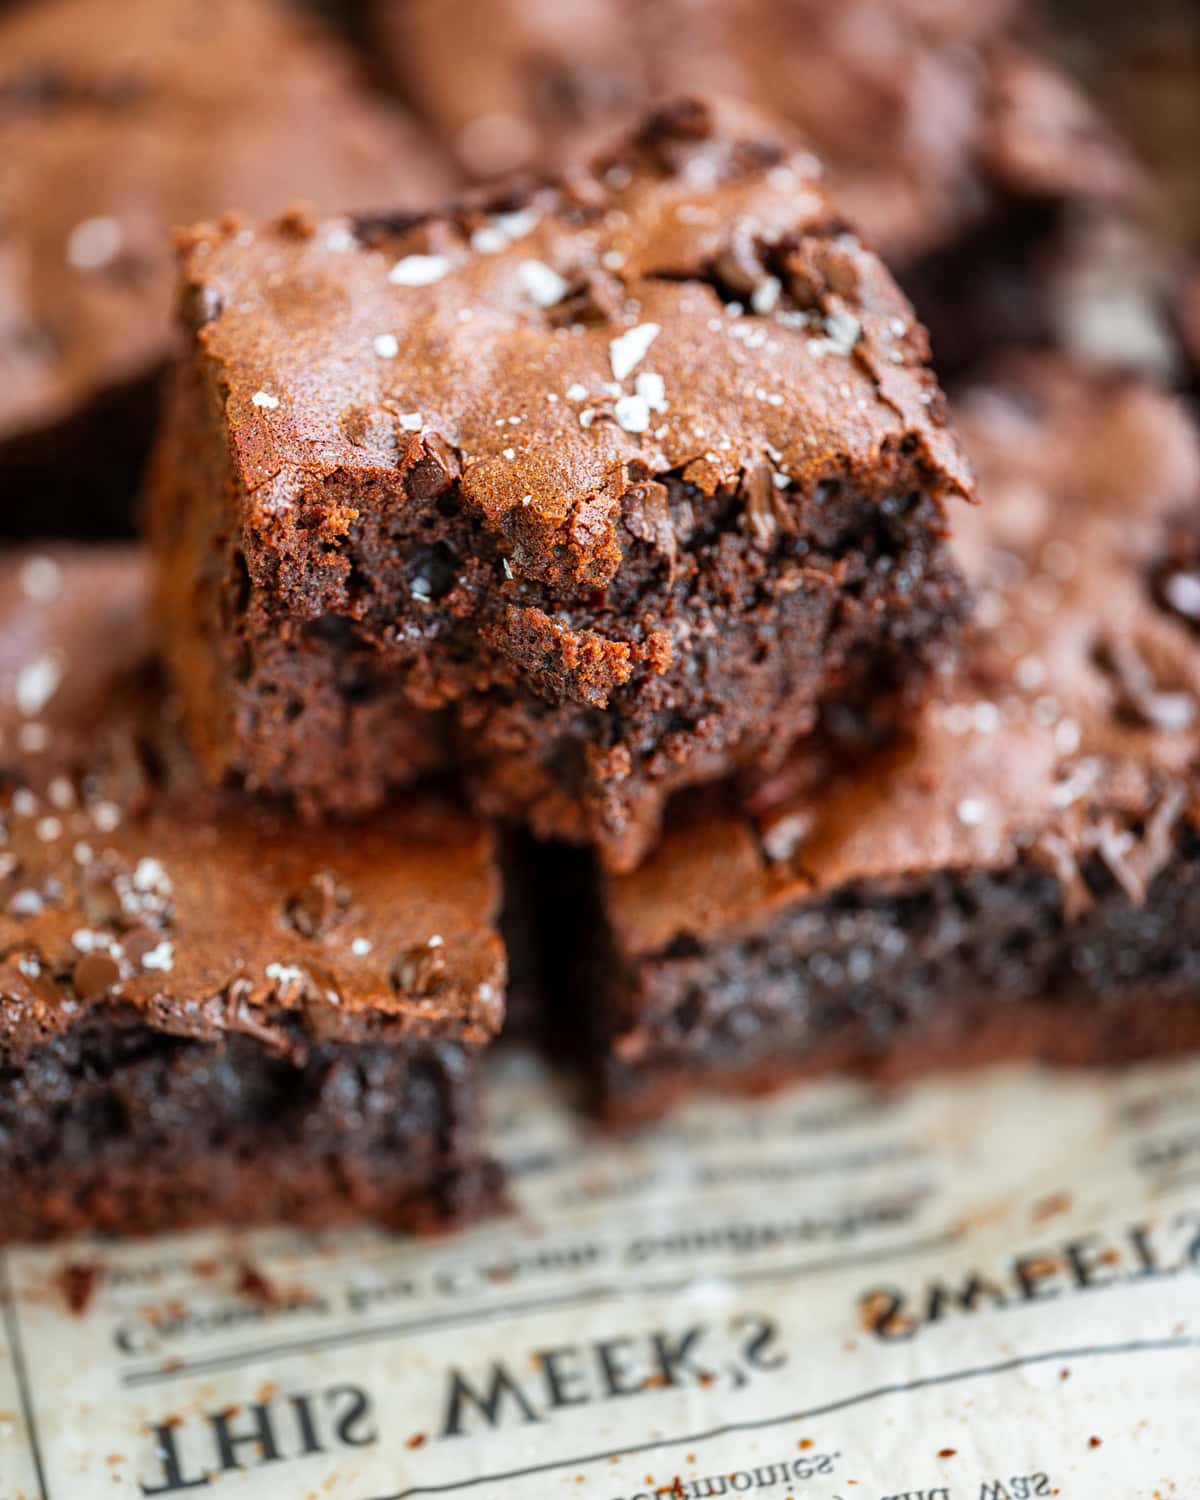
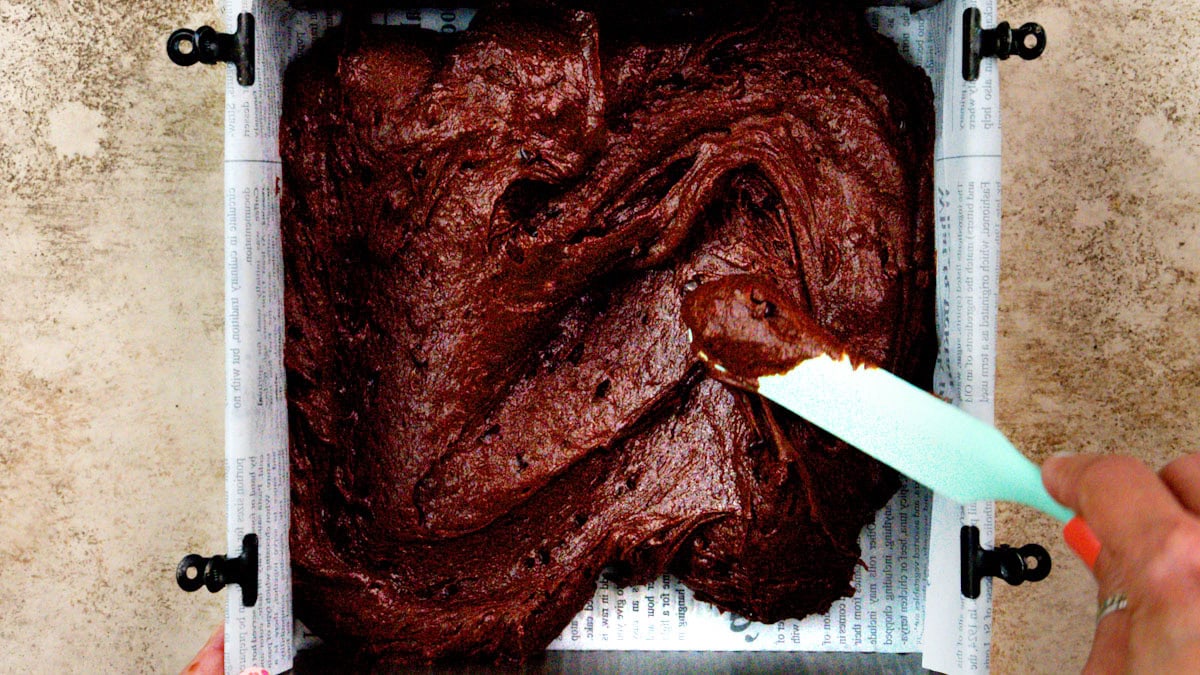
- Spread the batter into the prepared pan, scatter with the reserved chocolate chips and bake for 15-17 minutes, or until the brownies are set at the edges but still a little wobbly in the middle. A toothpick inserted in the center should come out with a few wet crumbs.
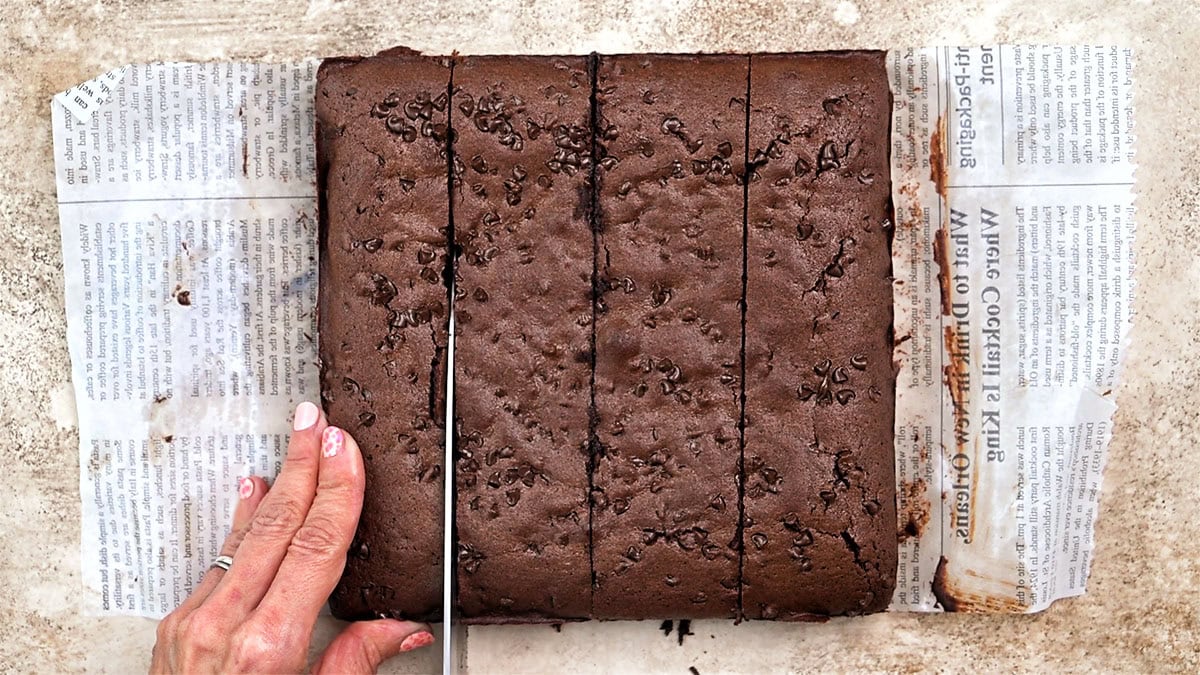
- Cool the brownies in the pan before slicing – I know it’s hard to be patient but they will fall apart if you dig in too soon!
Recipe Notes and Tips
Substitutions and Variations
- Gluten-Free: Swap the all-purpose flour for oat flour or a 1:1 gluten-free flour blend. You can also use almond flour but the texture of the brownies will be more dense.
- Dairy-free: Use virgin coconut oil instead of butter.
- Nutty Twist: Fold in chopped walnuts, pecans, or a swirl of almond butter or sunflower seed butter for extra crunch and healthy fats.
Leftovers and Storage
- Storing instructions: Place in an airtight container at room temperature for up to 4 days or store in the fridge for up to one week – reheat for a few seconds in the microwave to refresh their gooey texture.
- Freezing instructions: These brownies freeze beautifully – slice into small squares, wrap in plastic wrap, label and stick in the freezer for up to 3 months. Simply thaw in the fridge or microwave for 20 seconds for a quick treat.
Frequently Asked Questions
Brownies will become cakey the longer you bake them. Remember to remove them from the oven while the center is still slightly wobbly – that’s what keeps them soft and fudgy.
Not if you use a high-quality powder like Naked Nutrition – there’s no chalky aftertaste or weird ingredients – you won’t even know these are protein powder brownies.
I can’t wait for you to try these indulgent Chocolate Protein Brownies! If you make them, please leave a rating and a comment below to let me know how they turned out. Don’t forget to snap a photo and share it o
n @Instagram or TikTok – tag me so I can see your delicious creations!

Fudgy Protein Brownies
Video
Equipment
Ingredients
- ½ cup (65g) Naked Nutrition chocolate whey protein powder
- 5 tbsp (40g) all-purpose flour, (= plain flour)
- 2 tbsp cocoa powder
- ½ tsp baking powder
- ¼ tsp salt
- 1 cup (175g) dark chocolate chips
- ½ cup (113g) unsalted butter , cubed
- 3 large eggs , room temperature
- ½ cup (85g) coconut sugar
- 2 tsp vanilla bean paste
- 2 tbsp maple syrup
- 2 tbsp mini chocolate chips (optional)
- Pinch salt flakes (optional)
Instructions
- Preheat the oven to 350°F (180°C) and line an 8-inch square baking pan with parchment paper.
- Combine the chocolate whey protein powder, flour, cocoa powder, baking powder and salt in a bowl, stirring to aerate the dry ingredients.½ cup (65g) Naked Nutrition chocolate whey protein powder, 5 tbsp (40g) all-purpose flour, , 2 tbsp cocoa powder, ½ tsp baking powder, ¼ tsp salt
- Place ⅔ of chocolate chips and butter in a bowl and microwave for short 30 second bursts until the butter starts to melt. Stir well until the chocolate has melted and set aside to cool.1 cup (175g) dark chocolate chips, ½ cup (113g) unsalted butter
- Beat the eggs, coconut sugar and vanilla in a large mixing bowl using a hand mixer (or even a balloon whisk if you want to give your arms a little workout) until pale, frothy and at least doubled in size. Beat in the maple syrup.3 large eggs, ½ cup (85g) coconut sugar, 2 tsp vanilla bean paste, 2 tbsp maple syrup
- Add the melted butter and chocolate mixture and stir to combine.
- Sift in the dry ingredients and fold until you have a gooey chocolaty batter. Stir in the remaining chocolate chips.
- Spread the batter into the prepared pan, scatter with the mini chocolate chips and bake for 15-17 minutes, or until the brownies are set at the edges but still a little wobbly in the middle. A toothpick inserted in the center should come out with a few wet crumbs.2 tbsp mini chocolate chips
- Cool the brownies in the pan before slicing – I know it’s hard to be patient but they will fall apart if you dig in too soon! Sprinkle with the salt flakes and serve.Pinch salt flakes
Notes
- Air Fryer baking instructions: preheat to 325°F (160°C) and baking for 15 minutes.
- Storing instructions: Place in an airtight container at room temperature for up to 4 days or store in the fridge for up to one week – reheat for a few seconds in the microwave to refresh their gooey texture.
- Freezing instructions: Slice into small squares, wrap in plastic wrap, label and stick in the freezer for up to 3 months. Simply thaw in the fridge or microwave for 20 seconds for a quick treat.
Nutrition
Nutritional information is always approximate, and will depend on quality of ingredients and serving sizes.


