
Quick and Easy Danish Pastries
, Updated Jan 18, 2021
This post may contain affiliate links. Please read our disclosure policy.
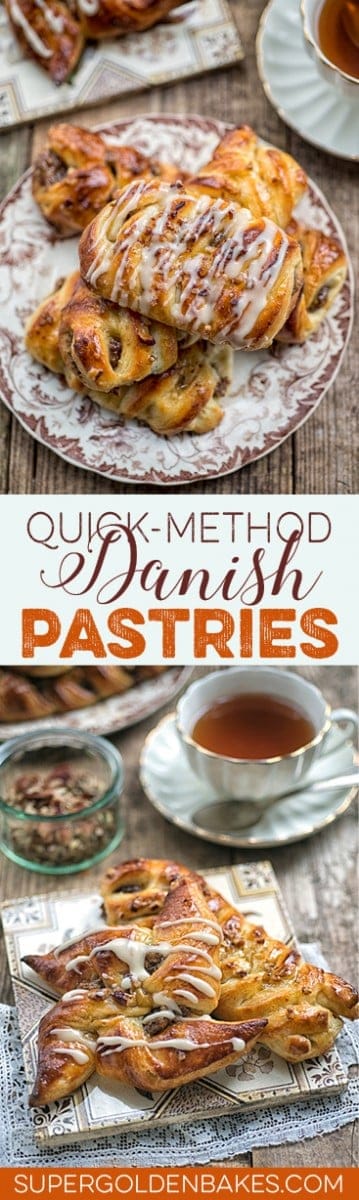
Danish Pastries from scratch? Easier than you think if you follow this Danish Pastry recipe for quick-method laminated dough.
You will also love my Quick Method Croissants

Fancy a Danish?
What is a Danish pastry? And why is it called a ‘Danish’? This sweet flaky pastry is made with laminated dough which you might be familiar with if you like croissants. This delicious pastry concept was brought to Denmark by Austrian bakers which is why in Denmark they are actually called Viennese (wienerbrød)!
This quick method Danish Pastry Recipe was popularised by none other than Julia Child but the recipe credit goes to Beatrice Ojakangas. The method works along the same principle as rough puff pastry and works remarkably well while simplifying and speeding up the laminated dough process.
I don’t know if I should say just how incredibly delicious these were. Maybe you are better off not knowing. The entire batch was devoured in 12 hours (most of it by me). I could not resist these!
Can you believe that the first time I made Danish pastries I was cooking in my living room, in a temporary kitchen? The pastry dough was created on a kitchen worktop cut off balanced on the end of my computer desk.
Needless to say it was a bit chaotic but a real testament to how easy it is to create Danish pastries from scratch in less than ideal surroundings (with a little help from my food processor).
These pastries are my Great British Bake Off recipe for pastry week. I love making pastries and actually find working with laminated dough a soothing kind of activity.
 Danish pastry dough step by Step
 Danish pastry dough step by Step
STEP 1. Make the dough. Heat the milk for a few seconds in a microwave until just tepid (not hot!). Add the sugar and yeast and whisk to combine. Let it stand for 4-5 minutes until the yeast is frothy. Add the egg and lightly whisk together. Set aside.
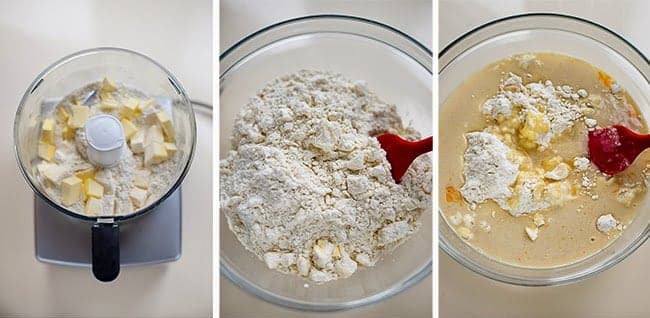
STEP 2. Put the flour and salt in the large bowl of a food processor fitted with a metal blade. Add the cubed butter and briefly pulse a few times until mixture resembles chunky breadcrumbs.You want the butter to remain in pea sized pieces.
STEP 3. Put the flour mixture in a bowl and add the milk/yeast mixture. Gently combine using a spatula until the dough comes together – don’t overwork it.
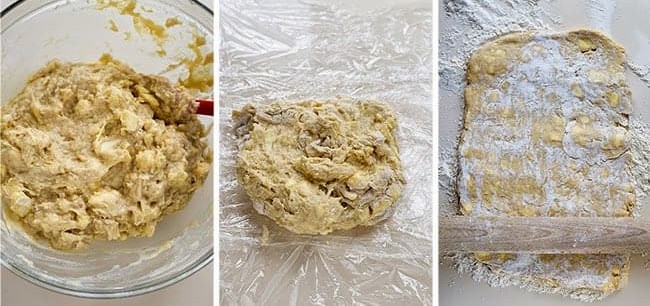
STEP 4. Line your worktop with two large pieces of clingfilm. Tip the dough onto it and use the cling film to squash the dough into a square. Put in the freezer for 30-45 mins or until fairly firm but still pliable.
STEP 5. Liberally dust your worktop and rolling pin with flour. Roll your dough out to a rectangle roughly three times as long as it is wide. Fold the short sides of the dough into the middle using a pastry scraper to help you if sticky. Rotate the dough by a quarter turn. Fold the short ends towards the center.
STEP 6. Flip the dough over so the seams are underneath. Roll it out again repeating steps 5-7 a few times (minimum 4) until the dough starts to get elastic. Wrap the dough twice with cling film and rest in the fridge for a minimum of 4 hours or overnight. You are now ready to use it.
Tips for the Best Danish pastries
- Although I went a bit crazy and created all these different shapes I would advise sticking to one shape /size so that the pastries all need same baking time.
- Keep an eye on your pastries while they are baking – they can go from raw to burned quite quickly. I am still learning the quirks of my new oven which is much more efficient that my last crappy one.
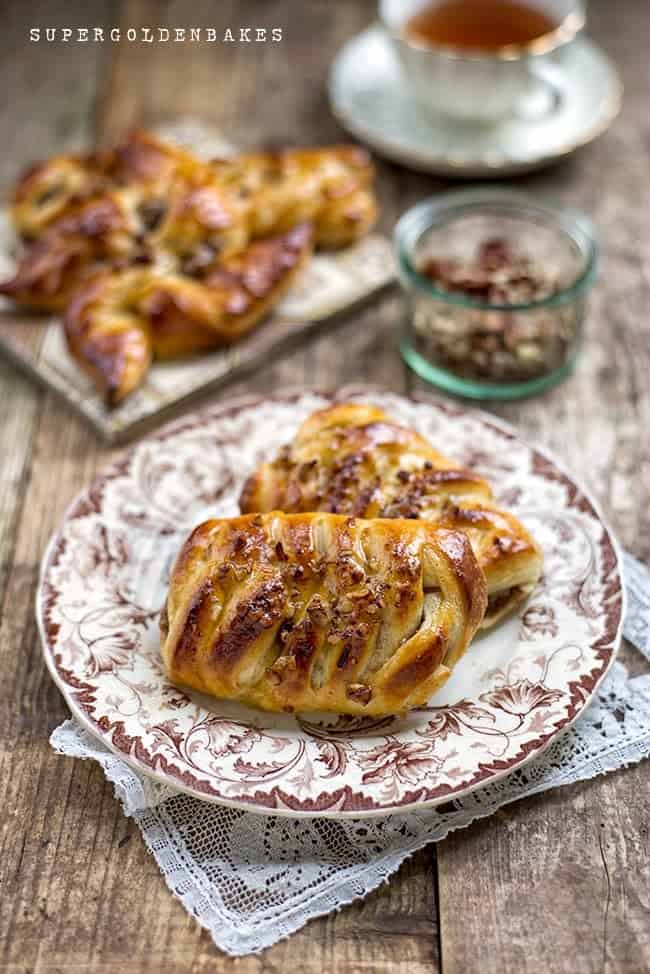
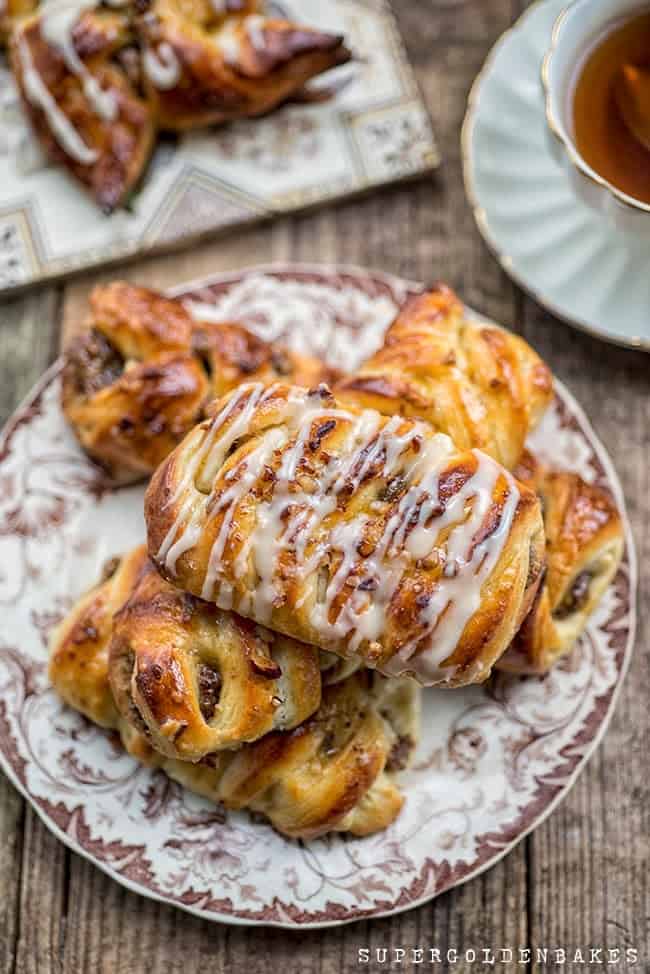
- Although the filling sounds like it will be very sweet it is not. I think the pastries benefit from a little maple glaze.
HAVE YOU MADE MY Danish pastries?
Snap a photo, add hashtag #supergoldenbakes and tag @supergolden88 on INSTAGRAM
ALL IMAGES AND CONTENT ON SUPERGOLDEN BAKES ARE COPYRIGHT PROTECTED. IF YOU WISH TO SHARE THIS RECIPE, THEN PLEASE DO SO BY USING THE SHARE BUTTONS PROVIDED. DO NOT SCREENSHOT / POST RECIPE OR CONTENT IN FULL.

Quick and Easy Danish Pastries
Ingredients
- Quick method Danish Pasty Dough
- 180 ml | 3/4 cup 6fl oz whole milk
- 1 sachet dry active yeast about 1/2 tbsp
- 70 g | 1/3 cup caster sugar
- 1 large egg
- 250 g | 2 cups plain flour plus more for dusting and rolling
- 65 g | 1/2 cup white bread flour
- 230 g | 2 sticks cold unsalted butter cubed
- 1 tsp salt
- Pecan and Maple filling
- 100 g | 3.5 oz toasted pecans
- 3-4 tbsp dark brown sugar
- 2 tbsp 30g cold unsalted butter
- 6 tbsp maple syrup
- 1 tsp vanilla extract
- 1 tsp ground cinnamon
- Pinch salt
- Maple glaze
- 4-5 tbsp icing powdered sugar
- 1-2 tbsp maple surup
- 1 tsp vanilla extract
- Hot water if needed
Instructions
- Make the dough. Heat the milk for a few seconds in a microwave until just warm. Add the sugar and yeast and whisk to combine. Let it stand for 4-5 minutes until the yeast is frothy. Add the egg and lightly whisk together. Set aside.
- Put the flour and salt in the large bowl of the Magimix fitted with a metal blade (image 1).
- Add the cubed butter and briefly pulse a few times until mixture resembles chunky breadcrumbs.You want the butter to remain in pea sized pieces.
- Put the flour mixture in a large bowl (image 2) and add the milk/yeast mixture (image 3). Gently combine using a spatula until the dough comes together (image 4) but don't overwork it.
- Line your worktop with two large pieces of clingfilm (image 5). Tip the dough onto it and use the cling film to squash the dough into a square. Put in the freezer for 30-45 mins or until fairly firm but still pliable.
- Liberally dust your worktop and rolling pin with flour. Roll your dough out to a rectangle roughly three times as long as it is wide (image 6). Fold the short sides of the dough into the middle using a pastry scraper to help you if sticky. Rotate the dough by a quarter turn. Fold the short ends towards the center. Flip the dough over so the seams are underneath. Roll it out again repeating steps 5-7 a few times (minimum 4) until the dough starts to get elastic.
- Wrap the dough twice with cling film and rest in the fridge for a minimum of 4 hours or overnight. You are now ready to use it.
Make the filling. Put all the ingredients in the small bowl of the Magimix fitted with a metal blade. Pulse until the ingredients form a fairly coarse paste. Set aside until needed.- Shape the pastries. Cut the dough in half. Keep the piece you aren’t using in the fridge until needed.
- Preheat the oven to 190C | 375F and line two large baking trays with greaseproof paper.
- Dust your worktop and rolling pin with flour. Roll the dough out to about 5cm (1/7 inch) thick and trim the edges.
- To create pinwheels, cut the dough into squares and make small cuts from the corner toward the centre of each square. Place about 2 tsp of the filling in the middle and fold every other point in towards the centre.
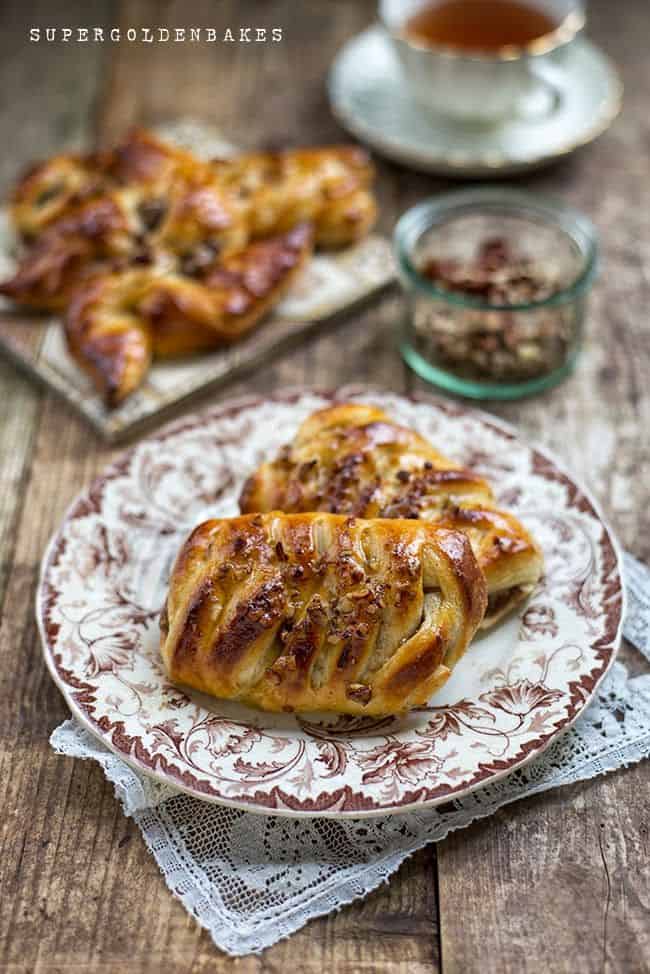
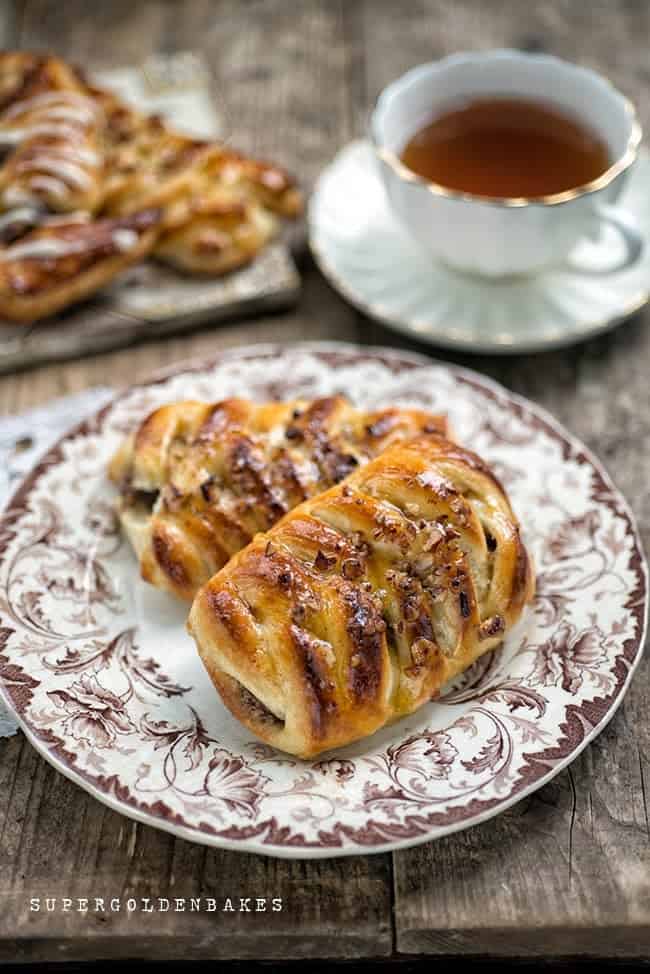
- To create plaits cut square or rectangle pieces of the dough. Place filling along the centre and cut strips on the diagonal either side of it (as shown above). Fold the strips alternately towards the middle to create the plait. Tuck the ends under or cut them off. Repeat making pastries with rest of the dough (or freeze it).
- Transfer onto the baking tray, cover loosely with plastic wrap and let them rise at room temperature for 30 minutes.
- Brush some egg wash over the pastries. Sprinkle with chopped pecans and bake for 15-25 minutes, depending on size, until puffed and golden.
- Cool on a wire rack and brush with sieved apricot jam if you want a high shine.
- Mix all the ingredients for the glaze together, thinning with hot water if necessary, until think but pourable. Use a spoon to drizzle the glaze over the pastries.
Notes
• Keep an eye on the pastries - they can go from raw to burned quite quickly. I am still learning the quirks of my new oven which is much more efficient that my last crappy one.
• Although the filling sounds like it will be very sweet it is not. I think the pastries benefit from a little maple glaze.


I have used this recipe for Danish dough and 5 hours and 10 minutes is not really what I would consider “quick” as you stated on your recipe. Also rolling out the dough into the perfect sized rectangle numerous times, not too easy as the dough is not very forgiving. Please be honest about the amount of effort and time needed for this recipe.
Hi Paola – the quick refers to the method which doesn’t use the usual lamination process which is very long-winded. It’s considered a quick method comparatively