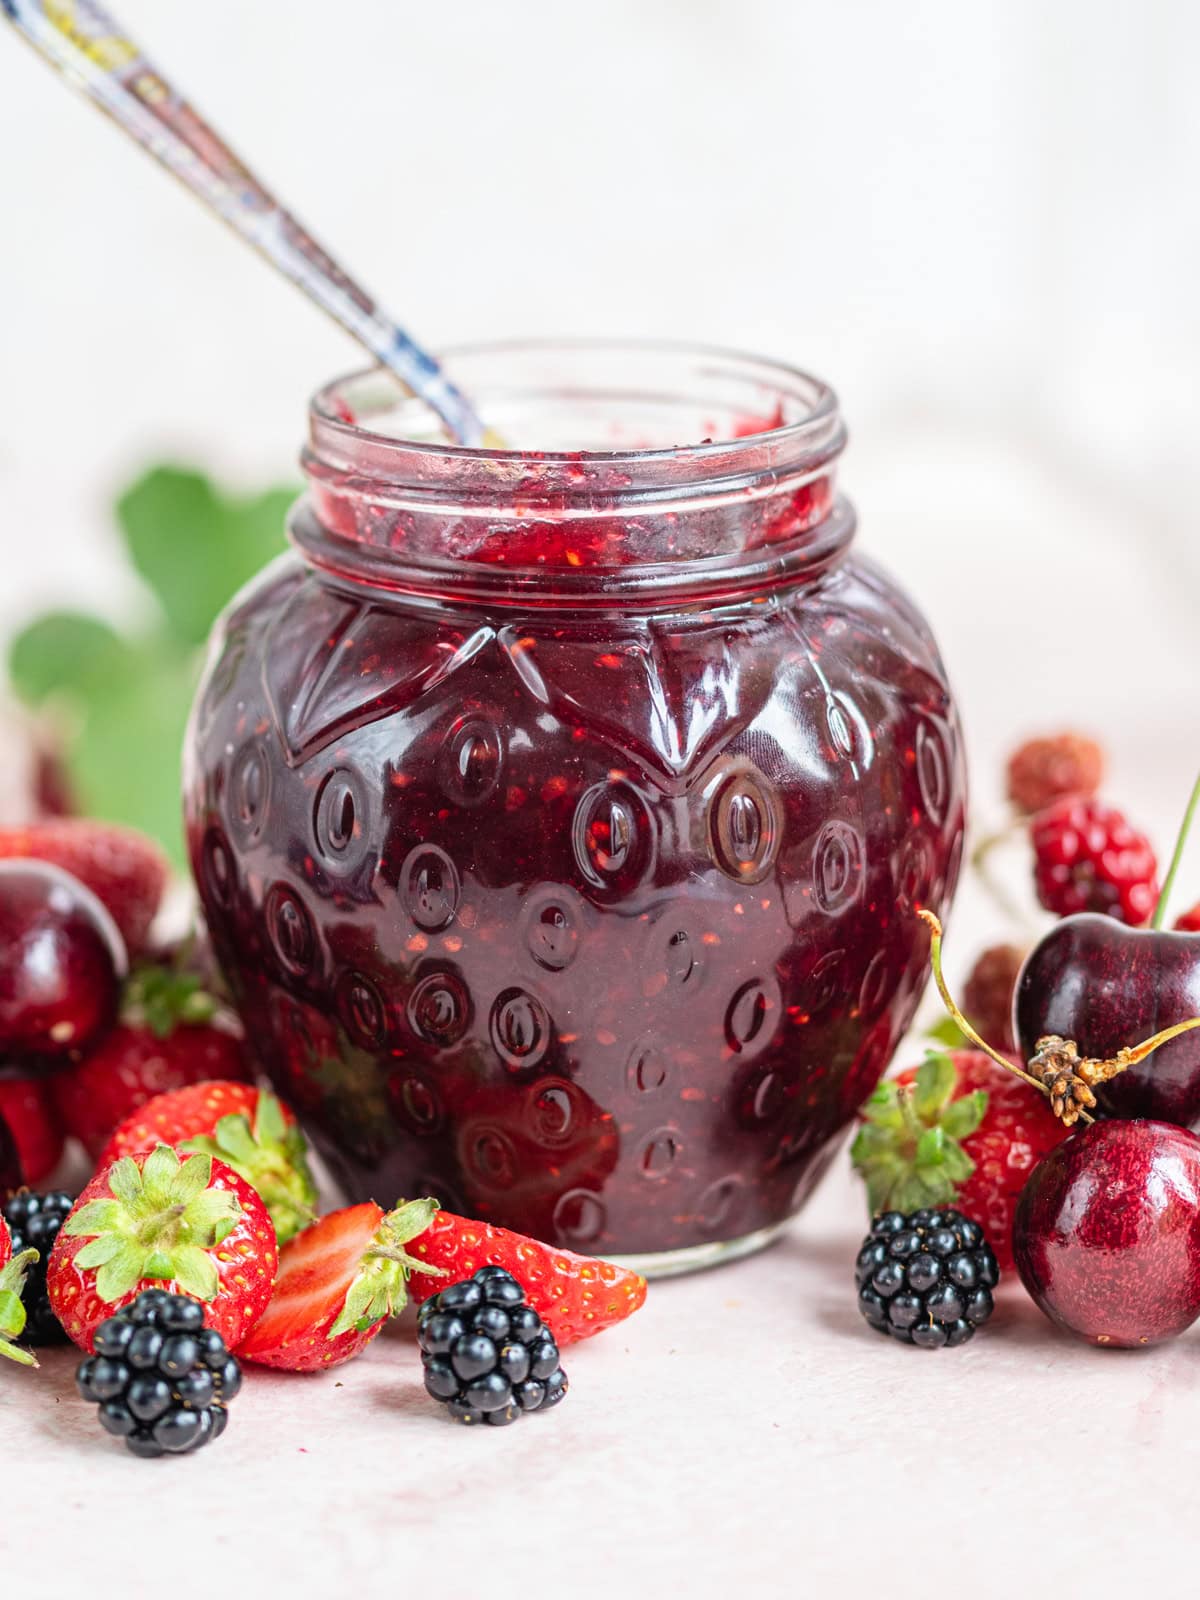
Cherry Berry Jam (Reduced Sugar)
Bursting with vibrant summer flavor, this Cherry Berry Jam contains 50% less sugar than traditional recipes. If you love the idea of a pantry stocked with homemade preserves but crave a lighter, truly fruit-forward bite, this is the perfect spread for you!
Servings: 4 8oz jars
Calories: 558kcal
Equipment
Ingredients
- 10 ½ oz (300g) cherries pitted and roughly chopped
- 6 oz (175g) strawberries roughly chopped
- 6 oz (175g) blackberries or raspberries
- 1 lb (450g) sugar granulated
- 2 tbsp lemon juice
- 3 tbsp low sugar pectin powder
- ½ tsp butter optional
Instructions
Prep and crush your fruit
- Wash, stem, and pit your cherries (or use frozen pitted cherries for convenience). Hull the strawberries and roughly chop them.10 ½ oz (300g) cherries, 6 oz (175g) strawberries
- Soak your foraged blackberries in cold water with a splash of white vinegar for 10–15 minutes to remove dust, then rinse gently with fresh water.6 oz (175g) blackberries
- Measure out exactly 32oz / 900g of fruit, add them to a large pot, and give them a good mash with a potato masher.
Macerate the fruit
- Add your lemon juice and the sugar (minus 2 tablespoons – set those aside for the next step!) to the crushed fruit and stir well.1 lb (450g) sugar, 2 tbsp lemon juice
- Leave the pot on the counter for 2 hours or cover and macerate overnight in the fridge. This allows the sugar to draw out the natural juices from the fruit.
Prepare your pectin jelly
- In a small bowl, stir together your pectin powder and the sugar you set aside. Add 2-3 ladlefuls of the sweet juice released by your macerated fruit and stir well to combine – a handheld coffee frother is absolutely brilliant for this task. You want the pectin to be fully dissolved without any lumps! Set aside.3 tbsp low sugar pectin powder
Make the jam
- Place your pot of macerated fruit on the stove over medium-high heat. Bring the mixture to a "full rolling boil" and let it boil for 2 to 3 minutes. Stir constantly to prevent burning.
- 👉 Pro tip: If you notice a lot of foam, drop ½ teaspoon of butter into the pot now to magically disperse it!½ tsp butter
- Scrape the pectin jelly prepared earlier into the boiling fruit and stir quickly to dissolve it completely. Bring the mixture back up to a full rolling boil and set a timer for exactly 1 minute boiling hard the entire time.
Fill the jars and store
- Remove the pot from the heat. If there is any lingering foam on top, skim it off with a spoon. Carefully ladle the hot jam into warm, sterilized jars using a funnel, leaving ¼-inch of space at the top.
- Gently run a amall silicone spatula or a wooden skewer around the inside edge of the jar. Push inward slightly to allow any trapped air pockets to escape.
- Dampen a clean paper towel or cloth and thoroughly wipe the very top rim and the glass threads of the jar.
- Place your lids on top and screw the bands on until snug. You can use standard metal canning lids, or those reusable plastic storage caps since you aren't boiling them.
- Leave the jars sitting on a towel on your kitchen counter for about 1 to 2 hours. Once the jars feel cool to the touch, move them into the fridge. Your jam will stay fresh in the refrigerator for 2-3 weeks.
Video
Notes
To make in the Ball Jam Maker
(Please note this was made with an older version of the Jam Maker – check your model's manufacturing instructions.)
- Wash, stem and pit the cherries. Roughly cut them with kitchen scissors or a sharp knife and then measure the right quantity. Crush them roughly using a potato masher.
- Wash the berries. Hull and quarter the strawberries then measure the right quantity into a bowl with the blackberries. Crush with a potato masher as before.
- Sprinkle the pectin evenly over bottom of the appliance fitted with the stirrer.
Add the crushed fruit evenly over pectin. Add the lemon juice and butter – this helps reduce any foaming. - Press the jam button – the cook time will automatically default to 21 minutes – and then enter. The machine will start cooking the fruit – wait 4 minutes for appliance to sound 4 short beeps indicating that it is time to add sugar.
- Add sugar gradually while stirrer continues running. Cover the pot with the lid and keep an eye on it. The machine will beep when the jam is ready. Press cancel, unplug the appliance and remove the lid.
- Pour the jam into warmed jars and store in the fridge – consume within four weeks.
Nutrition
Calories: 558kcal | Carbohydrates: 143g | Protein: 2g | Fat: 1g | Saturated Fat: 0.4g | Polyunsaturated Fat: 0.3g | Monounsaturated Fat: 0.2g | Trans Fat: 0.02g | Cholesterol: 1mg | Sodium: 28mg | Potassium: 310mg | Fiber: 6g | Sugar: 127g | Vitamin A: 160IU | Vitamin C: 42mg | Calcium: 31mg | Iron: 1mg
