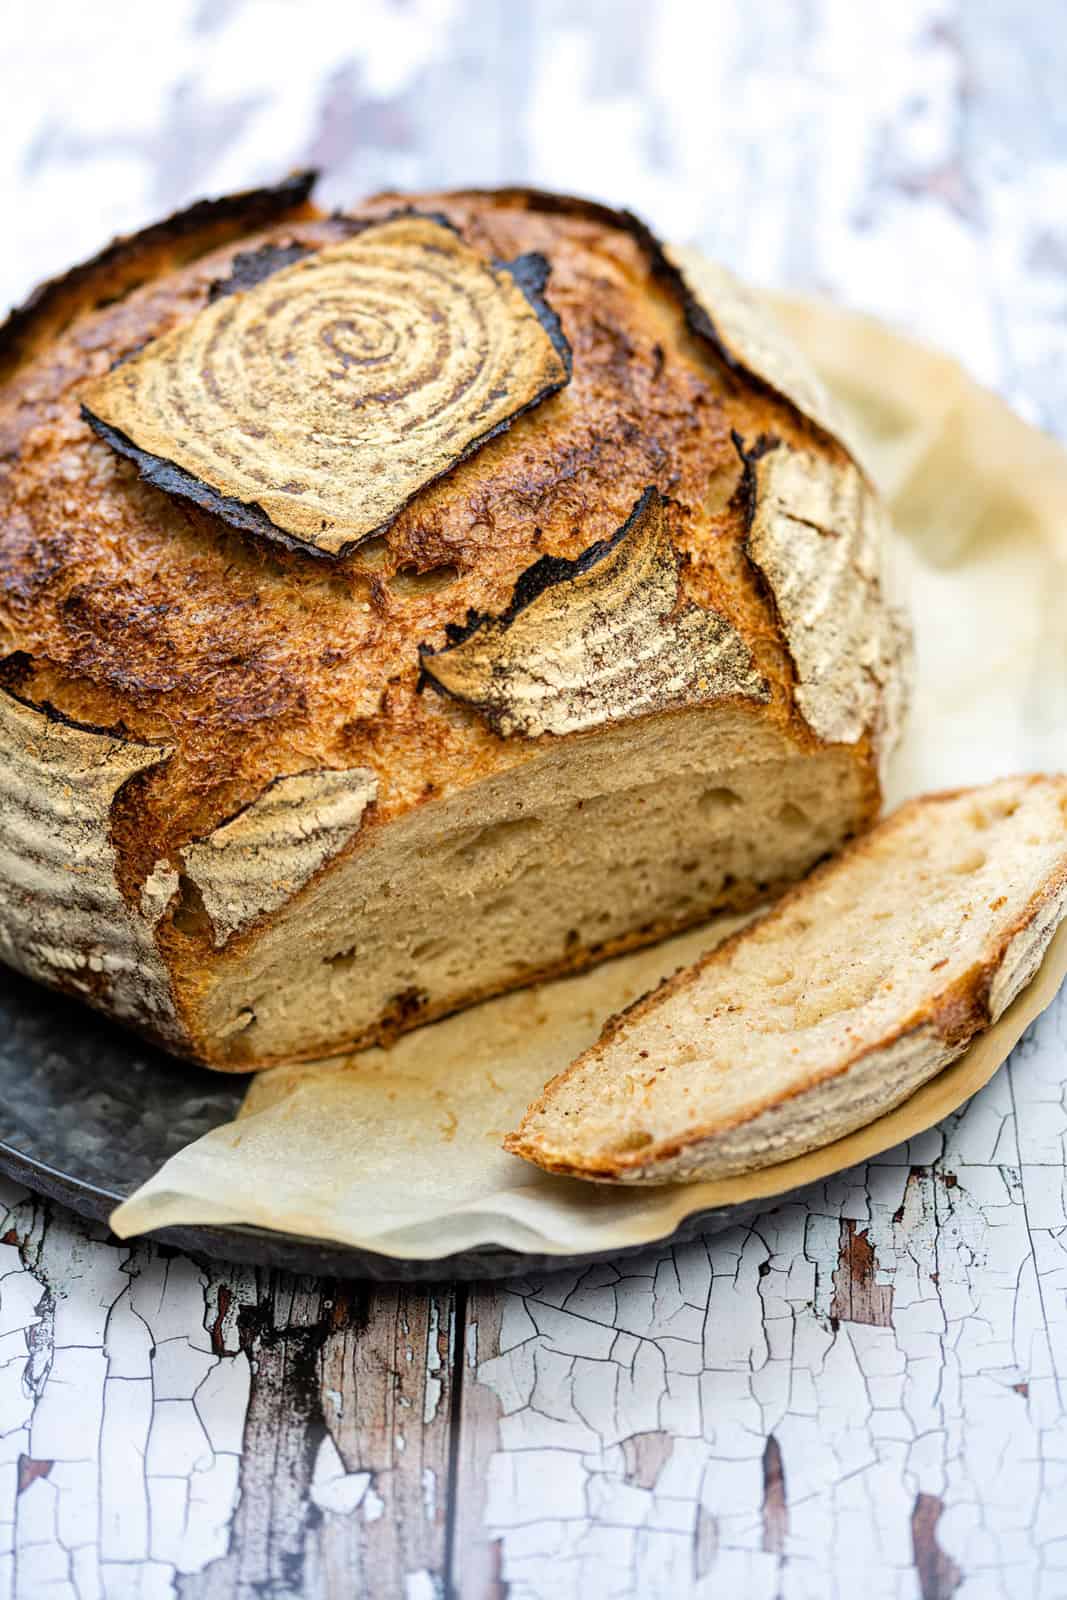
Overnight Sourdough Bread
This Overnight Sourdough Bread requires no kneading or folding. A truly easy sourdough recipe perfect for beginners. Please read the whole post, including tips and step by step instructions before proceeding with this recipe.
Servings: 12 slices
Calories: 173kcal
Ingredients
For your starter
- 60 g (¼ cup) mature starter room temperature
- 60 g (¼ cup) flour
- 60 g (¼ cup) tepid water (filtered, bottled or boiled and cooled tap water)
For the overnight sourdough
- 150 g active starter (most of the starter you prepared earlier)
- 300 g (1 ¼ cups) water (filtered, bottled or boiled and cooled tap water)
- 500 g (4 cups) white bread flour preferably organic
- 12 g (2 tsp) sea salt (2 scant teaspoons)
- rice flour or gluten free flour for the bowl or banetton, as needed
Instructions
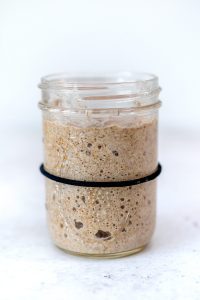
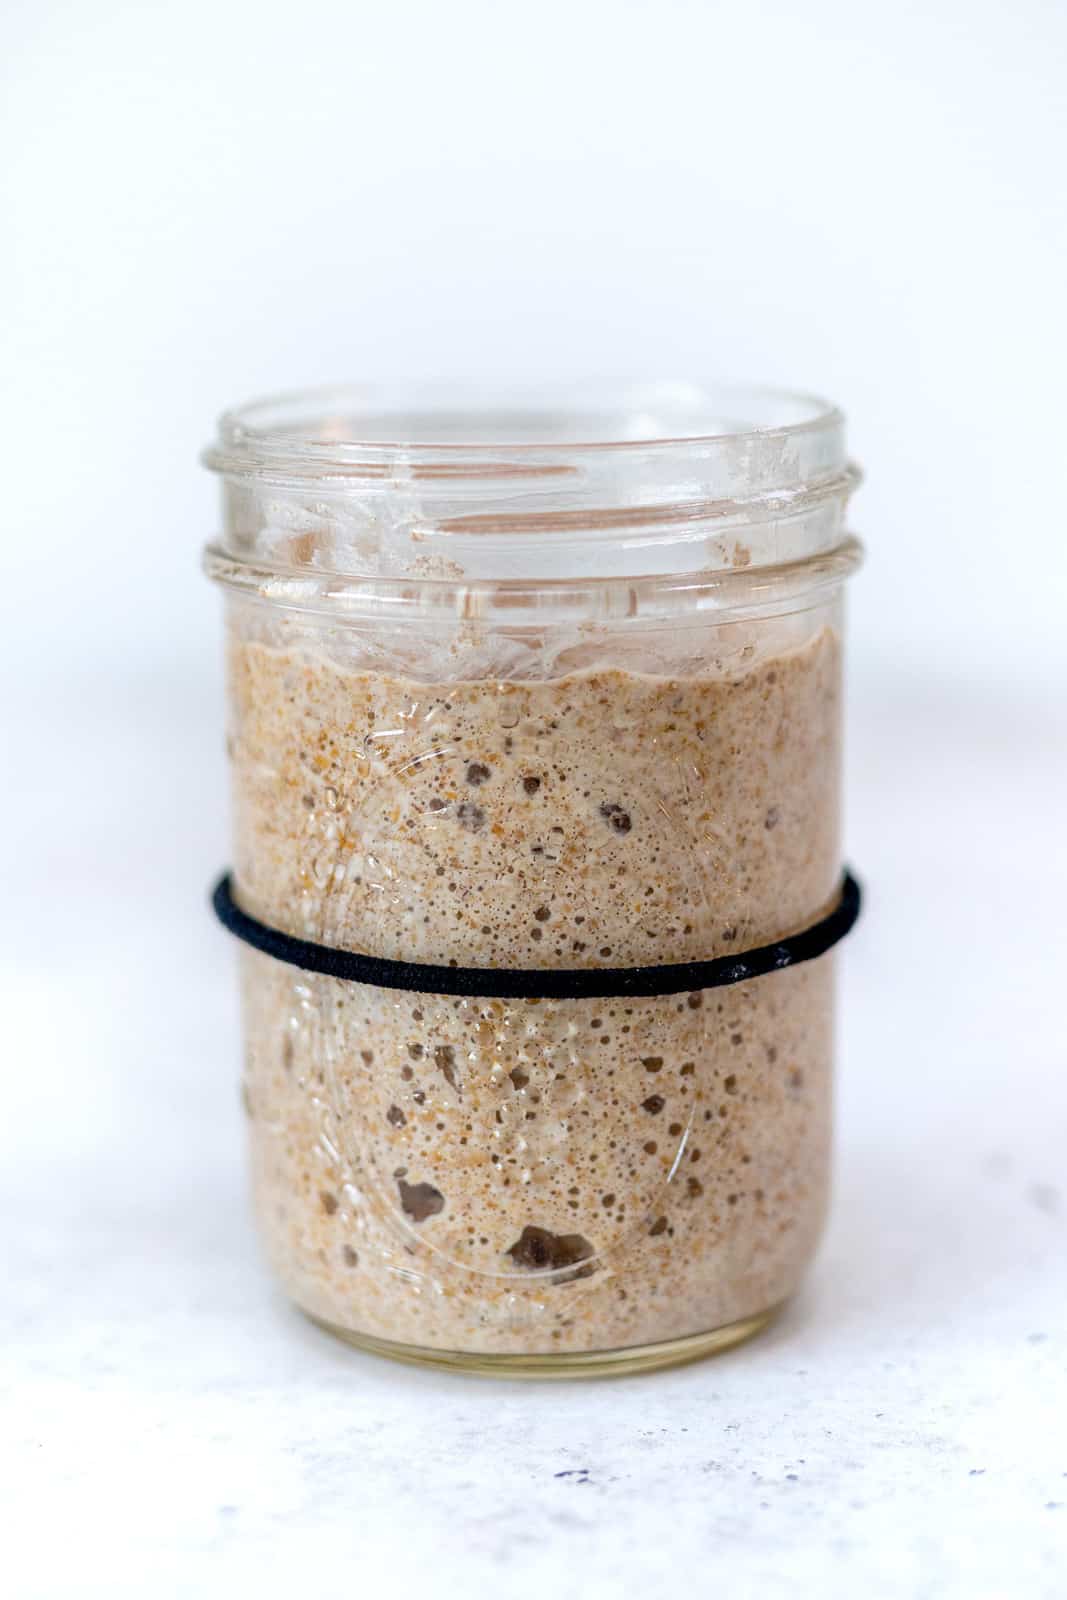
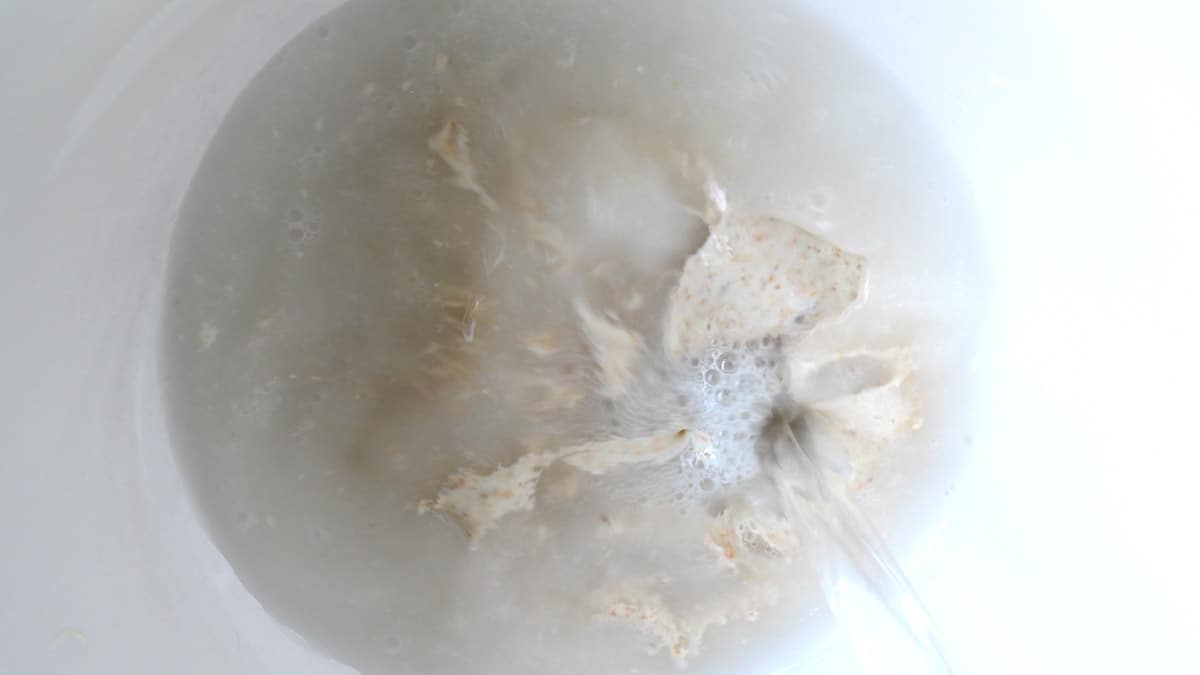
Feed Your Sourdough Starter
- Feed 60g of active starter with 60g flour and 60g lukewarm water. Leave for 4-6 hours until doubled in size, bubbly and floating in water (float test).
Prepare The Bread Dough
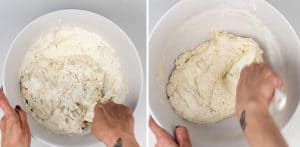
- Add 150g of bubbly starter in a large mixing bowl. Pour in 300g of water* and mix well - I use my dough whisk. *remember to use filtered, bottled or boiled and cooled tap water.

- Add the bread flour, saltand mix well with the dough whisk or your hands. It’s easier to have a feel for the dough if you use your hands. You will have a shaggy, slightly sticky dough.
- Transfer the dough into a rectangular container (I like a glass pyrex dish), cover and leave to rise at room temperature overnight (8-10 hours). If it is a hot night then place the dough in the fridge where it will need 10-12 hours.

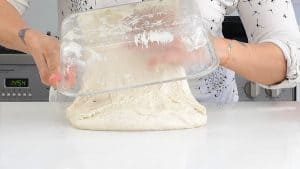
Shape The Sourdough
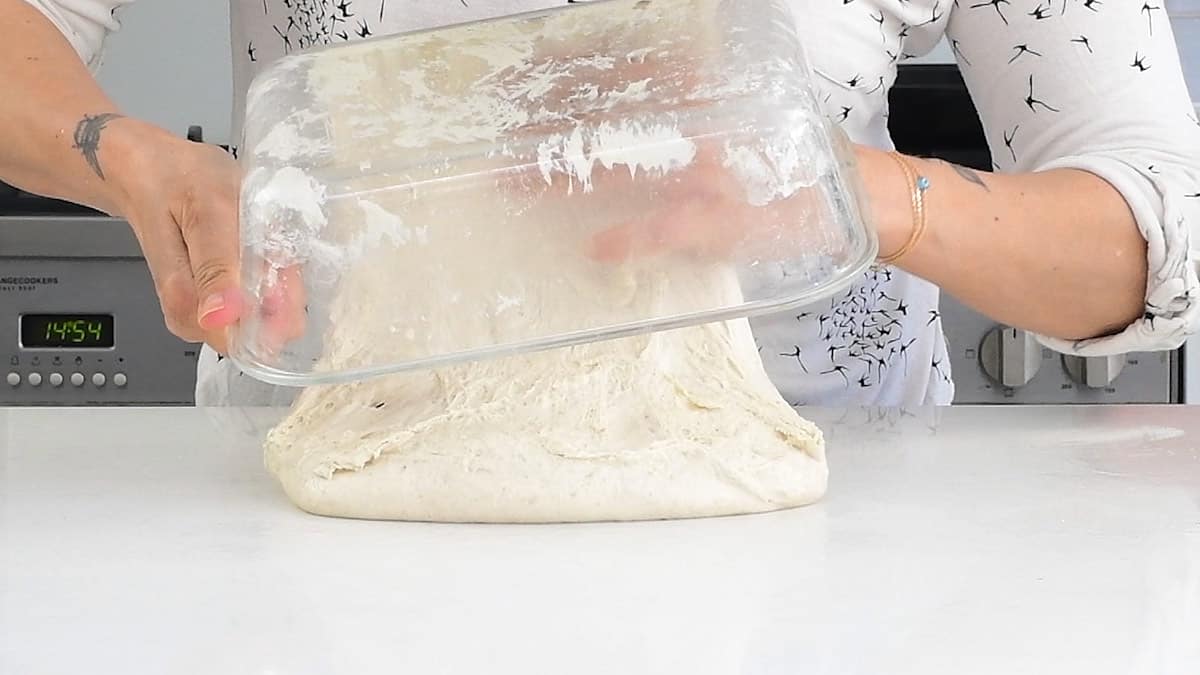
- The following day take a look at your dough - it should have almost doubled. Mist your worktop with water and scrape the dough onto it – do not punch the dough down. If the dough is really sticky then you can dust the worktop with a little flour – I prefer to use water with this recipe.
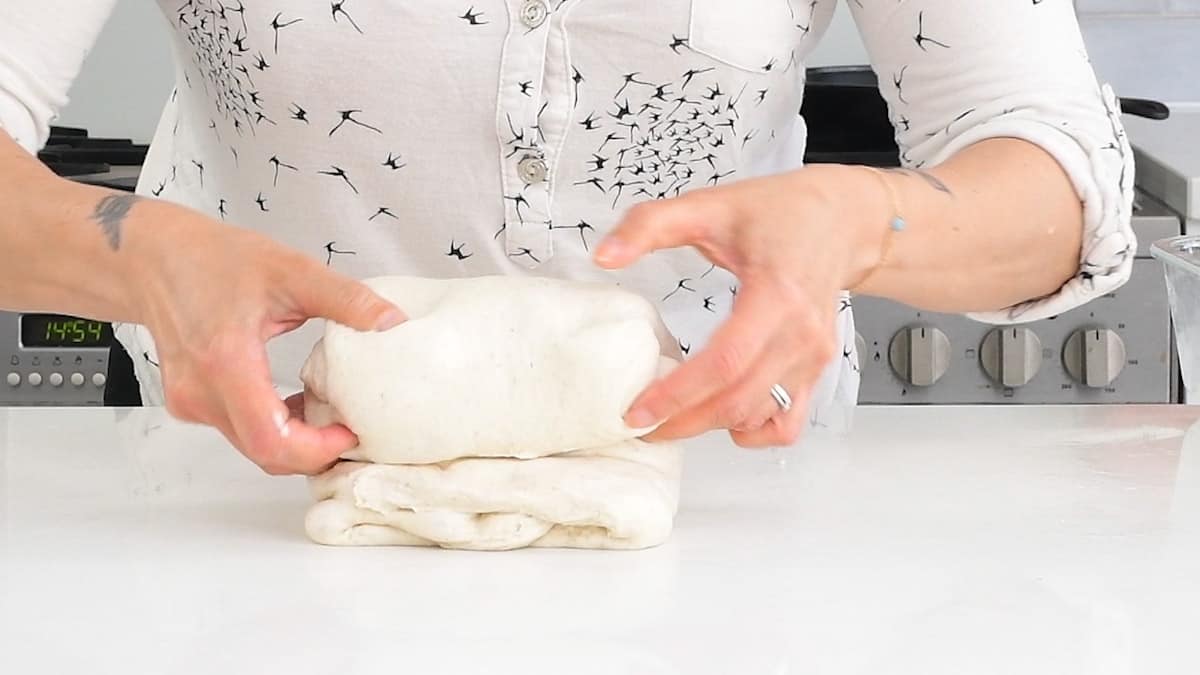
- Gently stretch the dough to form a rectangle.
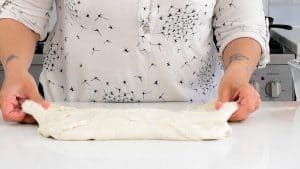
- Fold into three sections, like a letter.
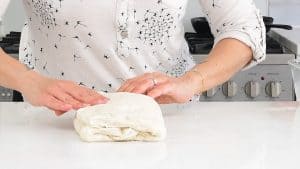
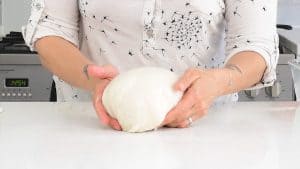
- Roll the dough into a tight ball.

- Flip over, seam side down, and shape into a round loaf (known as a “boule”). Use your hands and a bench scraper to roll the loaf in your hands, slightly tucking the edges under as you go (please check the video for a demo).


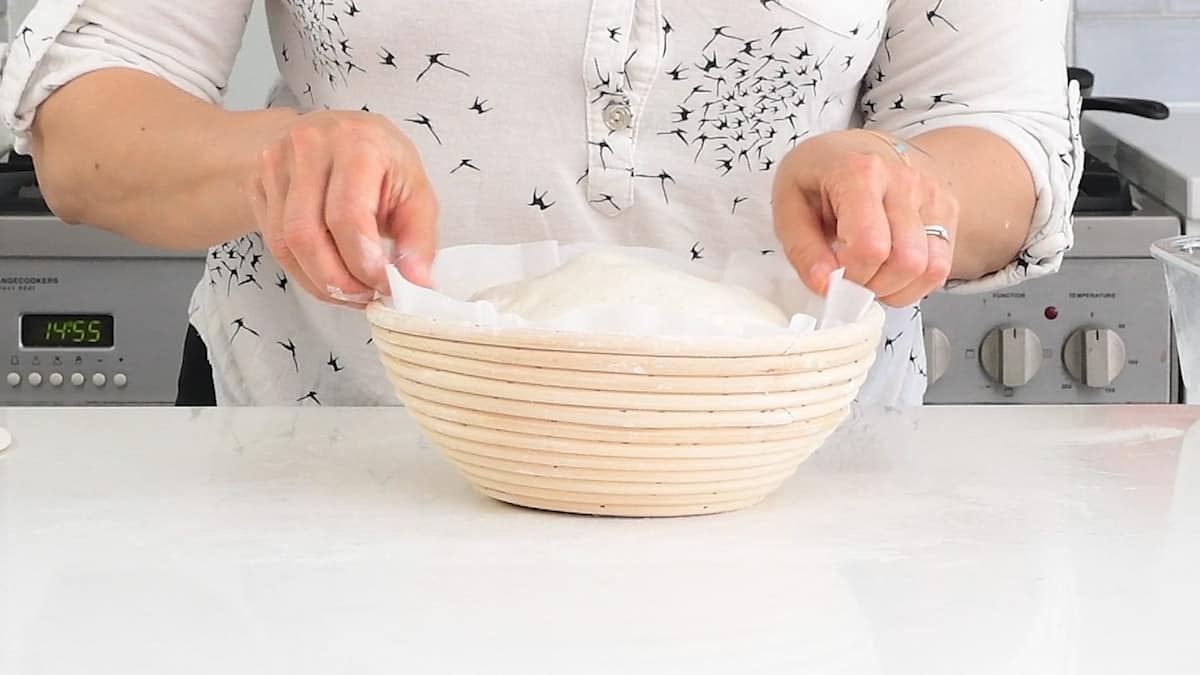
Second Rise
- Line a bowl or basket with baking paper and lightly dust the paper and your loaf with gluten free flour or rice flour to prevent the bread from sticking to the paper.
- Gently cup the loaf in your hands and place into the prepared bowl seam side down. Cover loosely with a plastic bag and leave to rise again for 30 minutes to a couple of hours at room temperature (again, this will be temperature dependent).

- Preheat your oven to 450F (230C) half an hour before the end of proving. Place a lidded pot (Dutch Oven) in the oven to preheat.
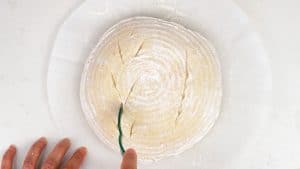
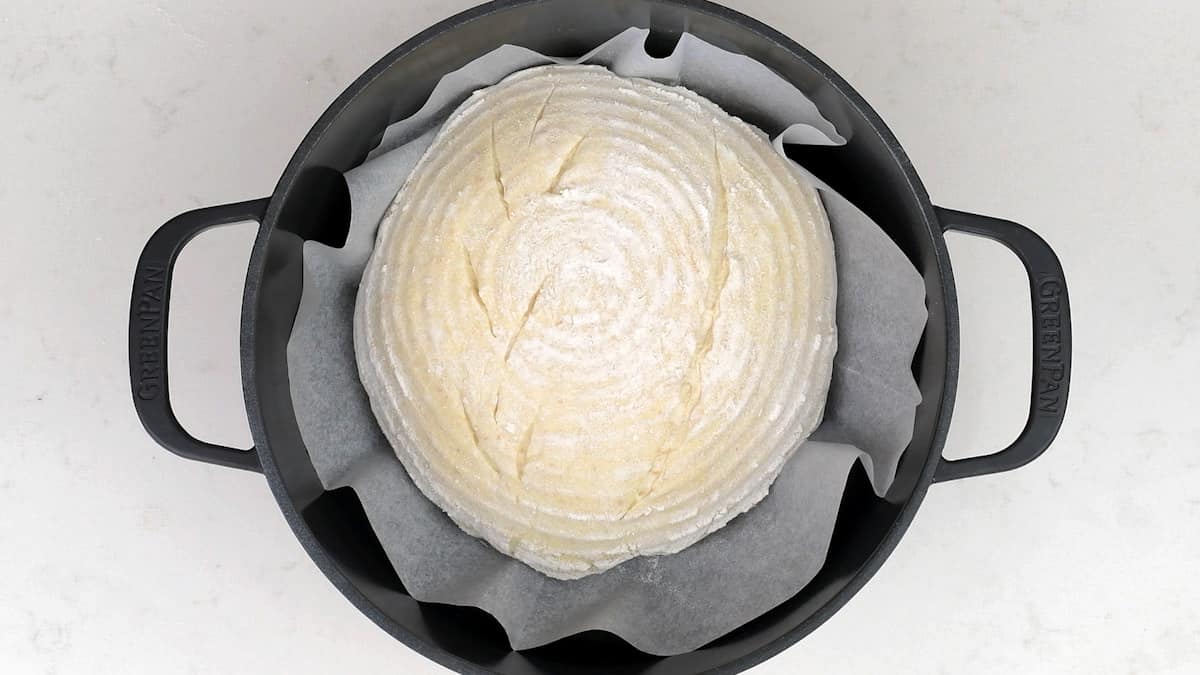
- Score the top of your loaf using a sharp knife, razor or lame.

Bake your Sourdough
- Remove the pot from the oven using pot holders (please be very careful as it can easily give you very bad burns, as I can testify). Carefully place the dough into the pot, lifting it by the baking paper.
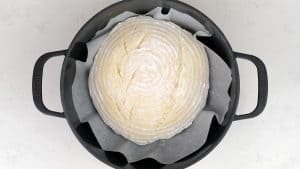
- Cover and bake for 20 minutes.
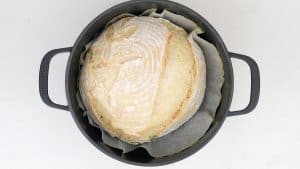
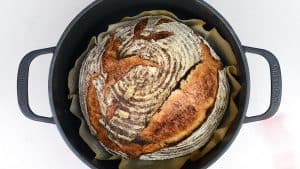
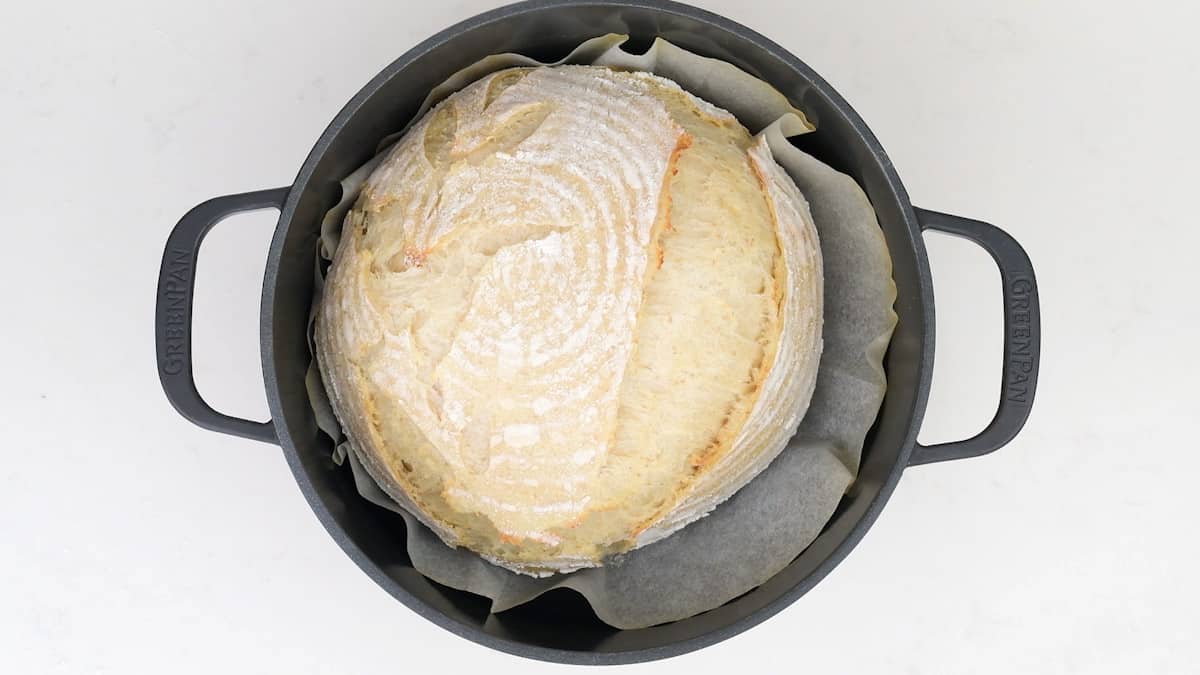
- Reduce the temperature to 425F (220C). Take the lid off the pot and cook for another 20-25 minutes. You can lift the bread out of the pot and cook directly on the oven shelf for the final 5 minutes.
- Cool the bread on a wire rack for at least an hour before slicing.

Video
Notes
Using a Banneton Basket
If you are using a banneton basket (you need to prep this first before first use) dust the basket with rice or gluten free flour, shaking out some of the excess. Carefully transfer your load seam side up in this case. Cover with a bag and leave to rise. When the dough is ready to bake, after the second rise, carefully invert onto baking paper then proceed to bake in a Dutch Oven. Storing Sourdough Bread
Cover the cooled loaf in a clean tea towel and store at room temperature – the bread will keep for 2-3 days. I prefer to slice the entire loaf and then freeze it – that way you can toast slices directly from frozen whenever the fancy takes you.
Nutrition
Calories: 173kcal | Carbohydrates: 35g | Protein: 6g | Fat: 1g | Saturated Fat: 1g | Sodium: 390mg | Potassium: 47mg | Fiber: 1g | Sugar: 1g | Calcium: 6mg | Iron: 1mg